
Learn how to set up your Printonic account, connect stores, add products, manage orders, and start selling print-on-demand products in minutes.
Welcome to Printonic, your all-in-one print-on-demand platform designed to help creators, brands, and entrepreneurs launch products quickly and scale effortlessly.
This guide walks you through every step of the setup process, from signing up to publishing products, managing orders, branding your shipments, and getting paid.
Whether you're an Etsy seller, Shopify merchant, or building your own standalone store, this tutorial will help you get fully operational in minutes.
1. How to Sign Up for Printonic
Getting started is fast and simple.
Steps:
- Go to https://printonic.com
- Click Register for free in the top-right corner.
- Enter your:
- Name
- Email address
- Password
- Click Create Account
Once logged in, you'll land on your Printonic dashboard—your command center for stores, products, orders, branding, billing, and more.
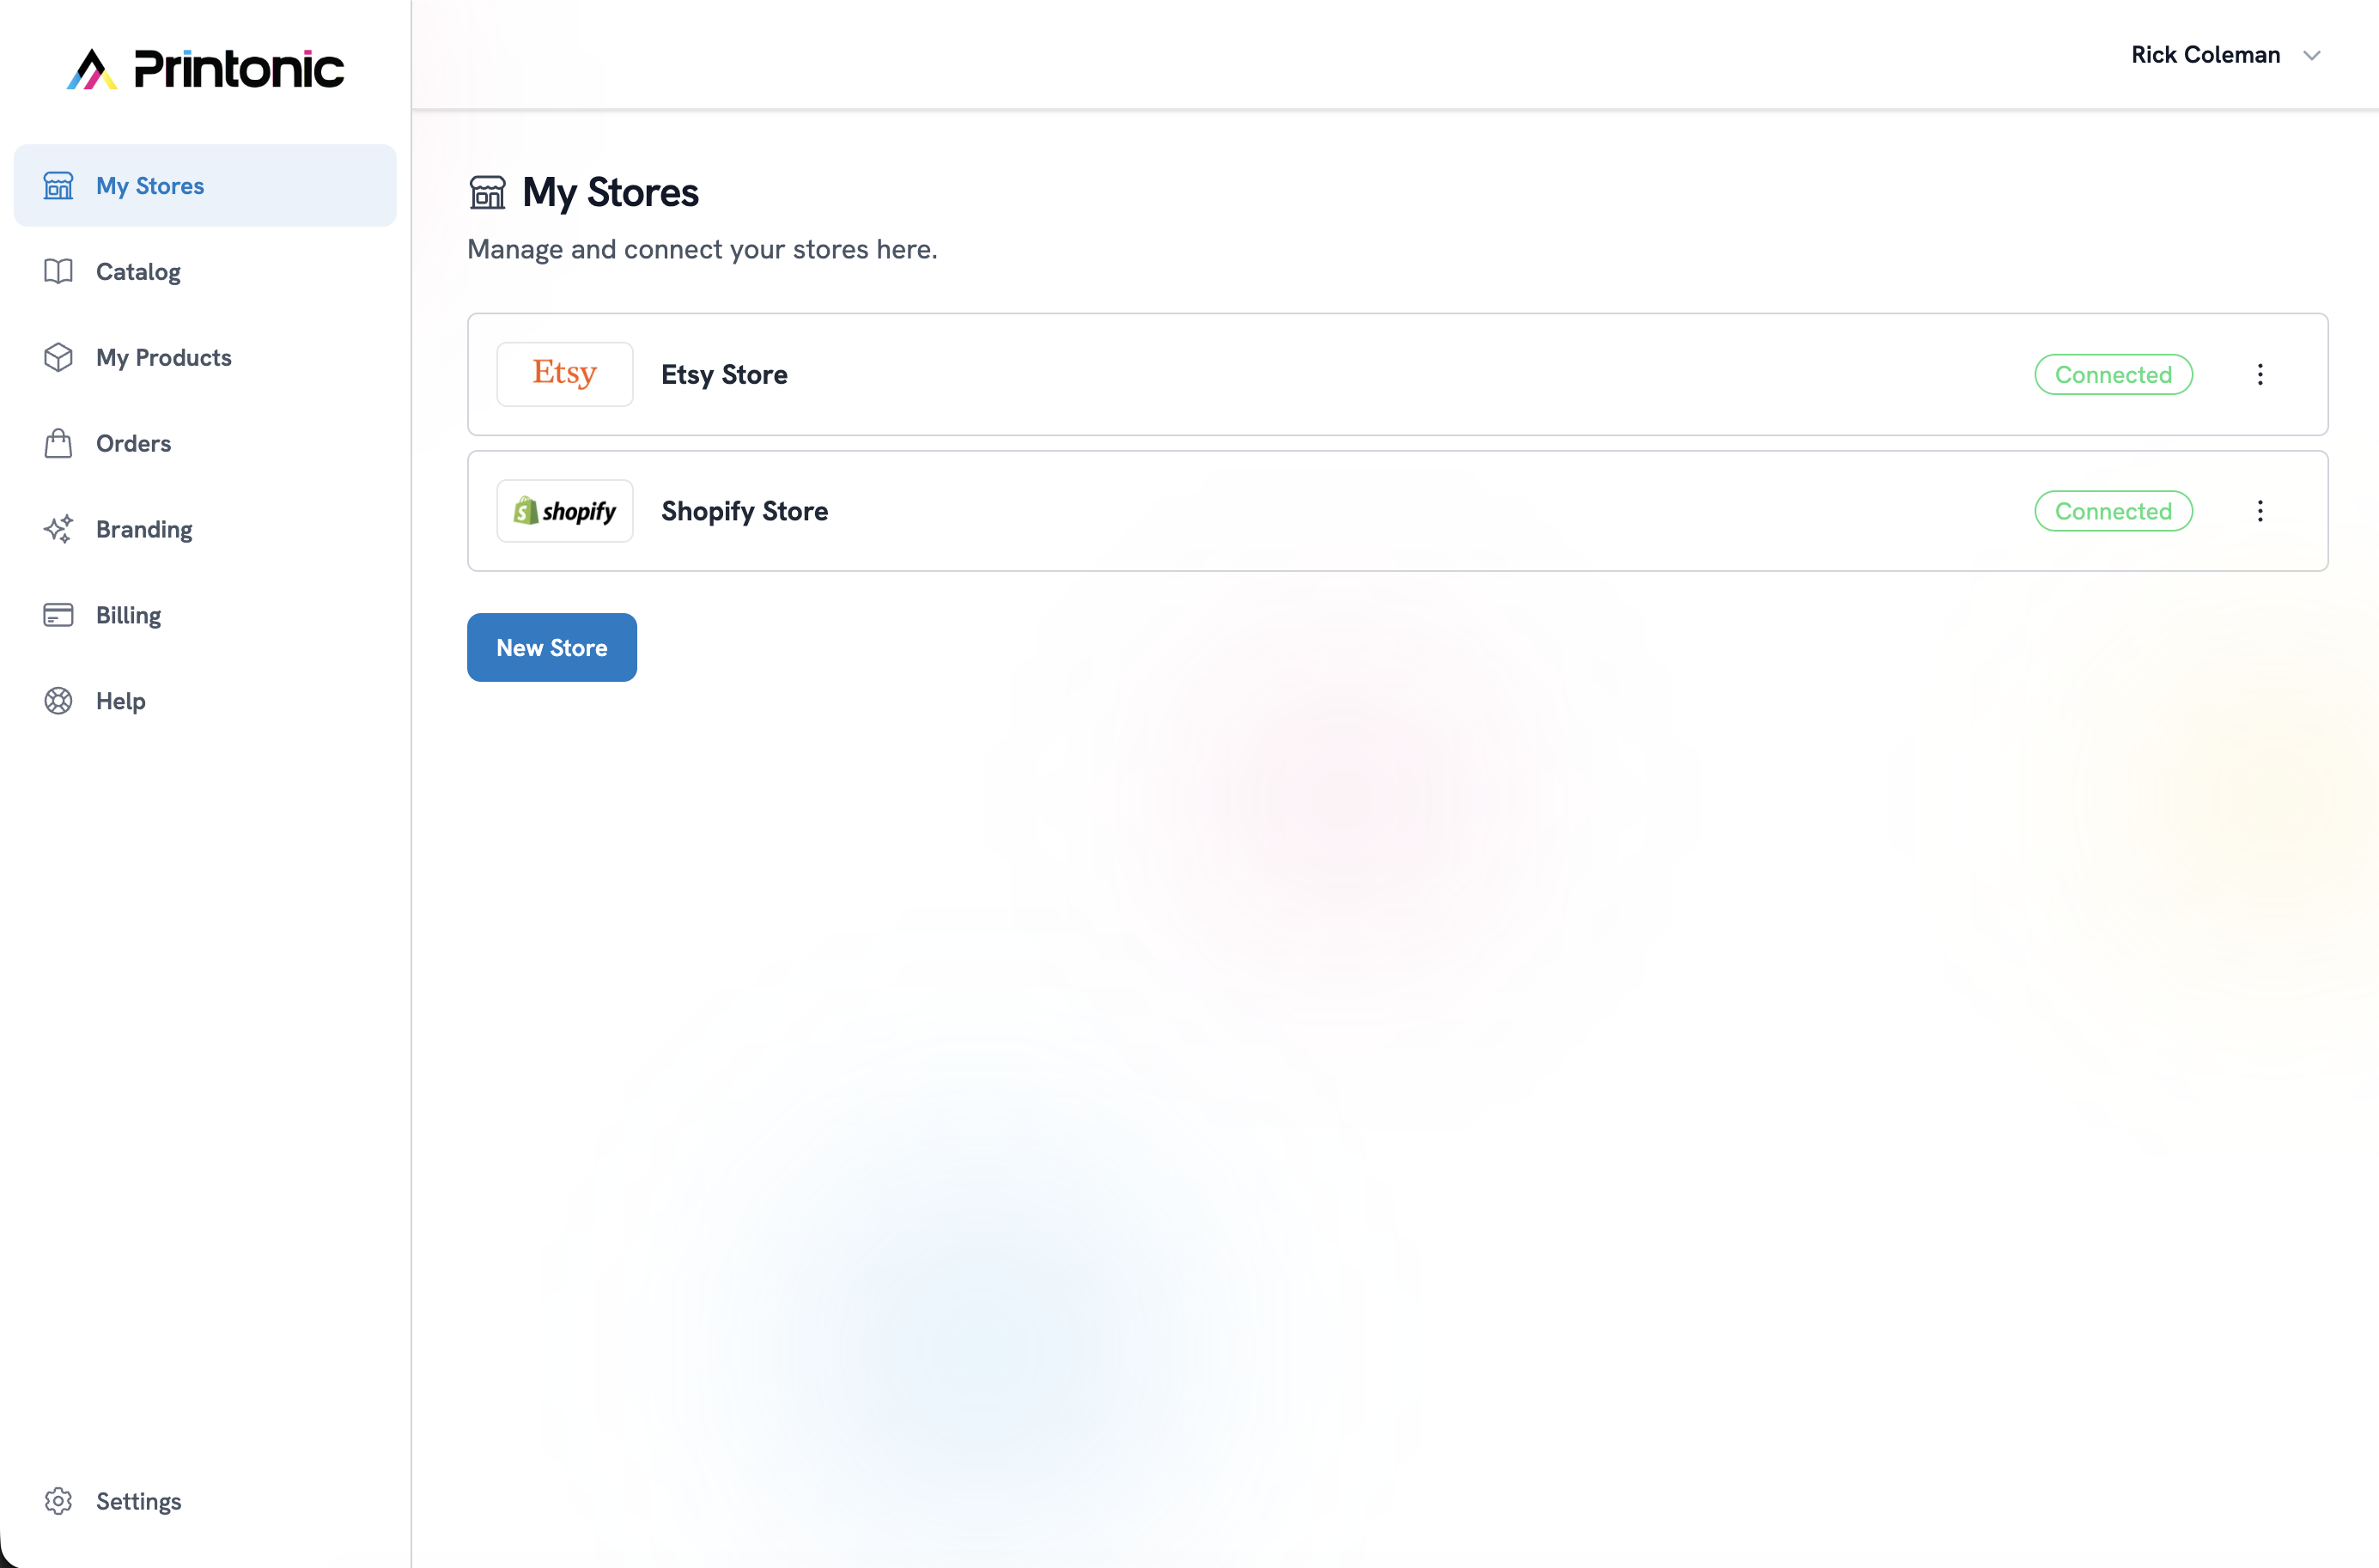
2. How to Connect a Store in the "My Stores" Section
The next step is connecting your Etsy or Shopify store so your Printonic products can publish automatically and receive orders.
Where to find it:
- In your left sidebar, click My Stores
Connecting a store:
- Click New Store
- Choose your store type:
- Etsy
- Shopify
- Enter a Store Name (This is for your reference only — customers will not see it.)
- Click Connect Store
- Complete the authorization pop-up:
- Etsy: Approve permissions
- Shopify: Install the Printonic app
Once connected, the store will appear with a Connected badge.
![]()
Store Actions Available
- Edit — change the internal store name
- Disconnect — temporarily disable syncing
- Delete — permanently remove the store and all linked Printonic products
3. How to Browse the Catalog & Add a Product
Printonic offers a curated catalog of candles, gift sets, drinkware, apparel, and more. To add a product:
1. Open the catalog
- Click Catalog in the sidebar.
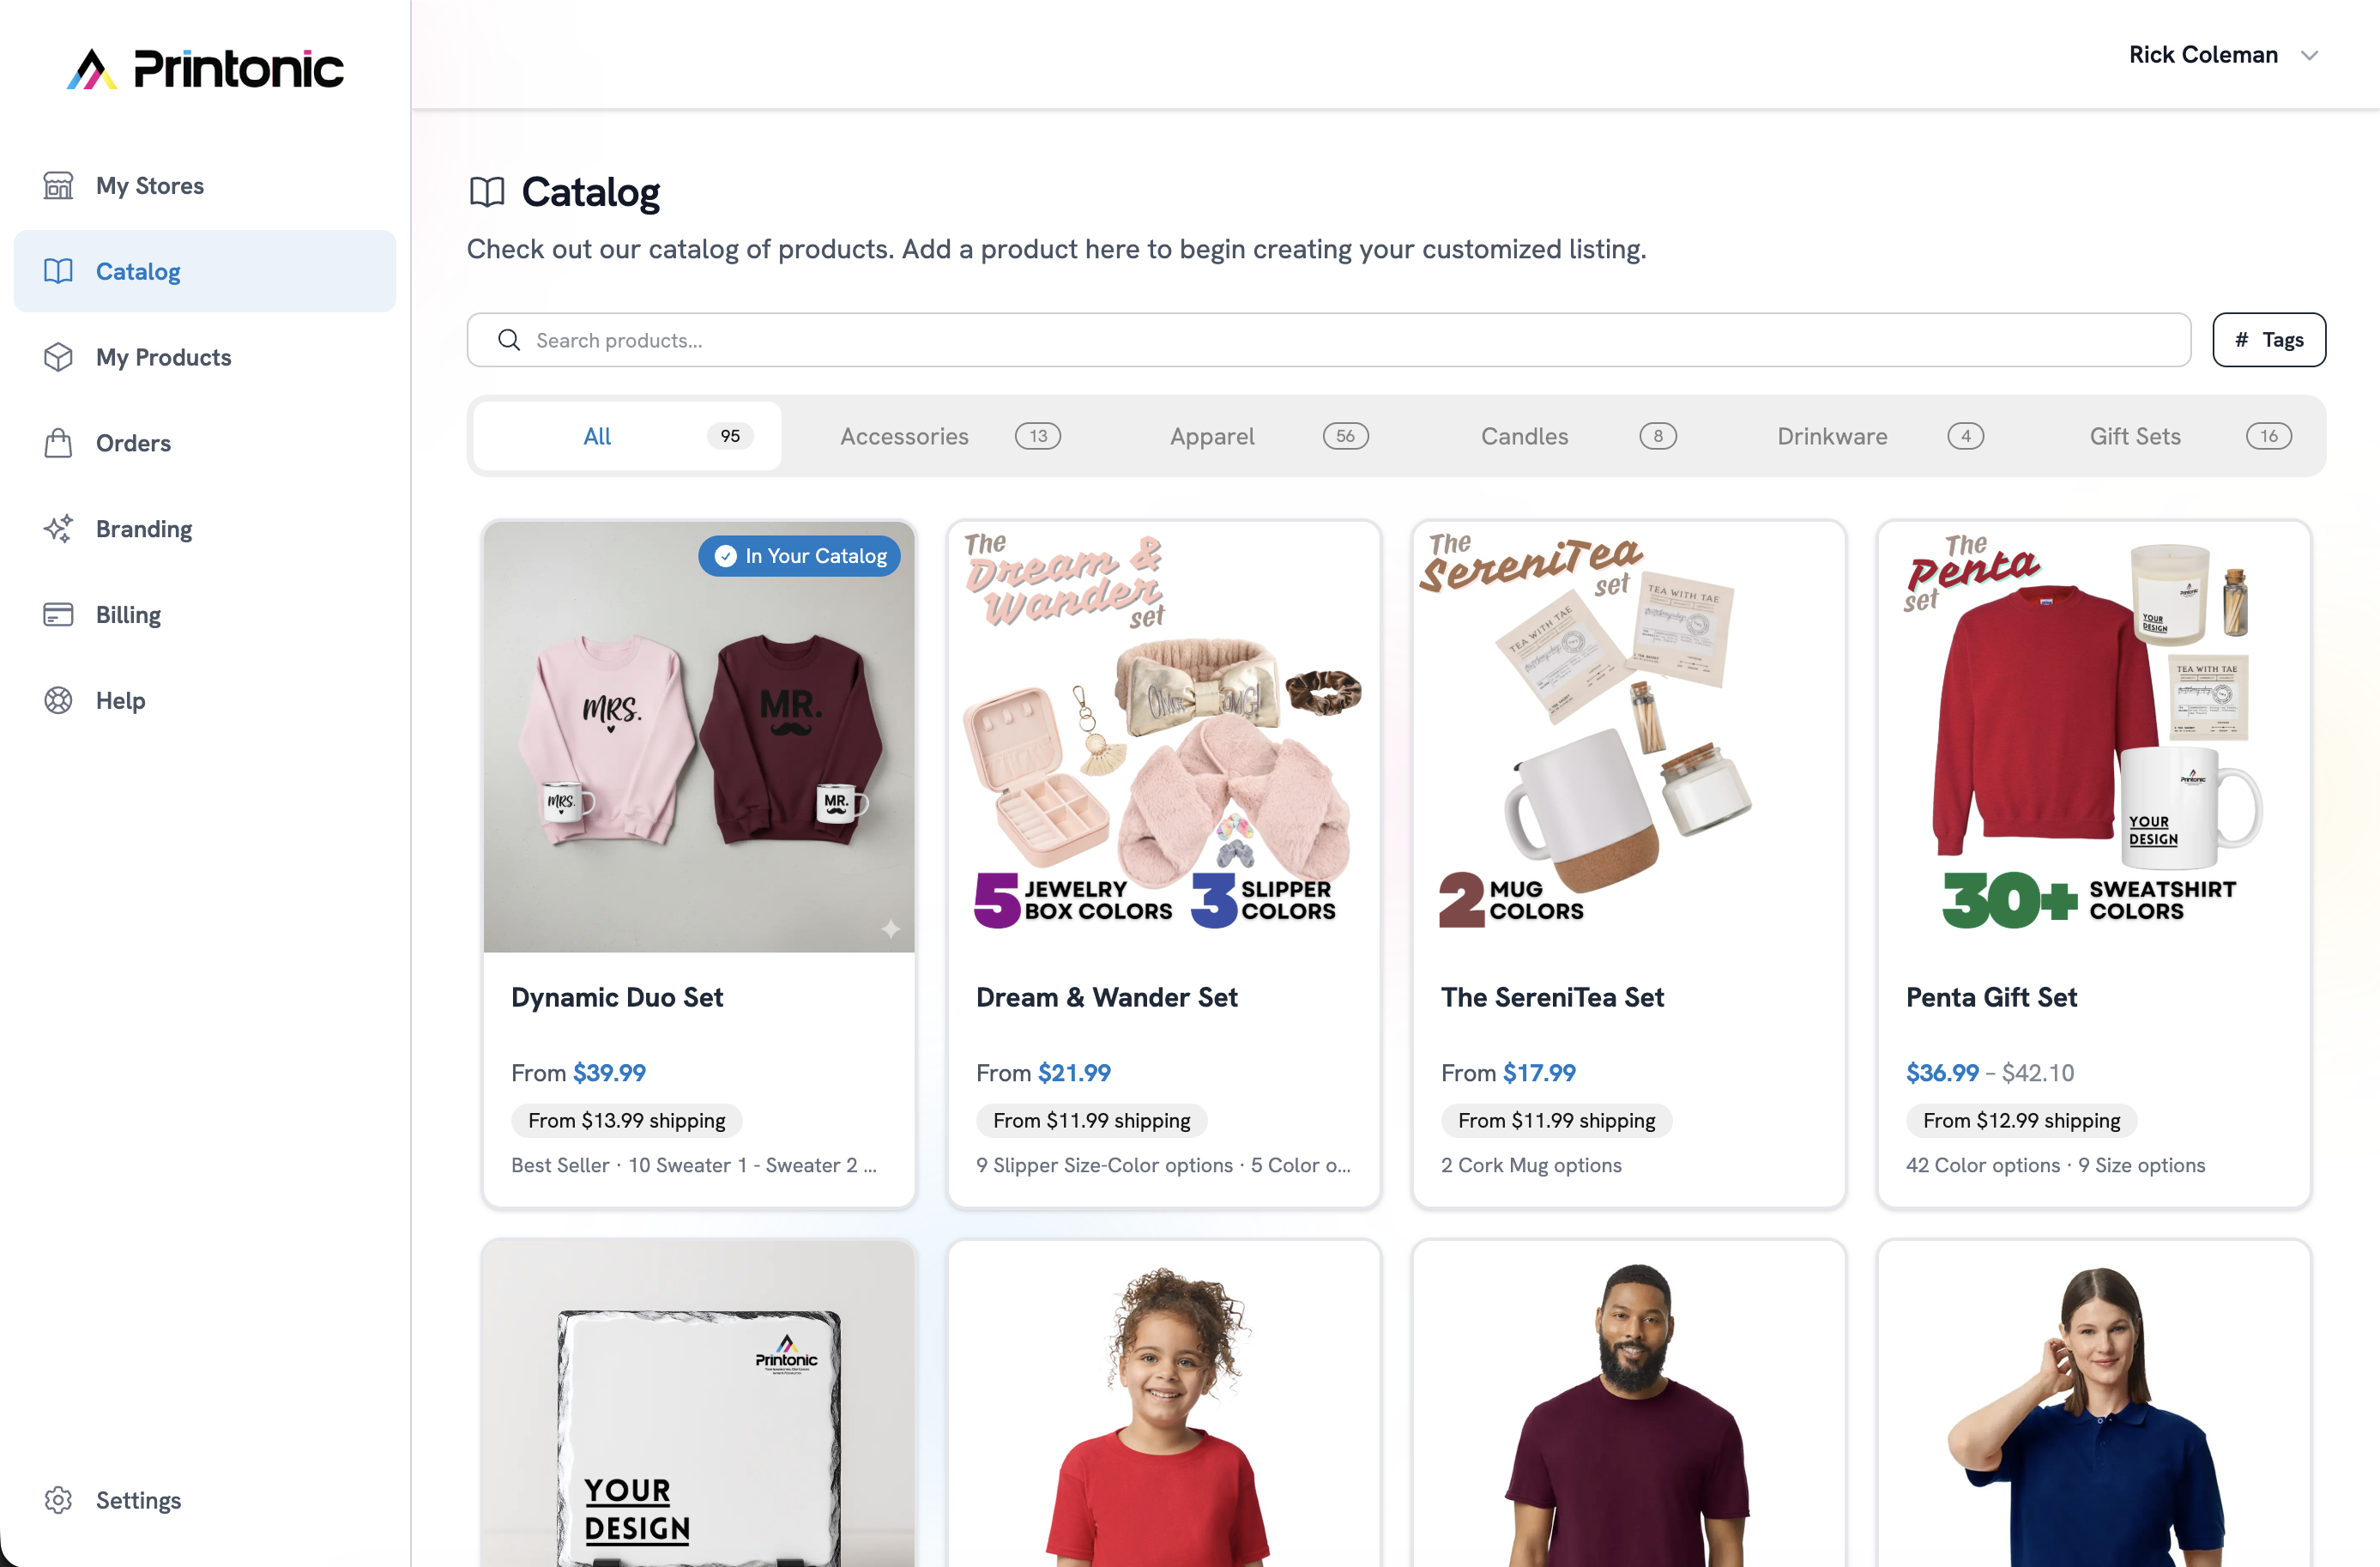
2. Browse & choose a product
Scroll through or search product categories.
Click Add Product on the item you want to customize.
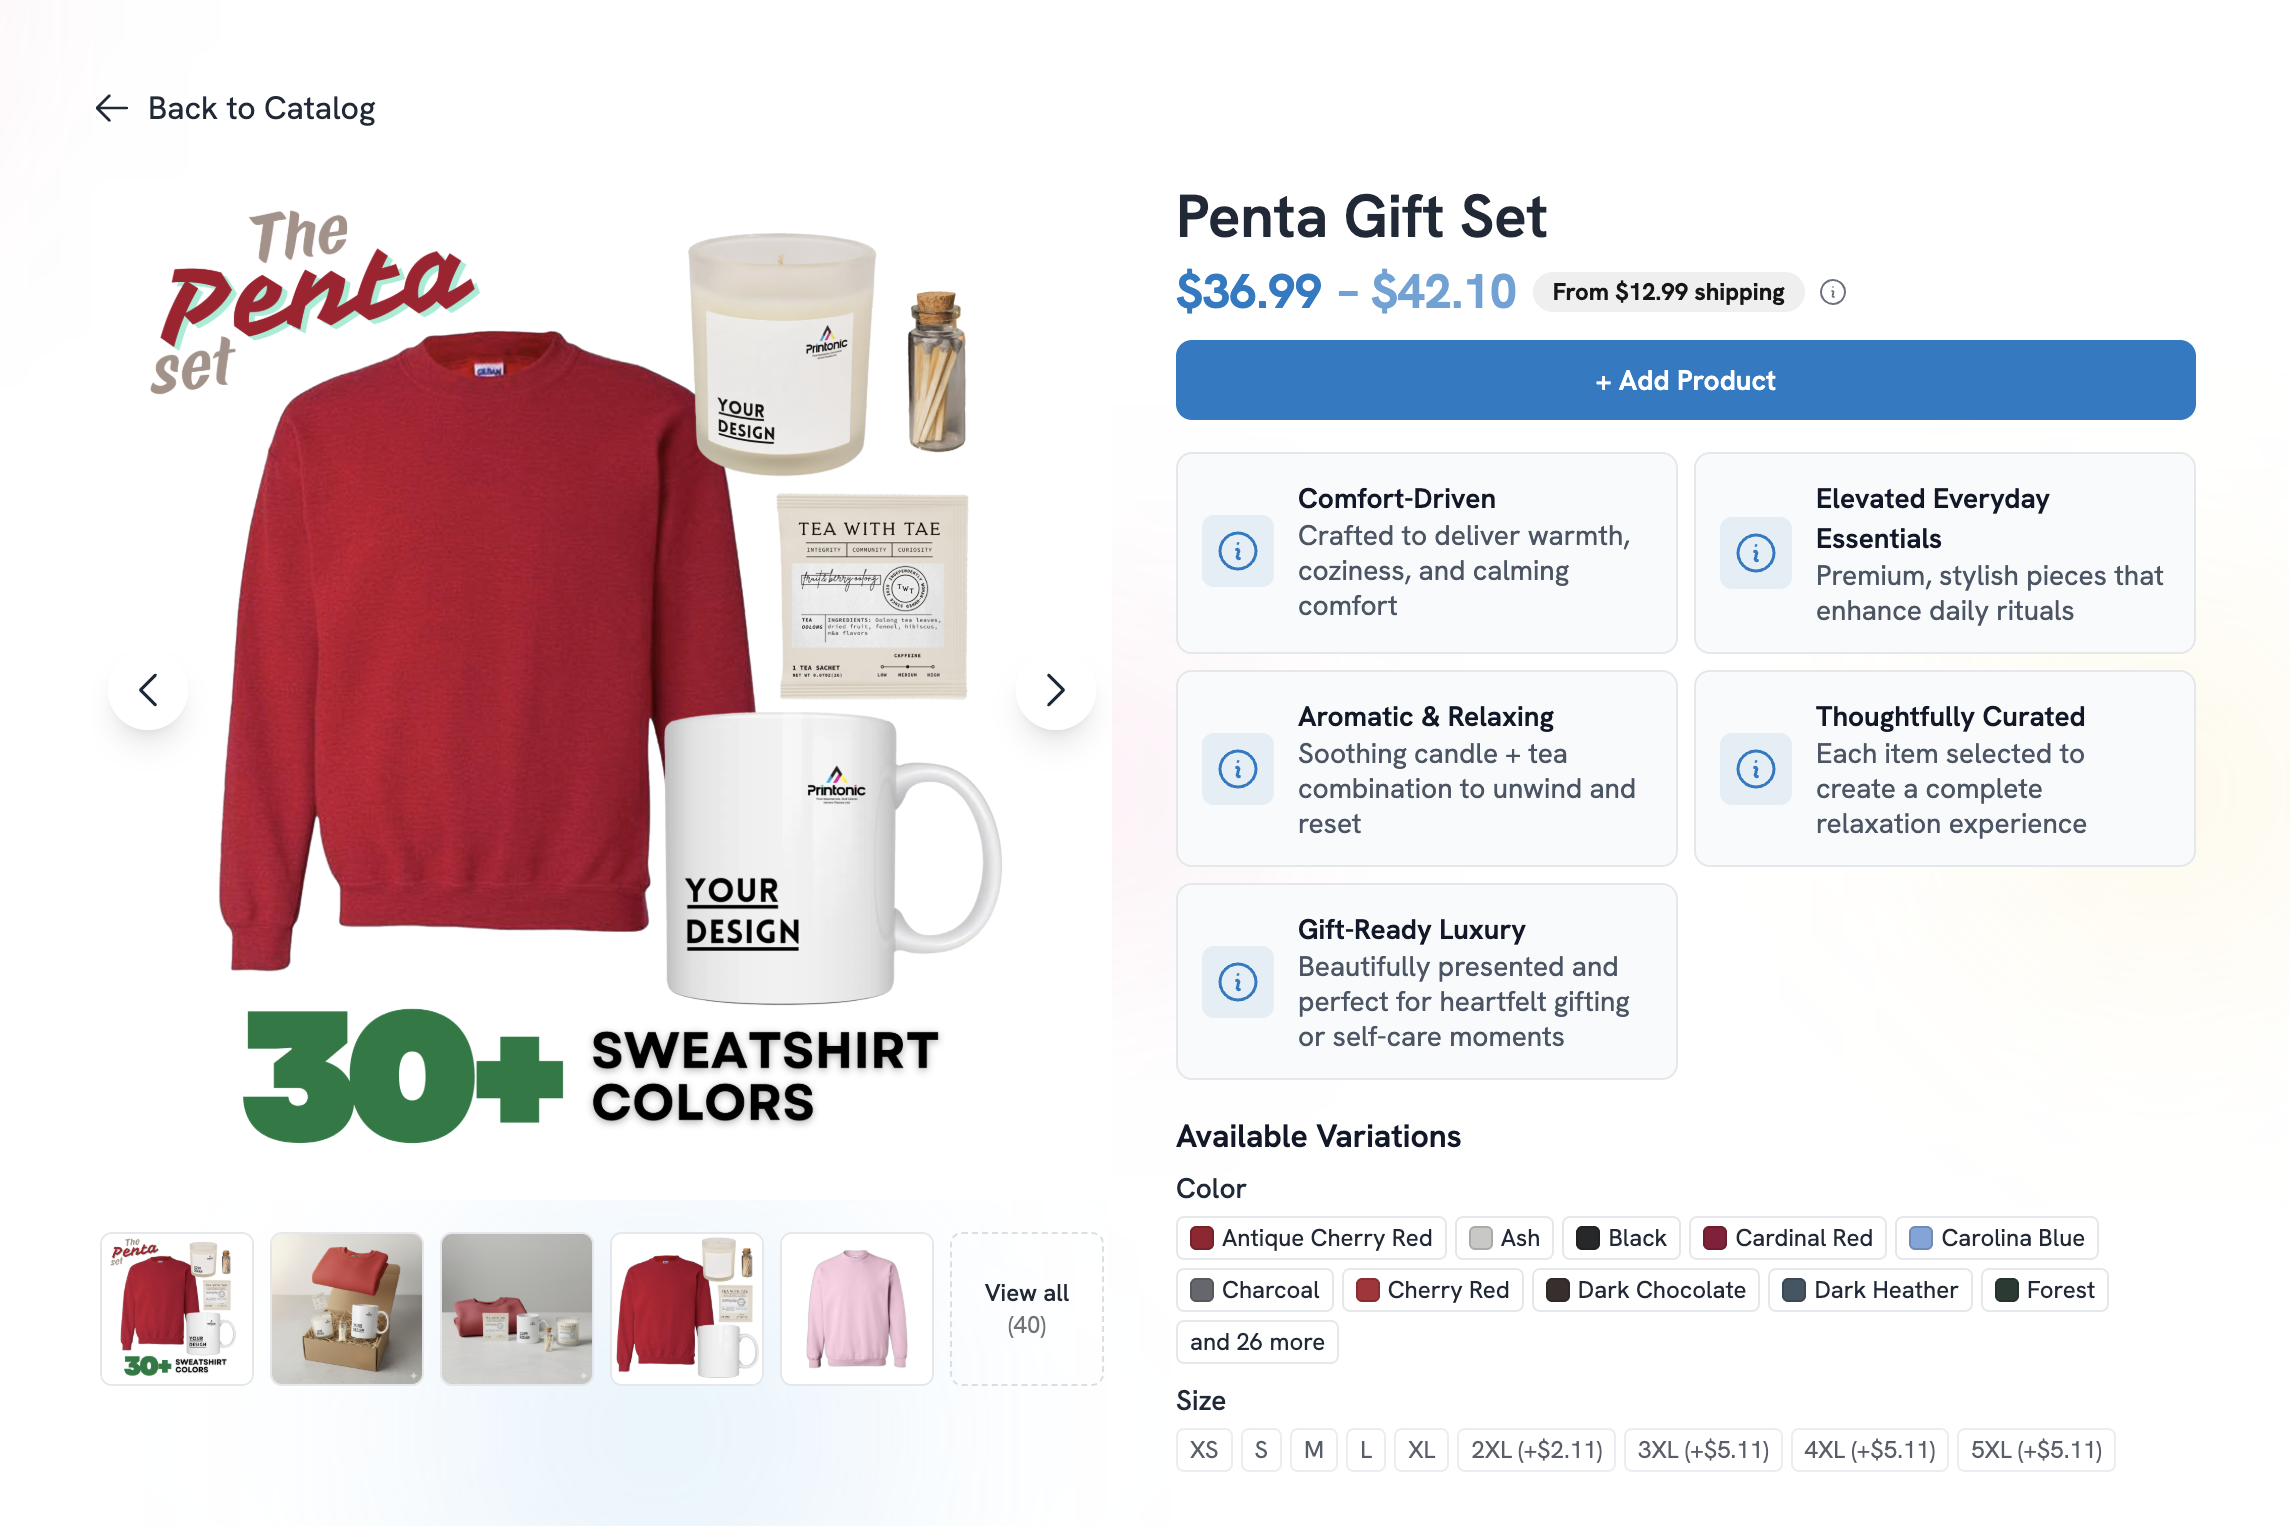
3. Complete the product setup flow
You'll be taken to the product builder.
Inside the builder, you'll go through the following steps:
Step A — Variations
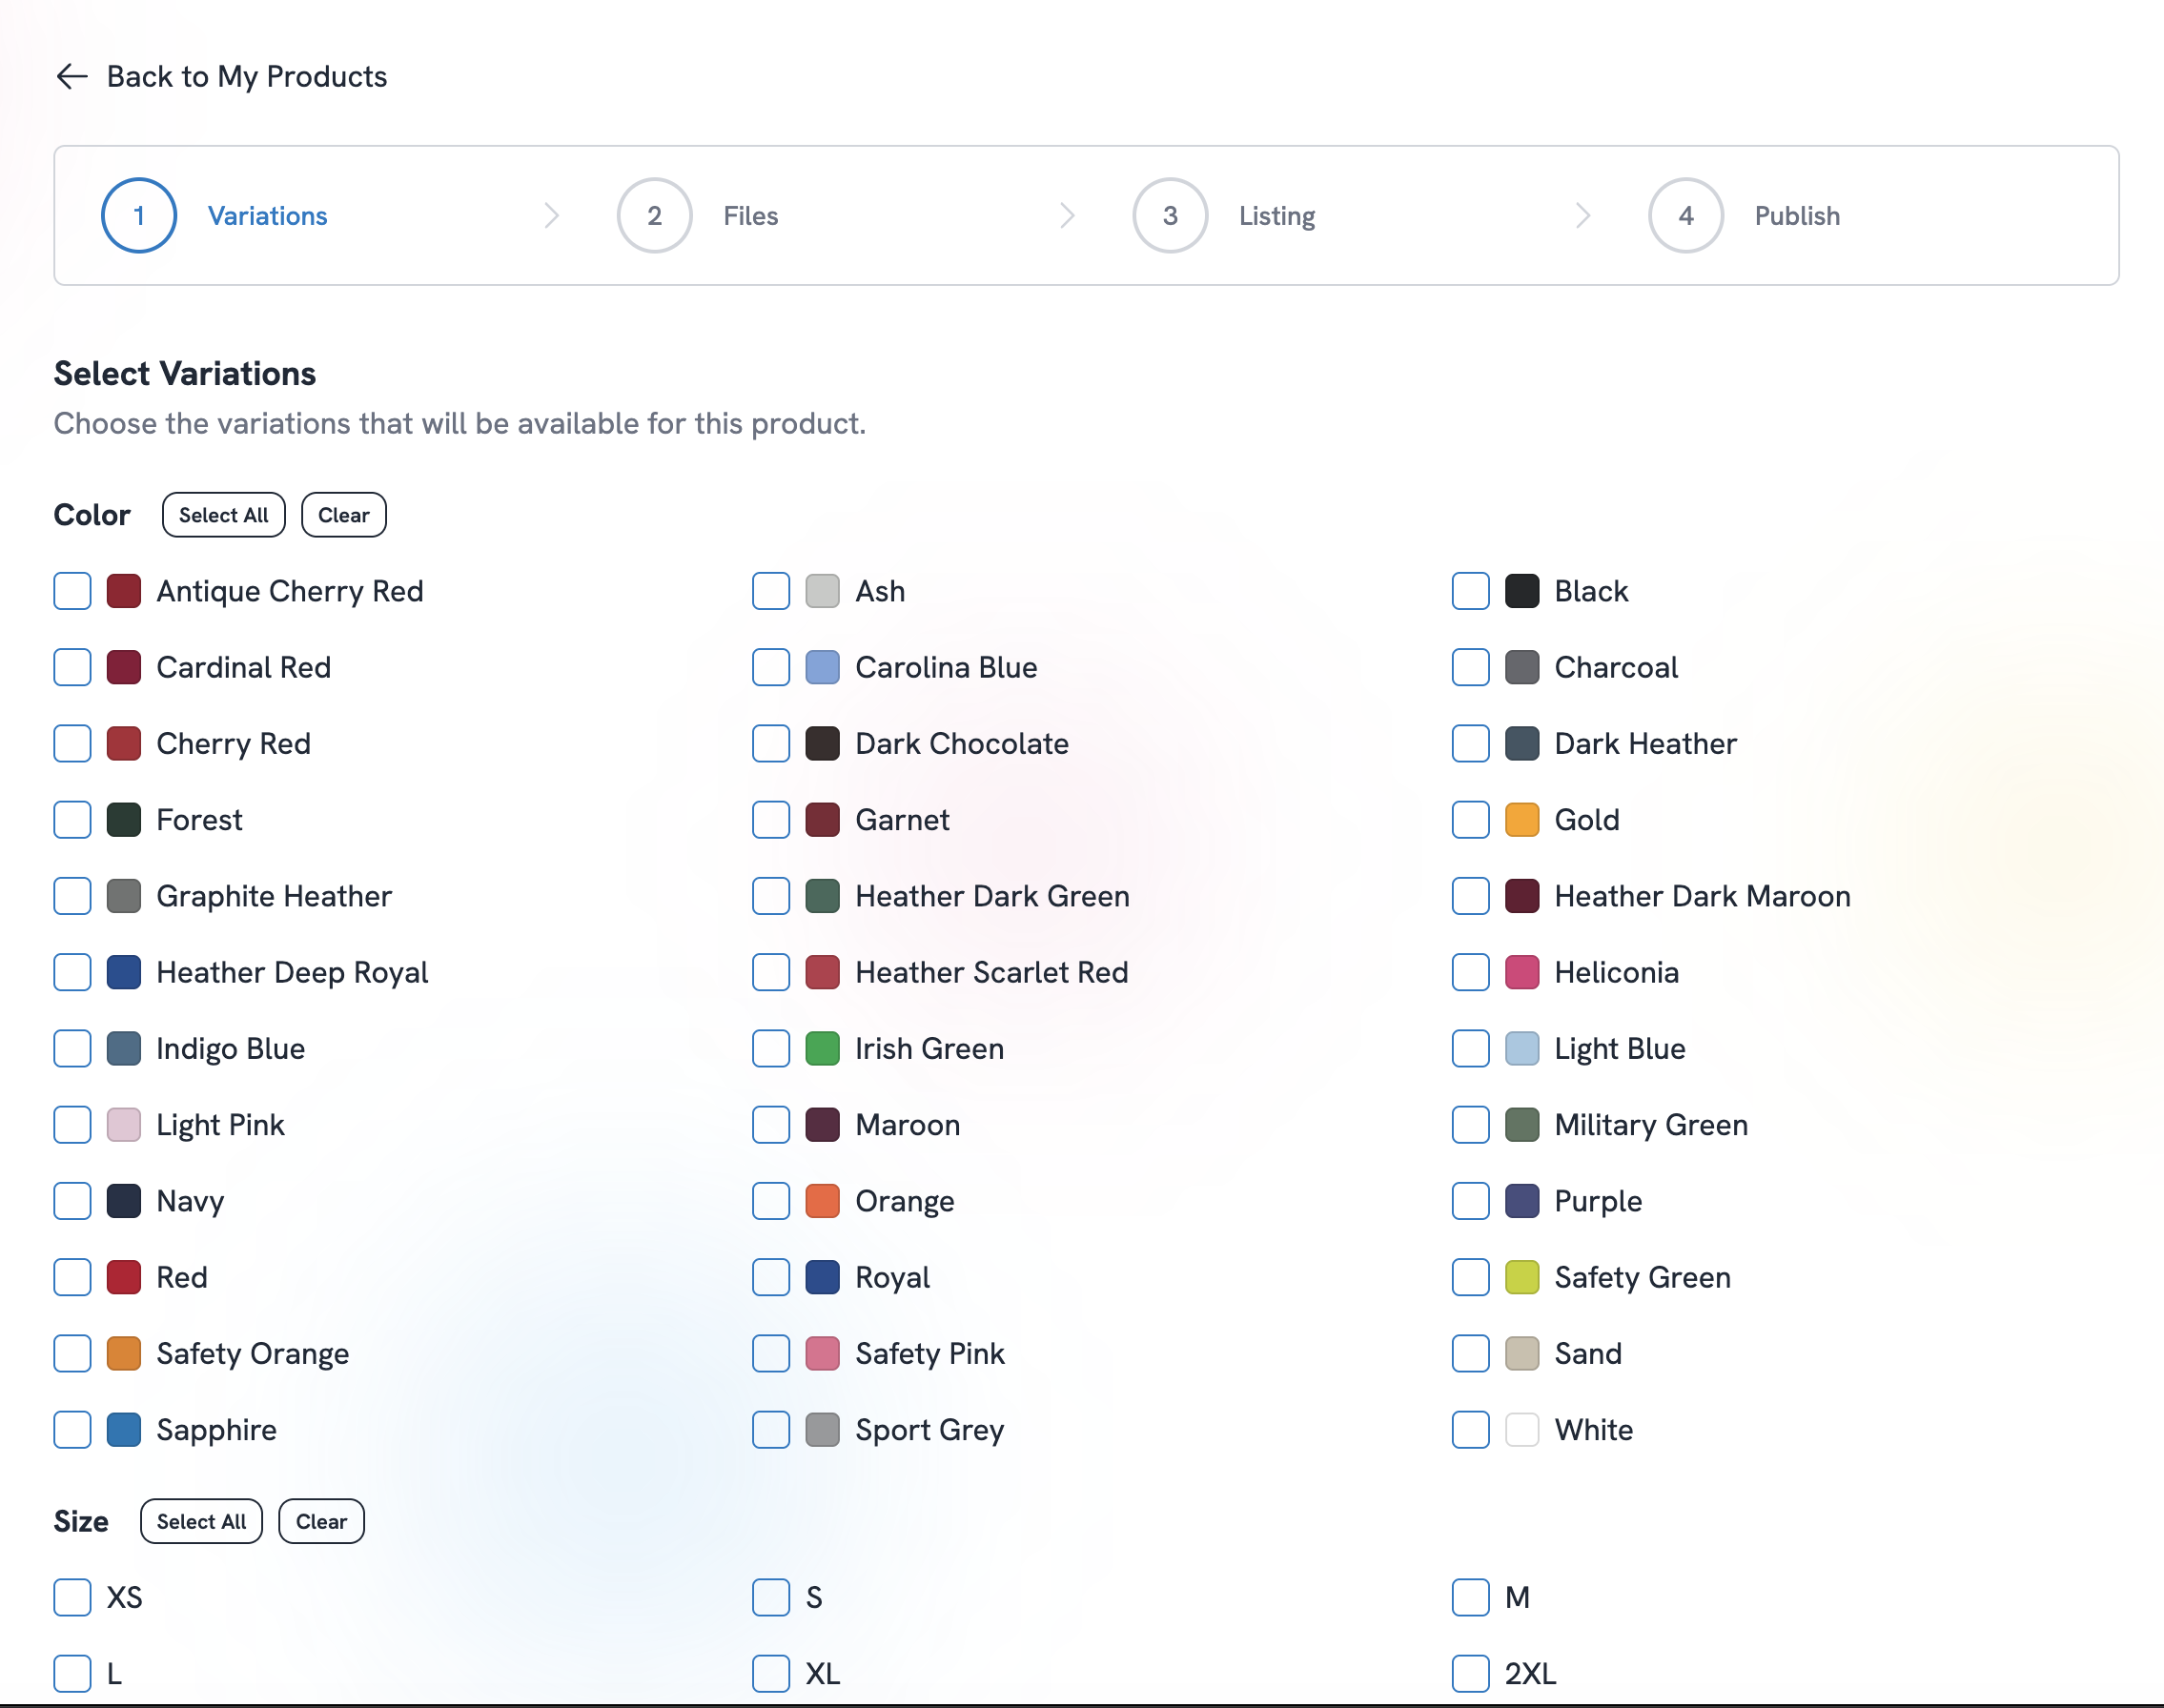
Depending on the product, select:
- Color
- Size
- Scent
- Style
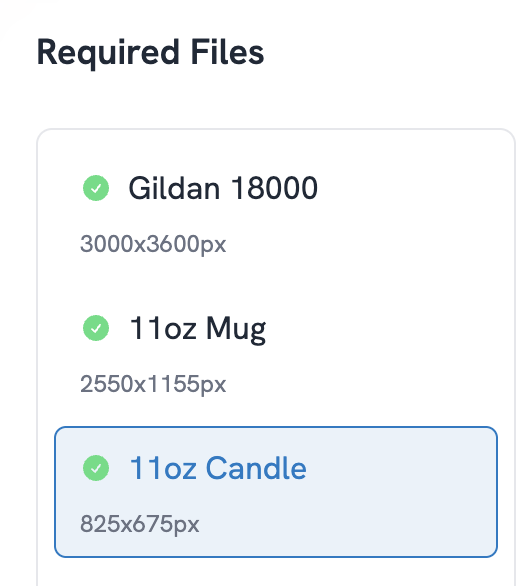
Step B — Files
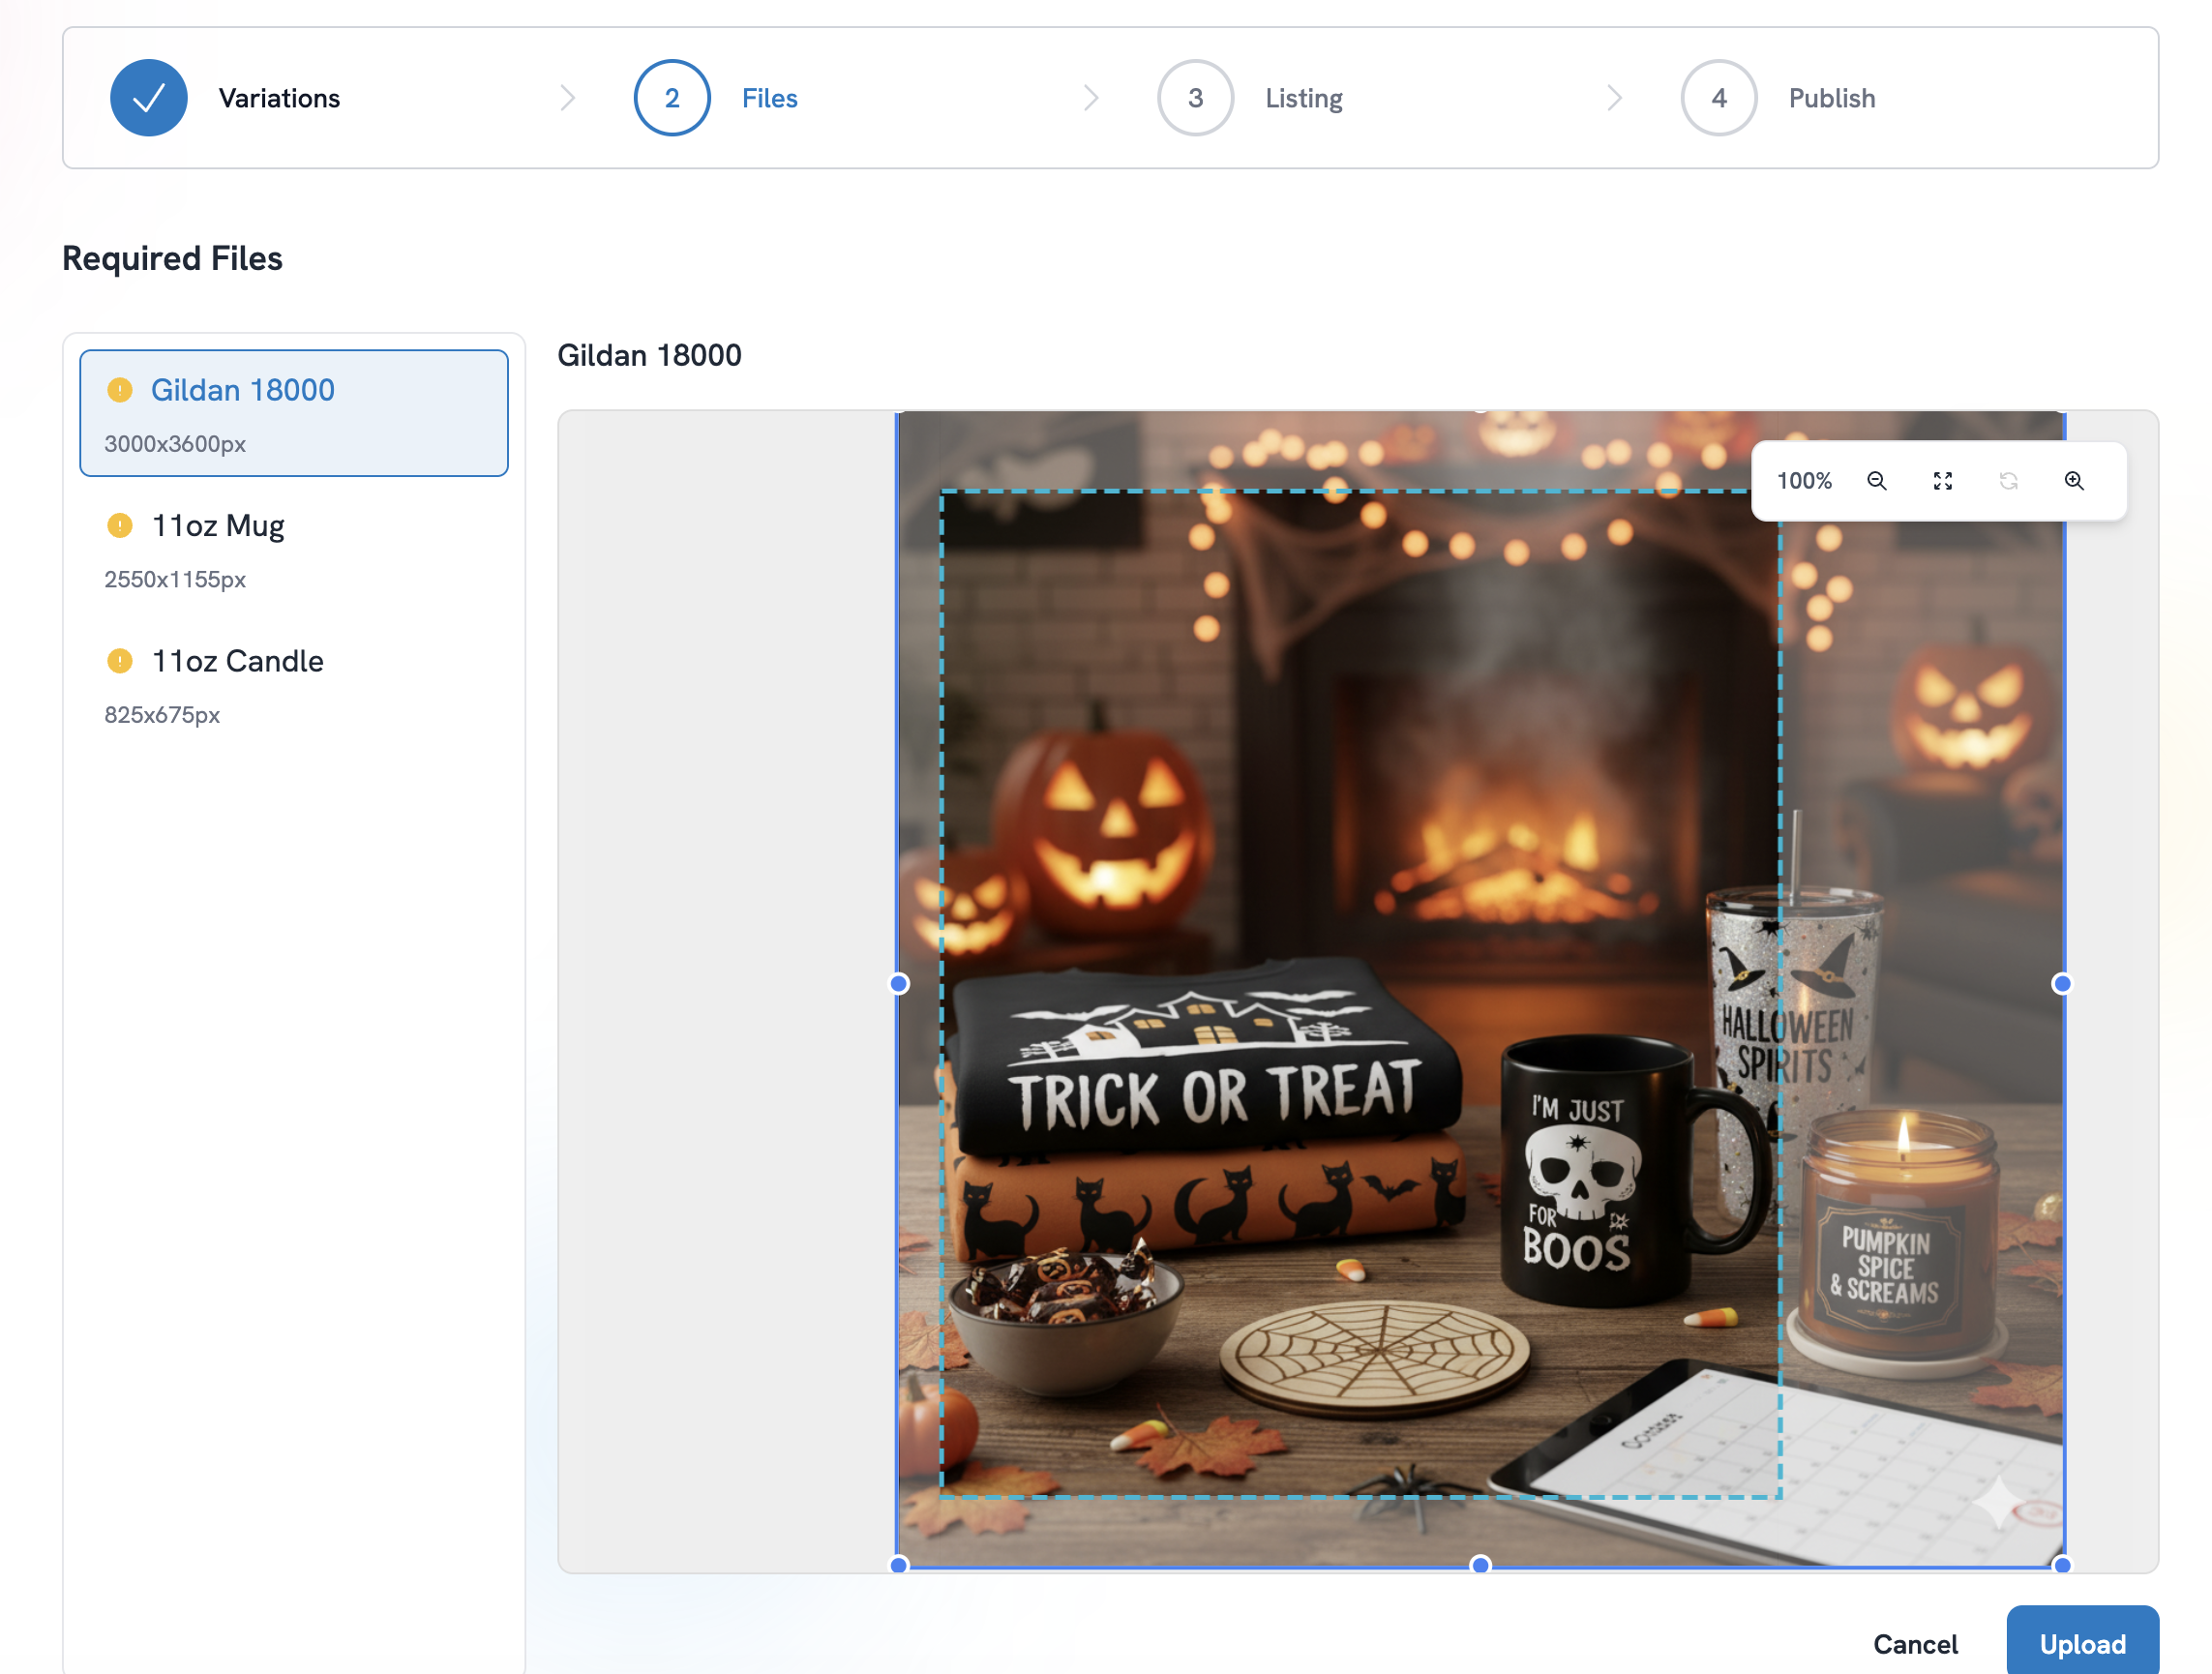
Upload your design file(s).
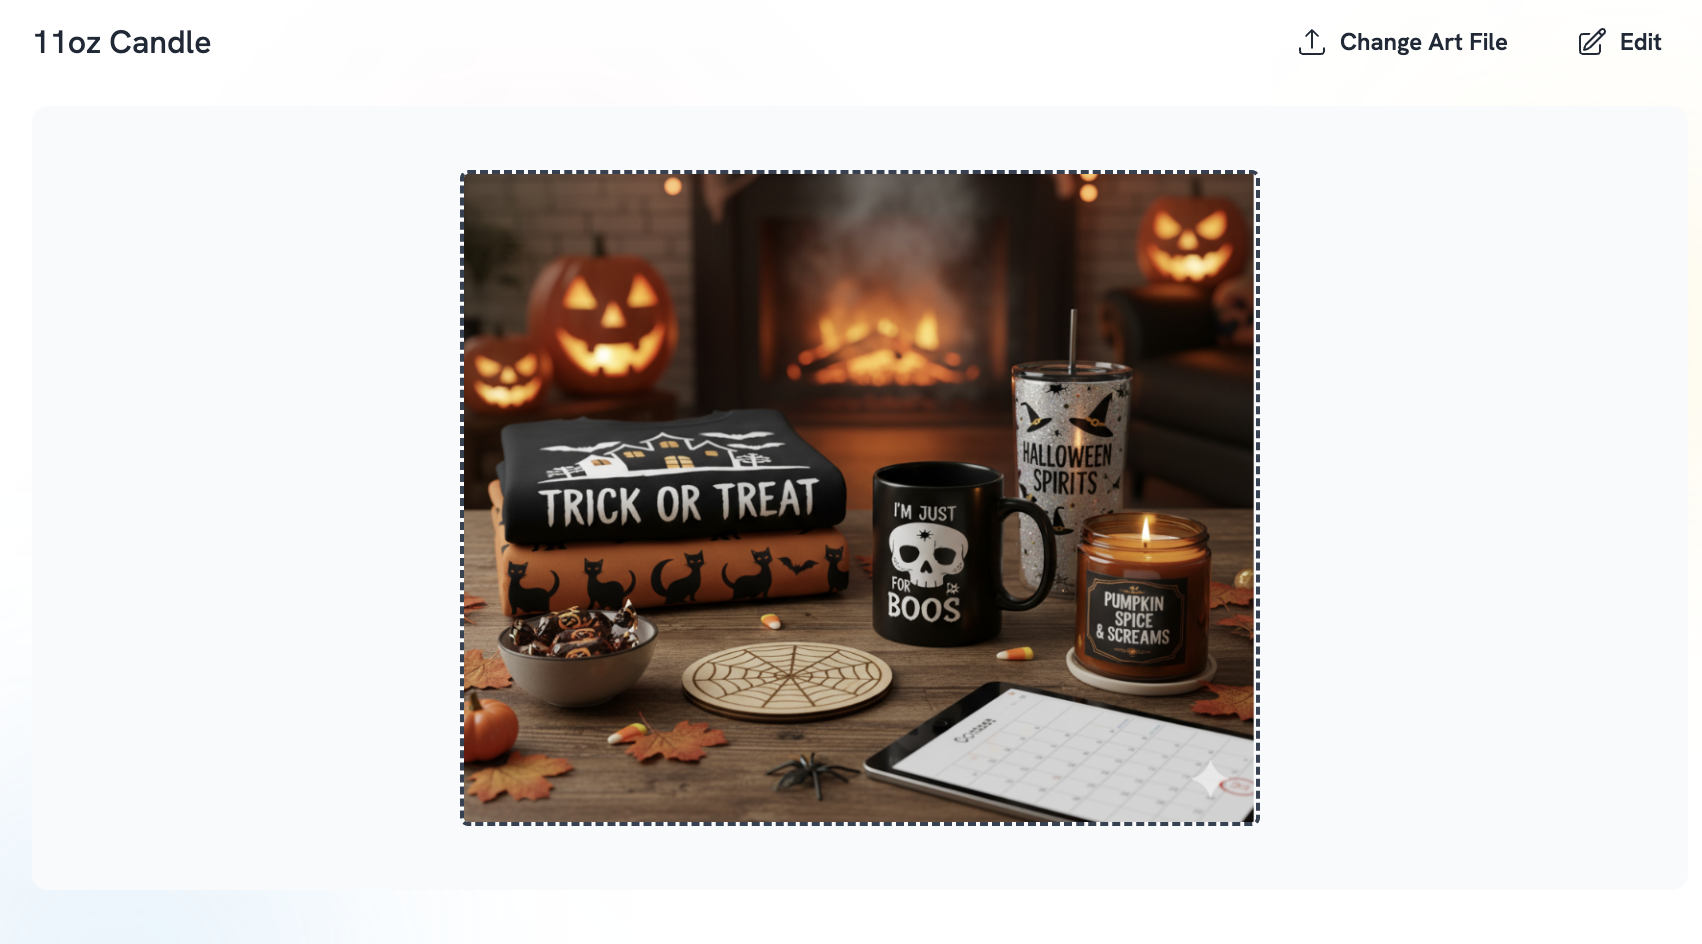
- Select the product from the required files list
- Select your art file and move it in the canvas. You have an option to Change Art File or Edit.
-
Click Upload and wait for a few moments for your art to show.
-
Once all required art is uploaded, click Continue to move to the Listing step
Step C — Listing
Set:
- Listing Title
- Listing Description (for your marketplace listing)
- Tags
Step D — Pricing
Printonic's new pricing interface makes it easy to set competitive prices and understand your profit margins across all product variations.
The pricing section has two views:
Quick Overview Tab
This tab gives you a high-level summary of your pricing strategy:
- See your minimum, maximum, and average prices across all variants
- View profit margins and base costs at a glance
- Quickly adjust pricing for all variants at once
- Understand your overall pricing structure without getting into the details

Detail View Tab
For more granular control, switch to the Detail View:
- See every single variation combination in a table format (color, size, scent, etc.)
- Set individual prices for each variant SKU
- View cost breakdown and profit per variant
- Bulk select and update multiple variants at once
- Filter and sort by variation options

What Printonic shows you:
- Base Cost — How much Printonic charges for production and fulfillment
- Your Price — What you charge customers on your marketplace
- Profit Margin — Your earnings per sale (your price minus base cost)
- Profit % — Your margin as a percentage
Keep in mind that some variations may have different base costs (e.g., larger sizes, different colors), so you can adjust pricing accordingly to maintain your target profit margin.
Step E — Publish
- Review all of your product details and publish to your Etsy or Shopify
- Once published this product will go to your drafts section on your Etsy or Shopify.
Click Publish to push the product to your store automatically.
4. How to Manage Products in the "My Products" Tab
Once you add products, you can view and manage them all in one place.
Where to find it:
- Click My Products
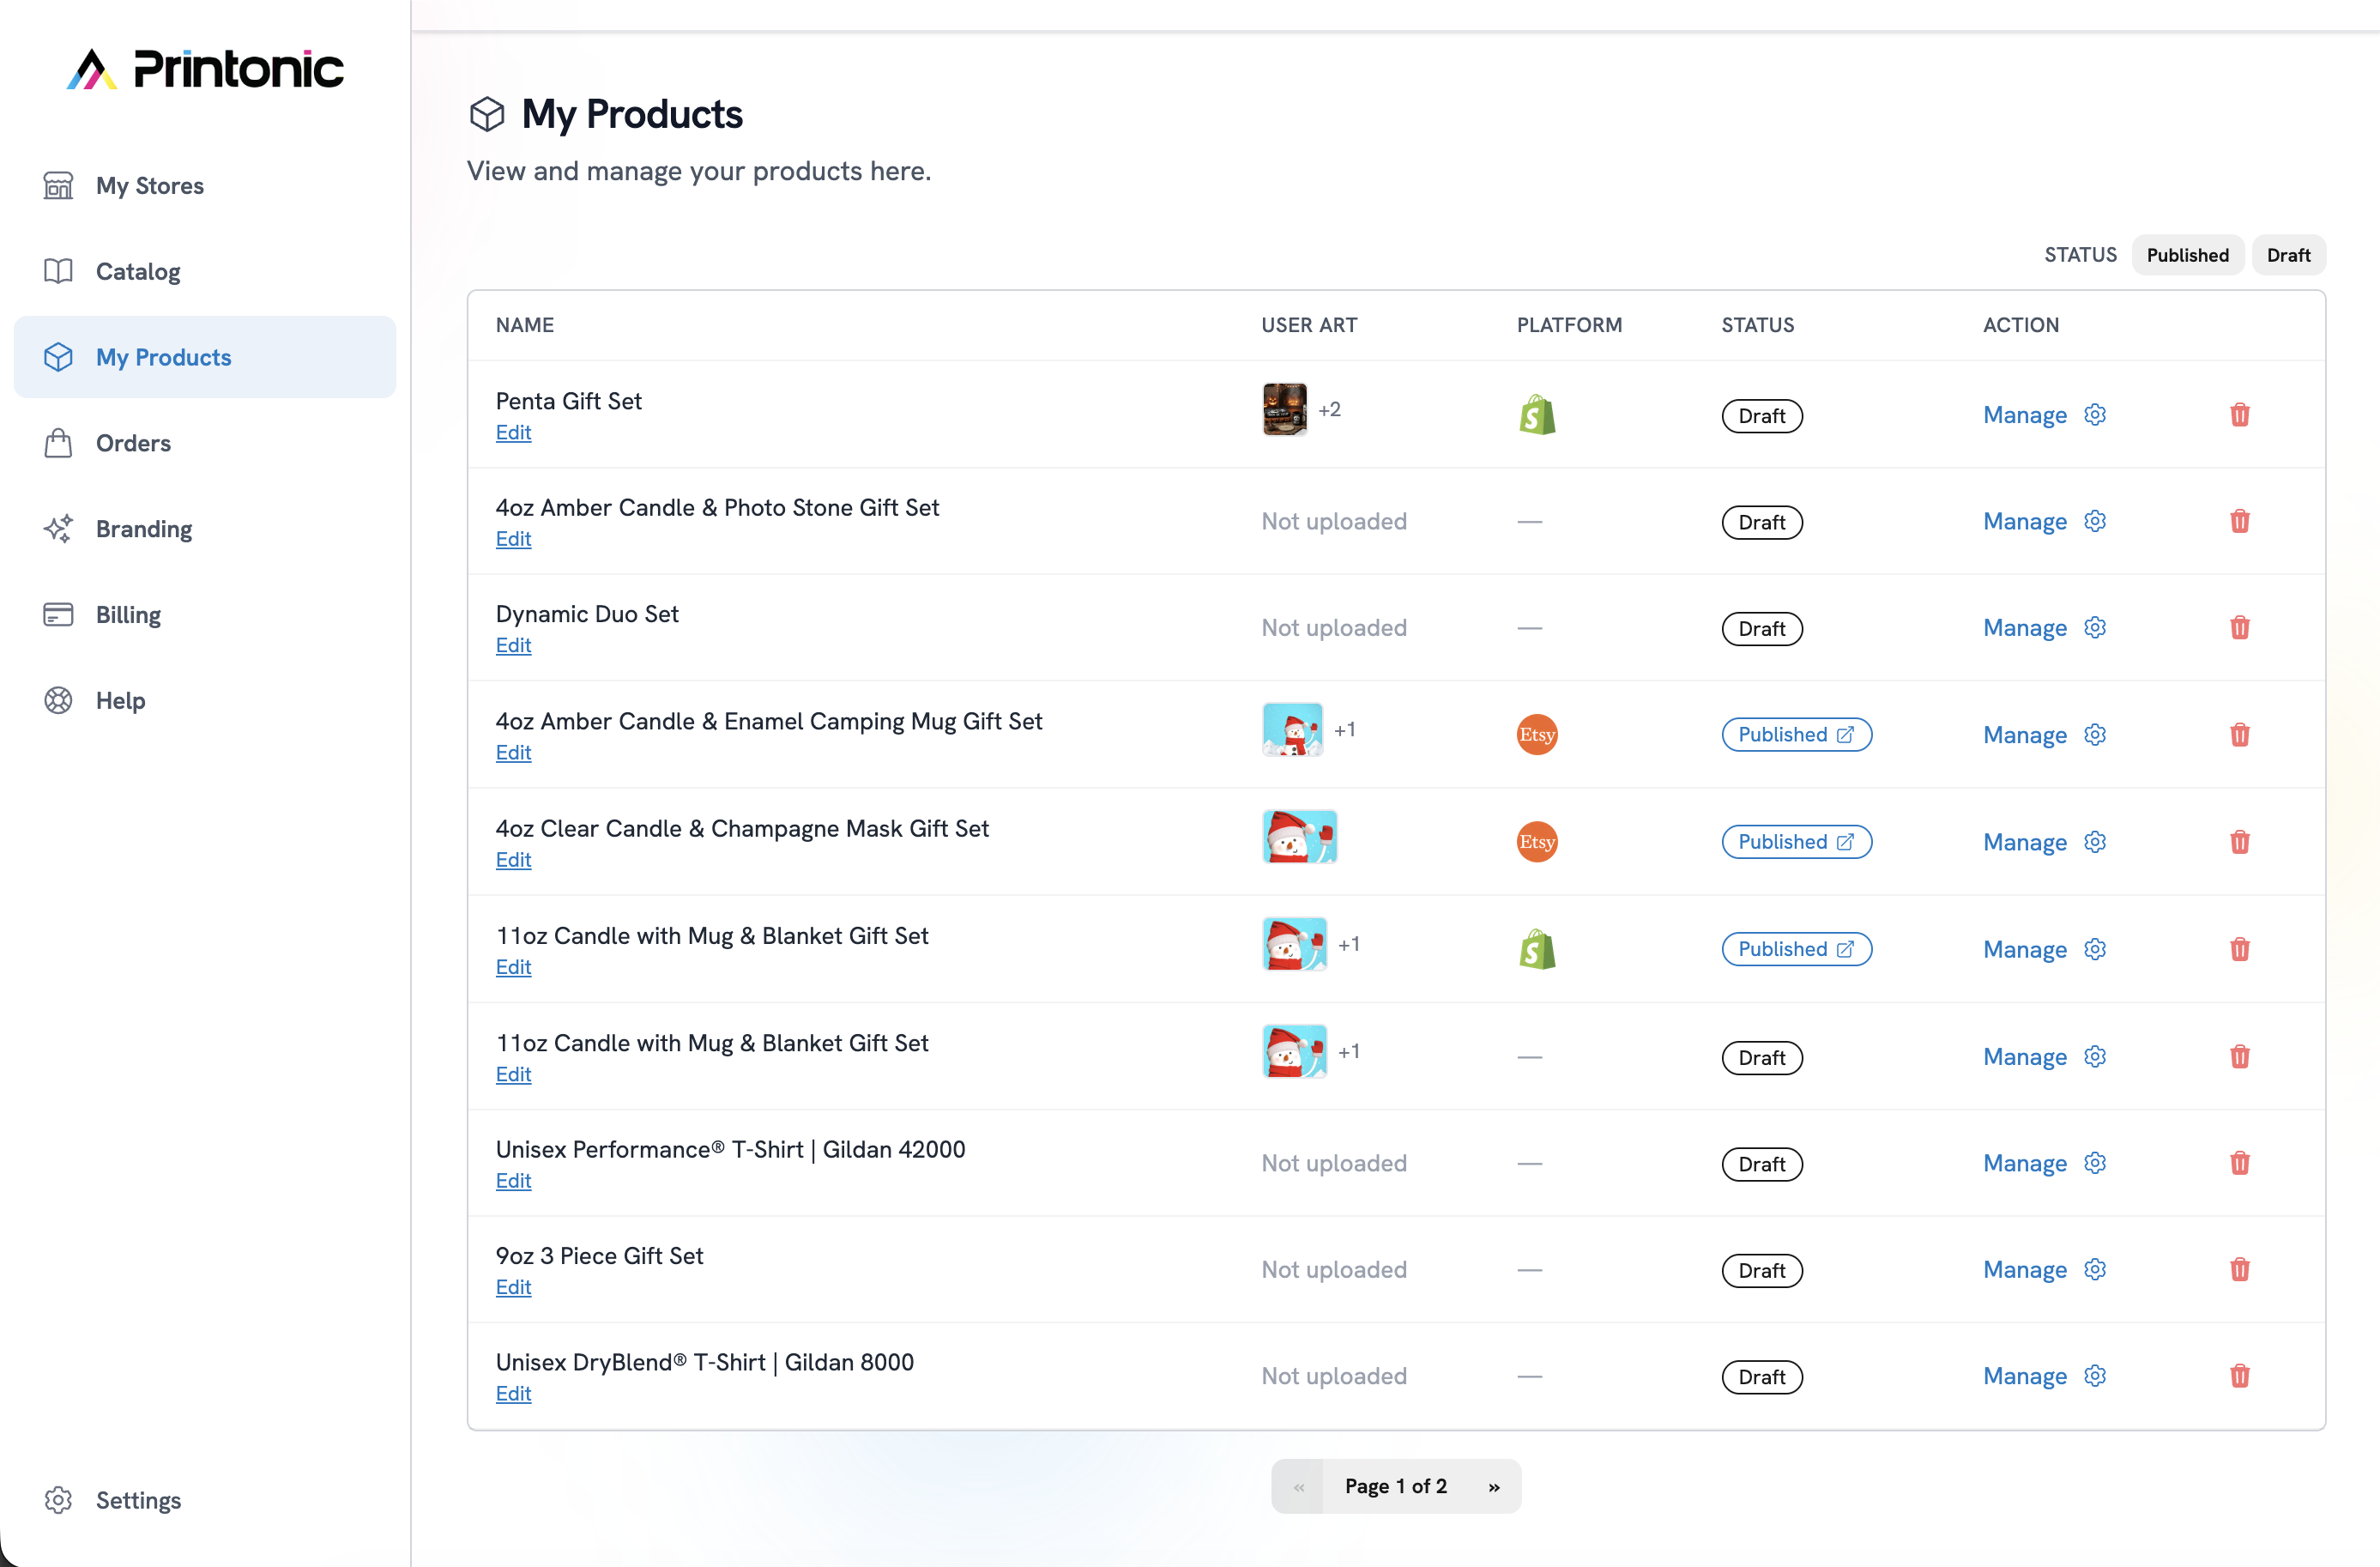
What you can do here:
✔ View Product Status
Each product shows:
- Name
- Artwork
- Platform (Etsy, Shopify, or — if draft)
- Status: Published or Draft
✔ Edit or Manage a Product
Click Manage to:
- Update mockups
- Adjust artwork
- Change pricing using the Quick Overview or Detail View tabs
- Enable/disable variants
Note: Price changes in Printonic do not automatically update your marketplace listing prices. You'll need to manually update pricing on Etsy or Shopify if needed.
✔ Edit Internal Product Name
Click Edit under the product name.
✔ Delete a Product
Click the Trash icon. (This removes it from Printonic only — listings on your marketplace remain unchanged.)
5. How to Use the Orders Tab
The Orders tab is where you can review incoming orders, update details, and send items to fulfillment. Every order coming from your connected stores (Etsy, Shopify, etc.) appears automatically in this section.
Viewing Your Orders
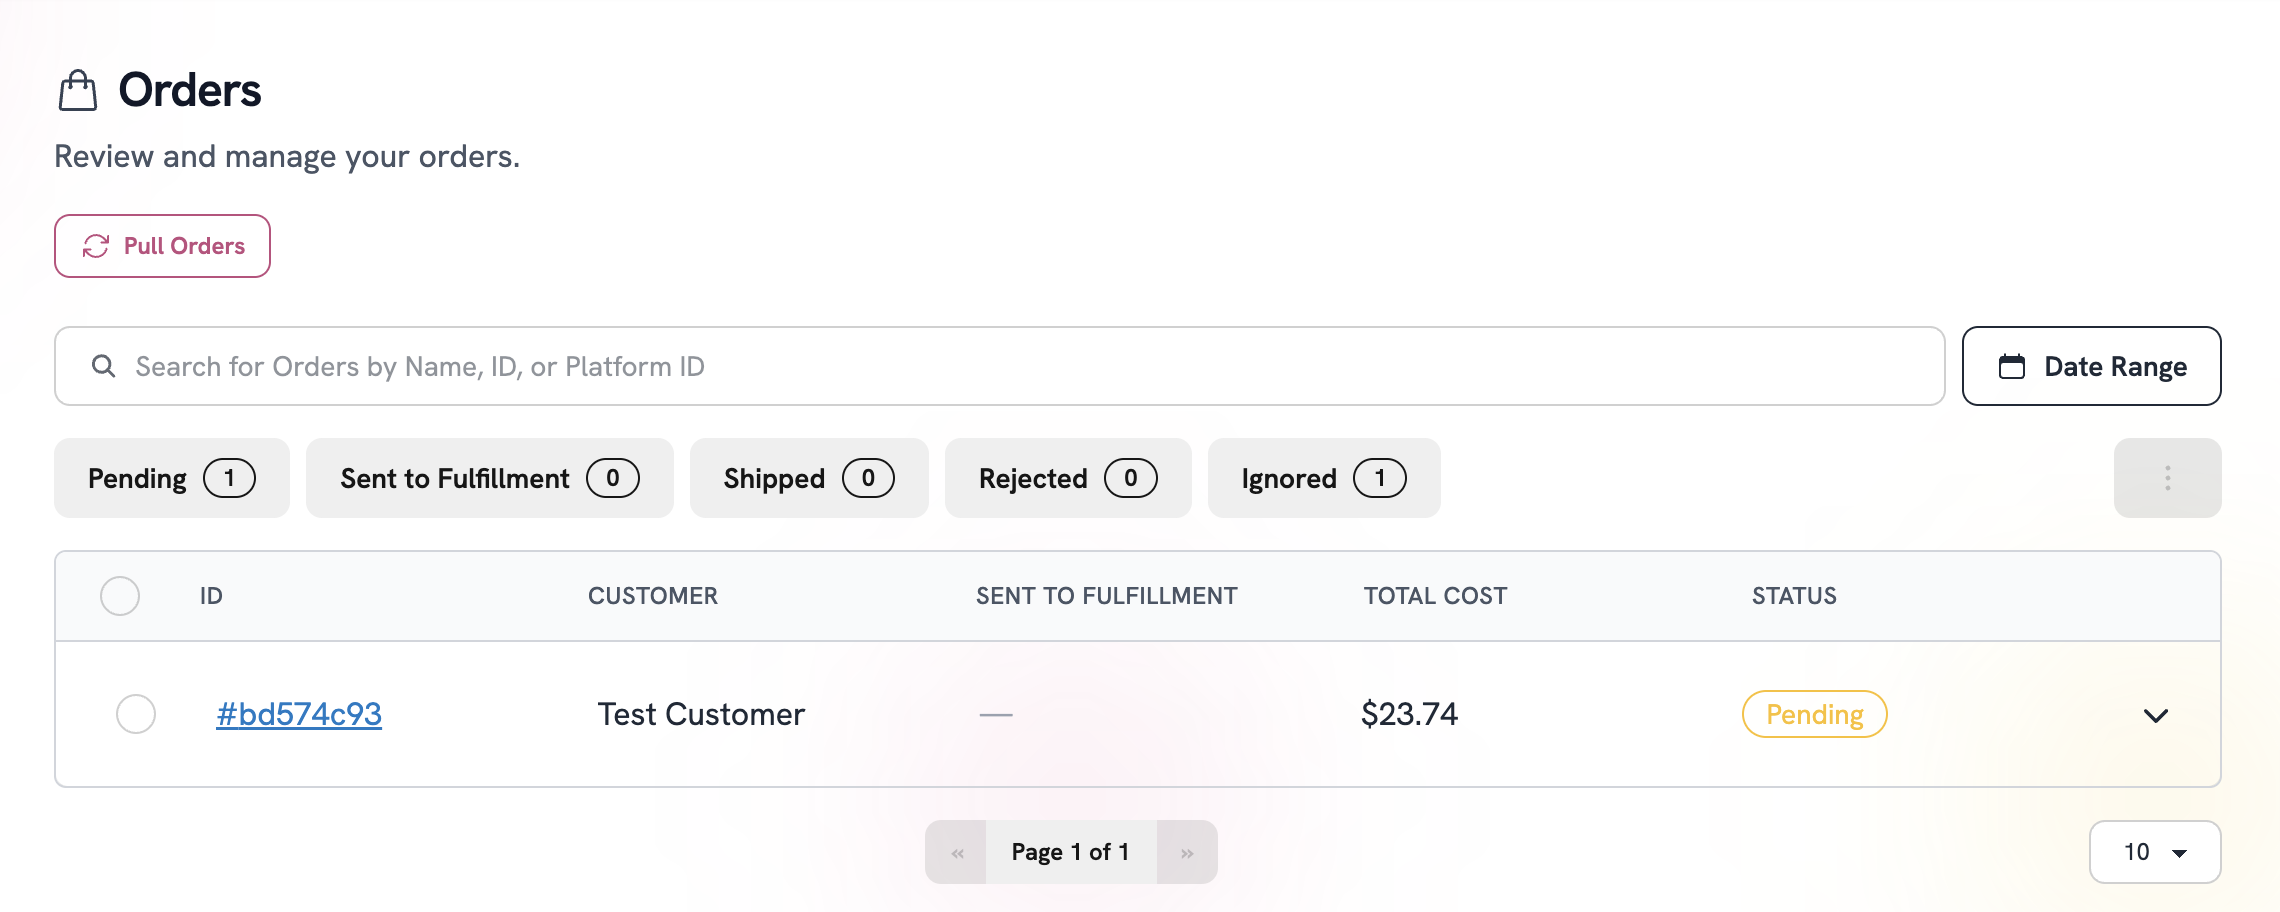
- Click Orders in the left sidebar.
- You'll see a list of all your orders with:
- Order number
- Customer name
- Date created
- Status (Pending, In Production, Shipped, etc.)
- Total cost
To view more details, you have two options:
A. Expand the Order in the List
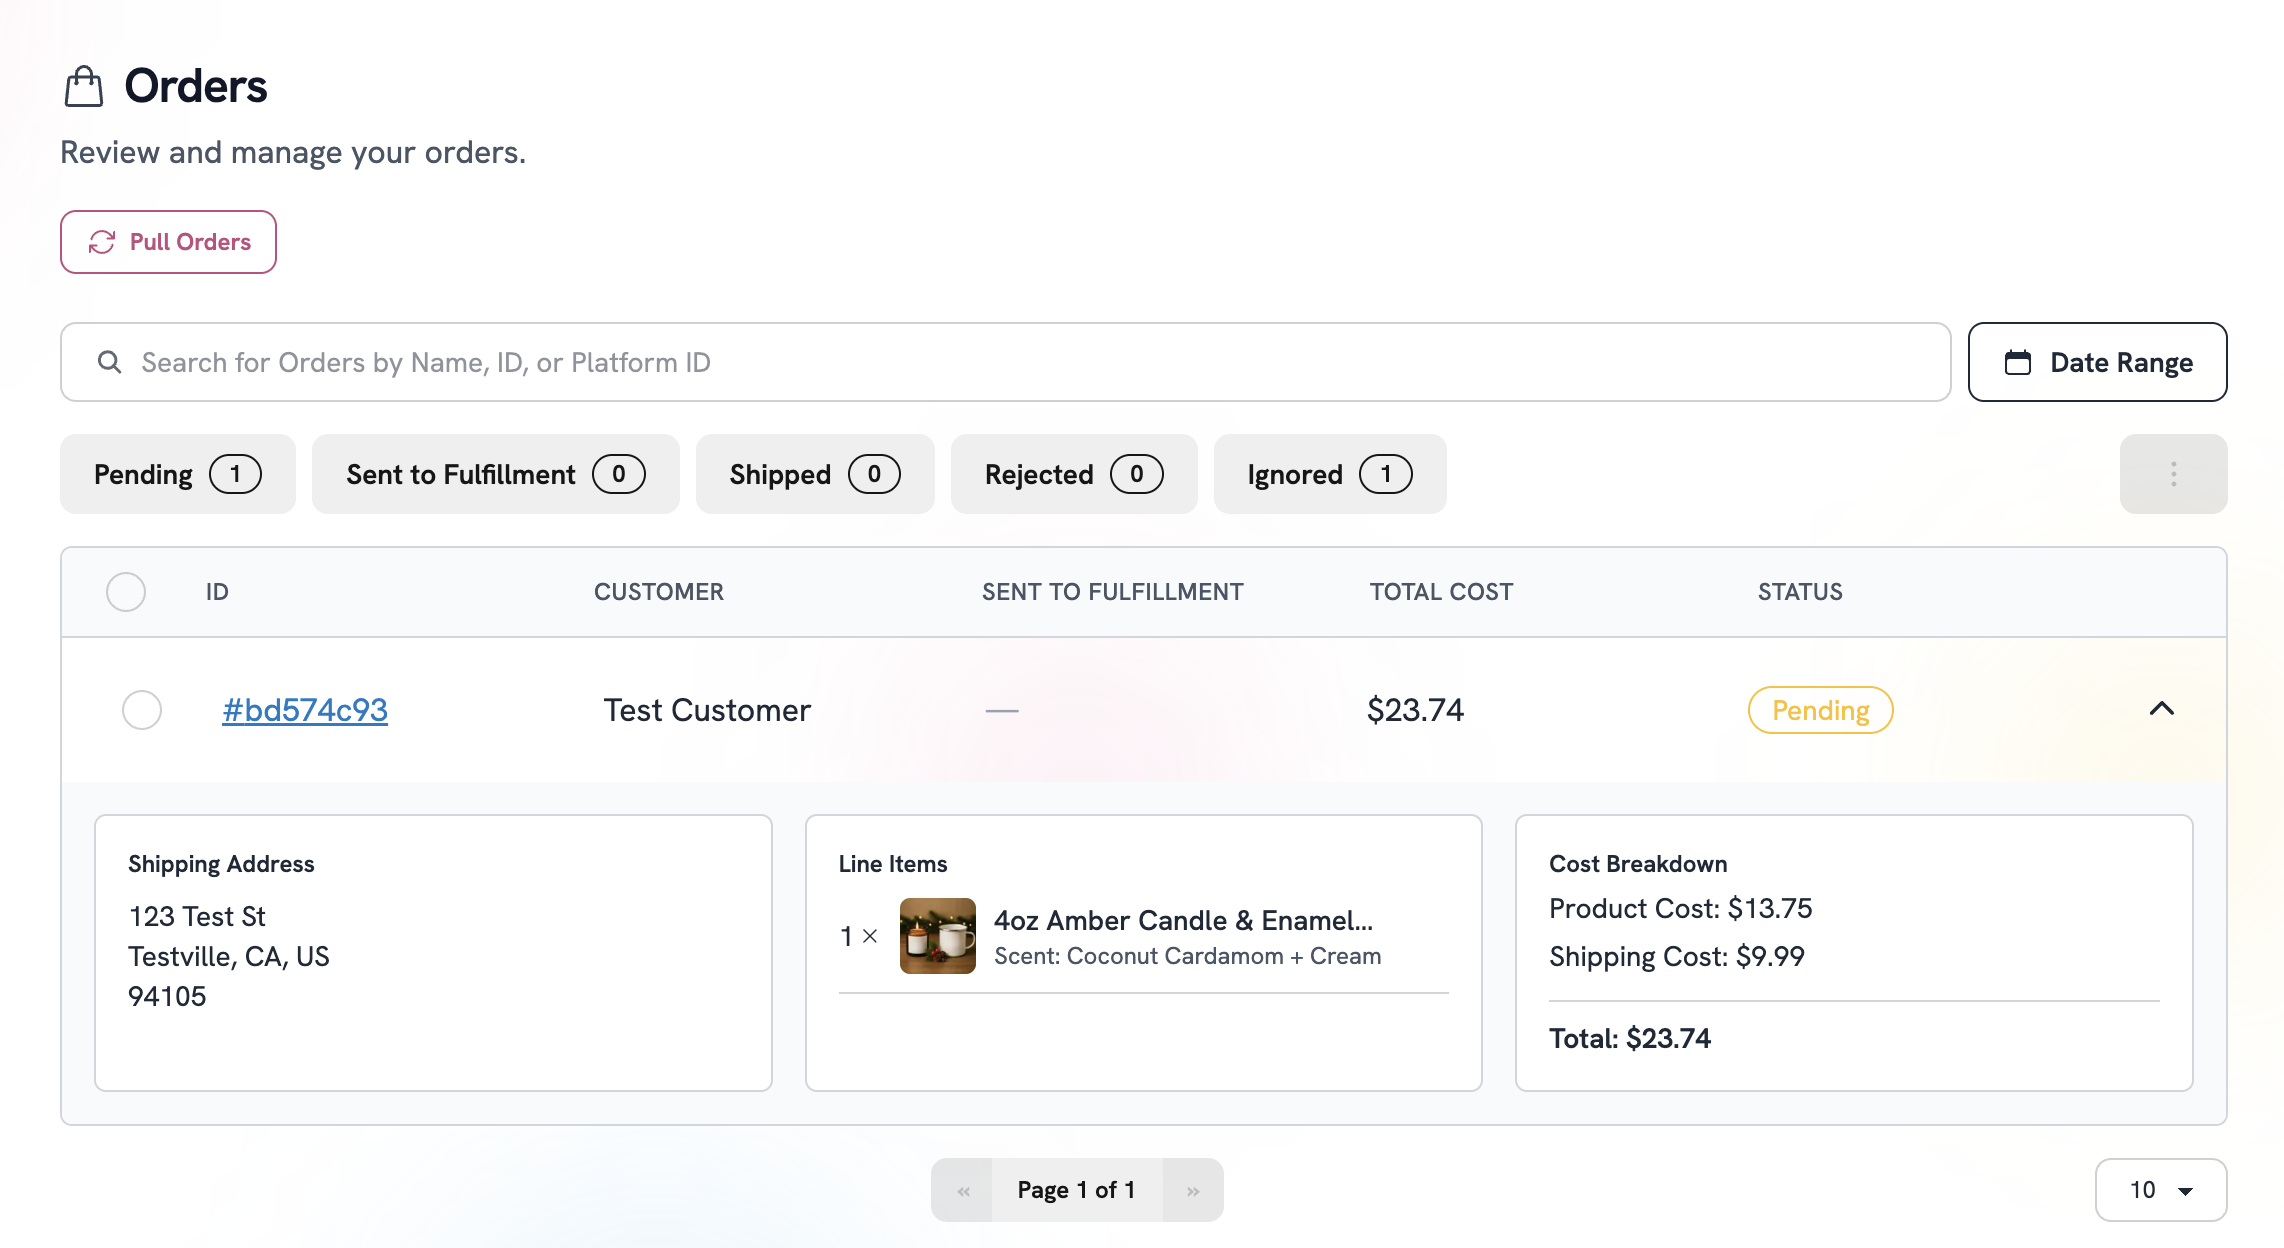
Some views allow inline expansion where you can see a quick snapshot by clicking the expand arrow on the far right:
- Items included
- Artwork
- Cost breakdown
- Status
This is helpful for fast review without leaving the page.
B. Open the Full Order Page
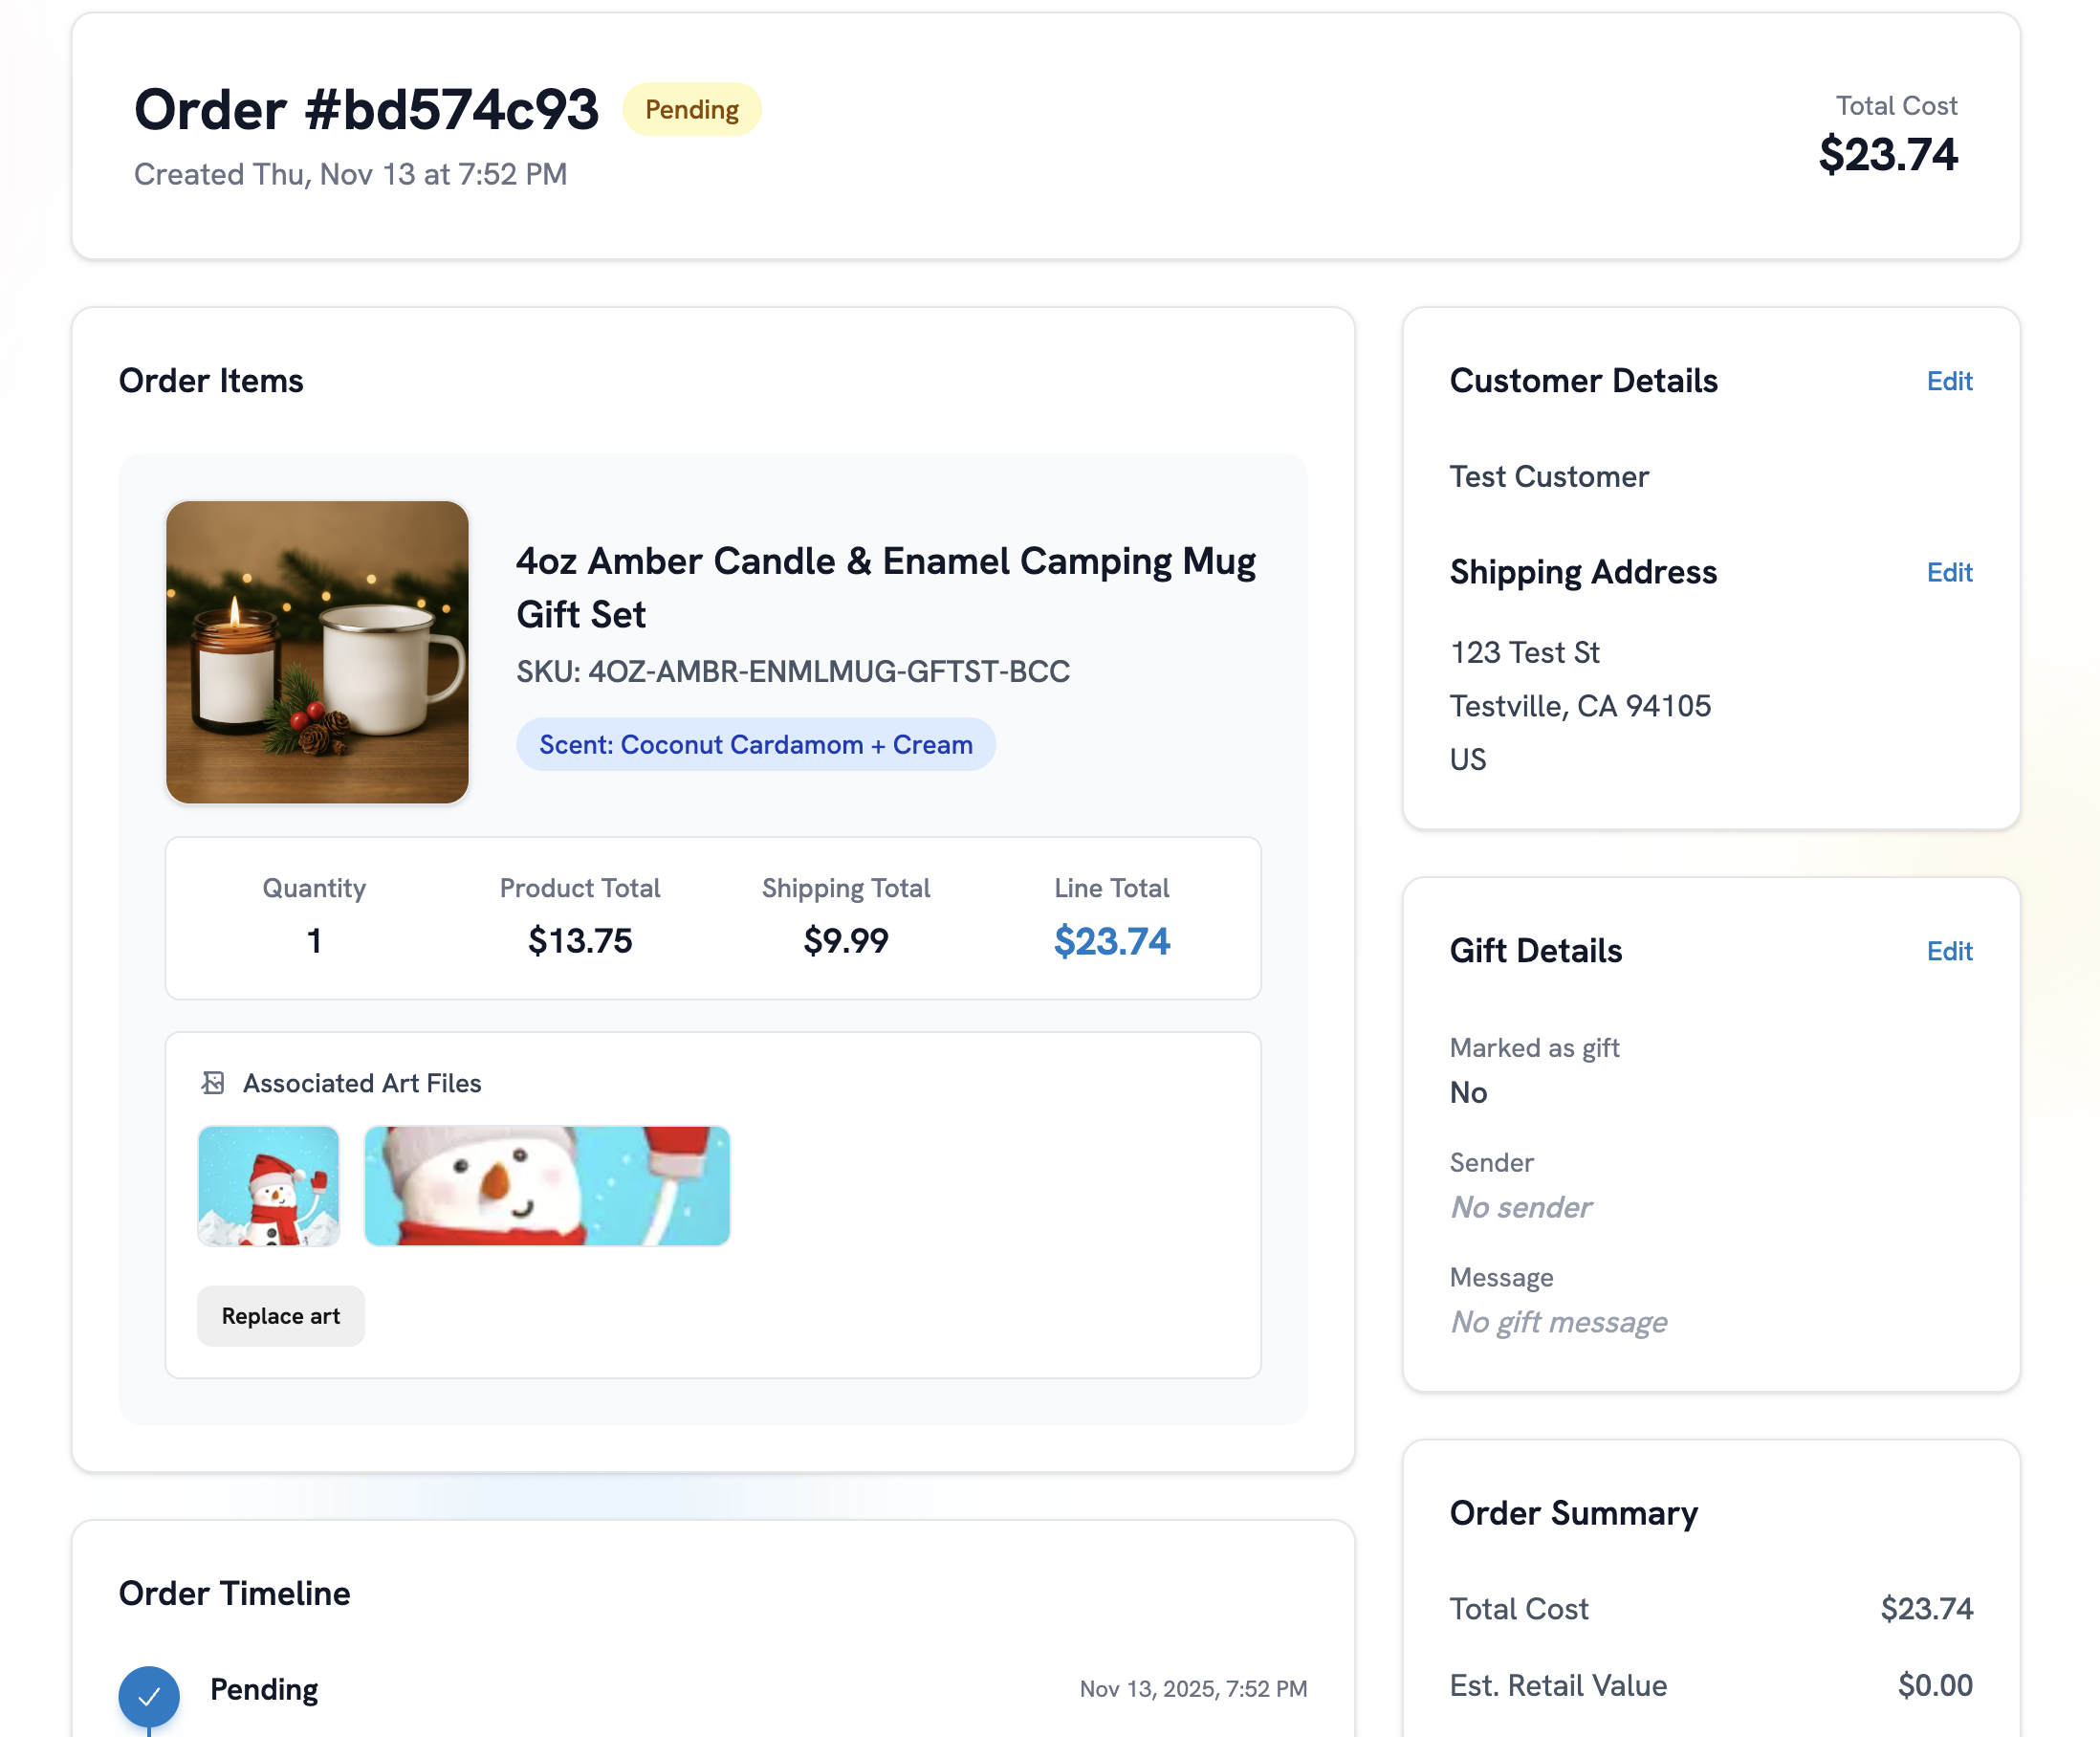
Click the Order Number (e.g., #bd574c93) to open the full order details page.
Here you'll find everything related to the order:
Inside the Order Details Page
The order page provides all essential tools for managing and reviewing your order before fulfillment.
1. Order Status
Displayed at the top:
- Pending
- Submitted
- In Production
- Shipped
You can also see timestamps for each step in the Order Timeline.
2. Send to Fulfillment
If the order is in Pending, click Send to Fulfillment to go to the checkout page and submit a payment to move it to production.
If you need to skip or ignore an order (test orders, duplicates, etc.), use Ignore.
3. Order Items
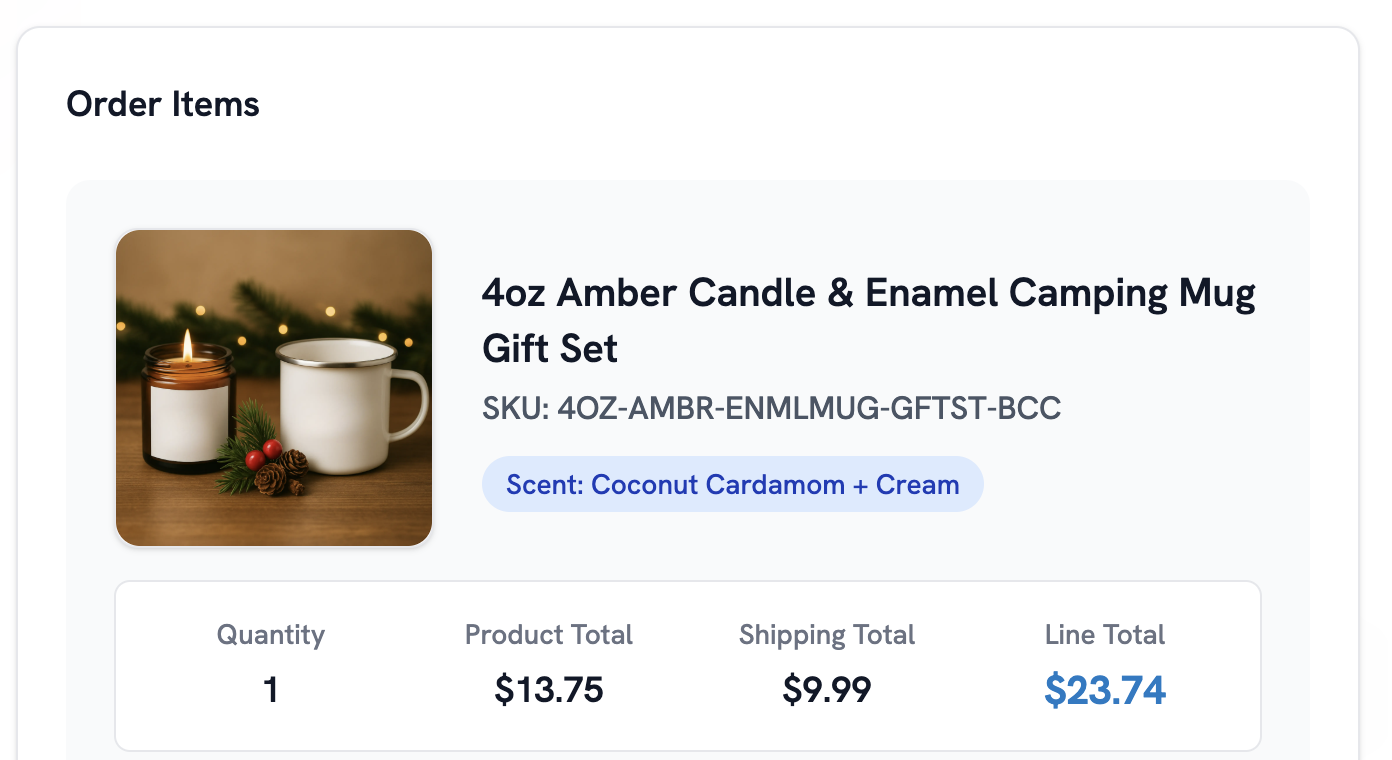
You'll see a breakdown of:
- Product name
- SKU
- Variant (color, scent, size, etc.)
- Quantity
- Artwork files
You can preview the artwork and even click Replace Art if you want to update the design before printing.
4. Cost Breakdown
The order page clearly shows:
- Product Total
- Shipping Total
- Line Total / Total Cost
- Estimated Retail Value
- Estimated Profit
This section helps you understand exactly how much you'll make per order after Printonic's production cost.
5. Customer Details
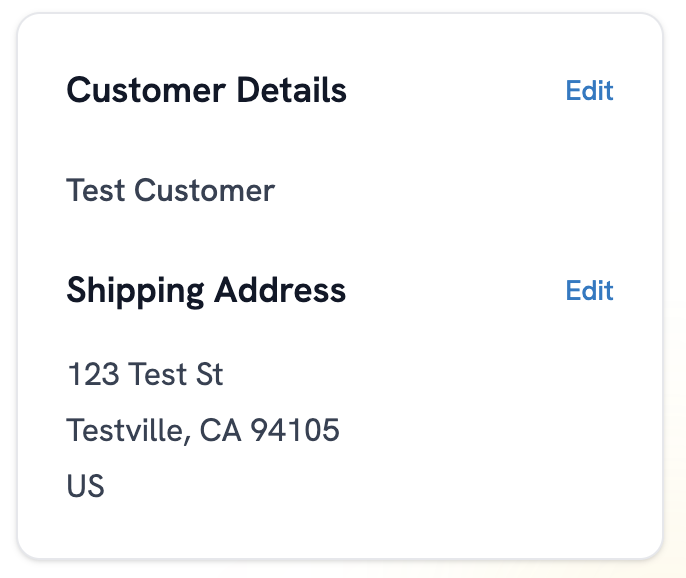
Edit or review the customer's shipping information:
- Name
- Address
- City, State, ZIP
- Country
Click Edit to correct an address before sending to production.
6. Gift Options
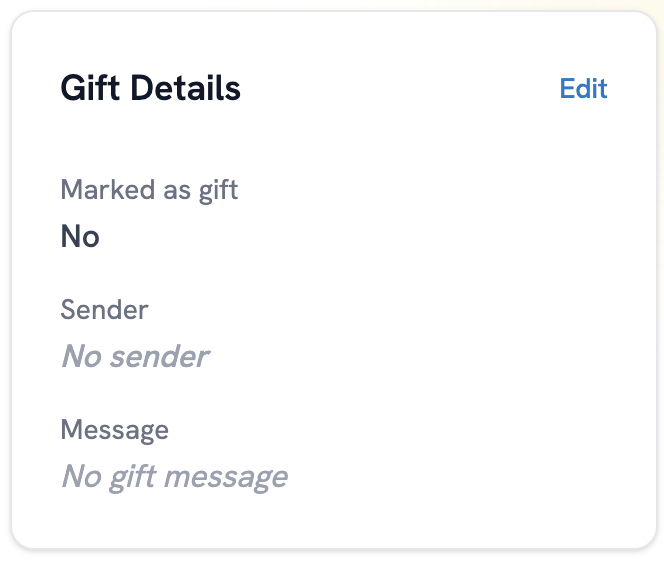
If the customer marked the purchase as a gift, you can:
- Add or edit the gift message
- Add or edit the sender name
- Toggle whether it's a gift
Click Edit under Gift Details to make changes.
7. Order Timeline
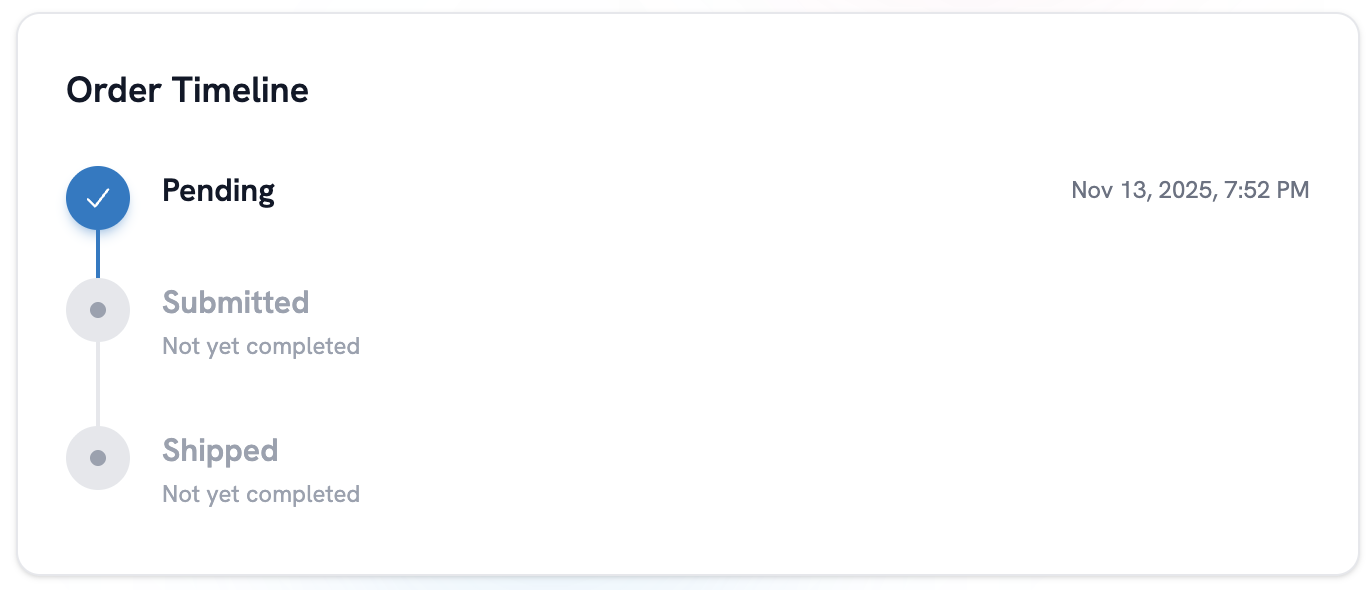
This section shows the full history of the order:
- When it was created
- When it was submitted
- When it entered production
- When it shipped
You'll see timestamps for each milestone.
8. Associated Art Files
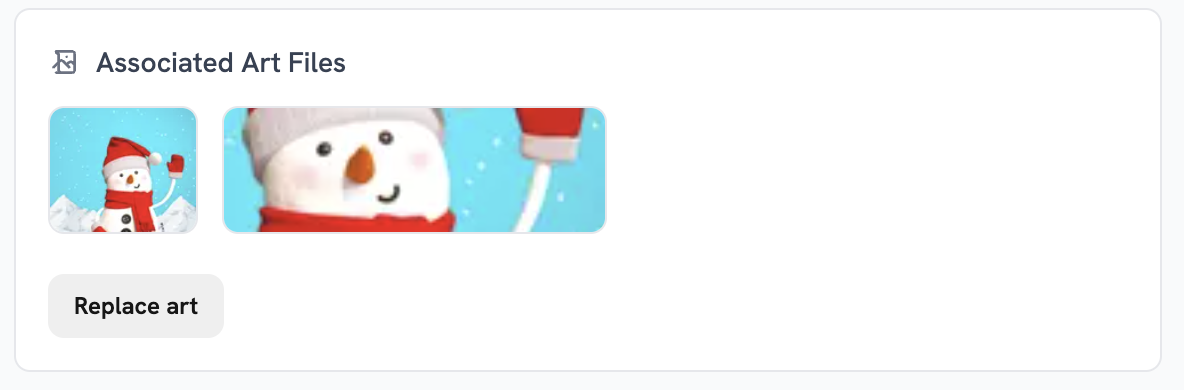
Preview or replace artwork attached to the order. If your buyer requested personalization after checkout, you can update the art here before production.
Creating a Manual Order
Sometimes you need to create an order manually—perhaps for a custom request, a direct sale, or to fulfill an order that came through a channel outside your connected stores.
Printonic makes this easy with the Create Order button.
How to Create a Manual Order
- Click Orders in the sidebar
- Click the Create Order button next to the "Pull Orders" button
- Follow the 4-step wizard:
Step 1: Select Store
Choose which store account this order should be associated with. This determines which branding and package inserts will be used.
Step 2: Add Items
- Browse your published products
- Click on a product to view variants
- Select the specific variant (color, size, scent, etc.)
- Set the quantity
- Add to cart
- Repeat for multiple items if needed
The order cart on the right shows your running total and allows you to update quantities or remove items.
Step 3: Shipping Information
Enter the customer's shipping details:
- Name
- Address (line 1 and 2)
- City, State, ZIP Code
- Country
You can also mark the order as a gift and add:
- Gift sender name
- Gift message
The pricing summary updates automatically based on the destination country for accurate shipping costs.
Step 4: Review & Submit
Review all order details before submitting:
- Items and quantities
- Shipping destination
- Cost breakdown (products + shipping)
- Gift options (if applicable)
Click Submit Order to create the order.
Once submitted, the order appears in your Orders list with a Pending status, just like orders from your connected stores. From there, you can send it to fulfillment when ready.
Why the Orders Tab Matters
This area ensures:
- No wrong addresses get printed
- Art is correct before production
- Profitability is clear
- You maintain full control of the fulfillment workflow
- Manual orders can be created for custom requests
Once everything looks good, simply click Send to Fulfillment and Printonic will take it from there.
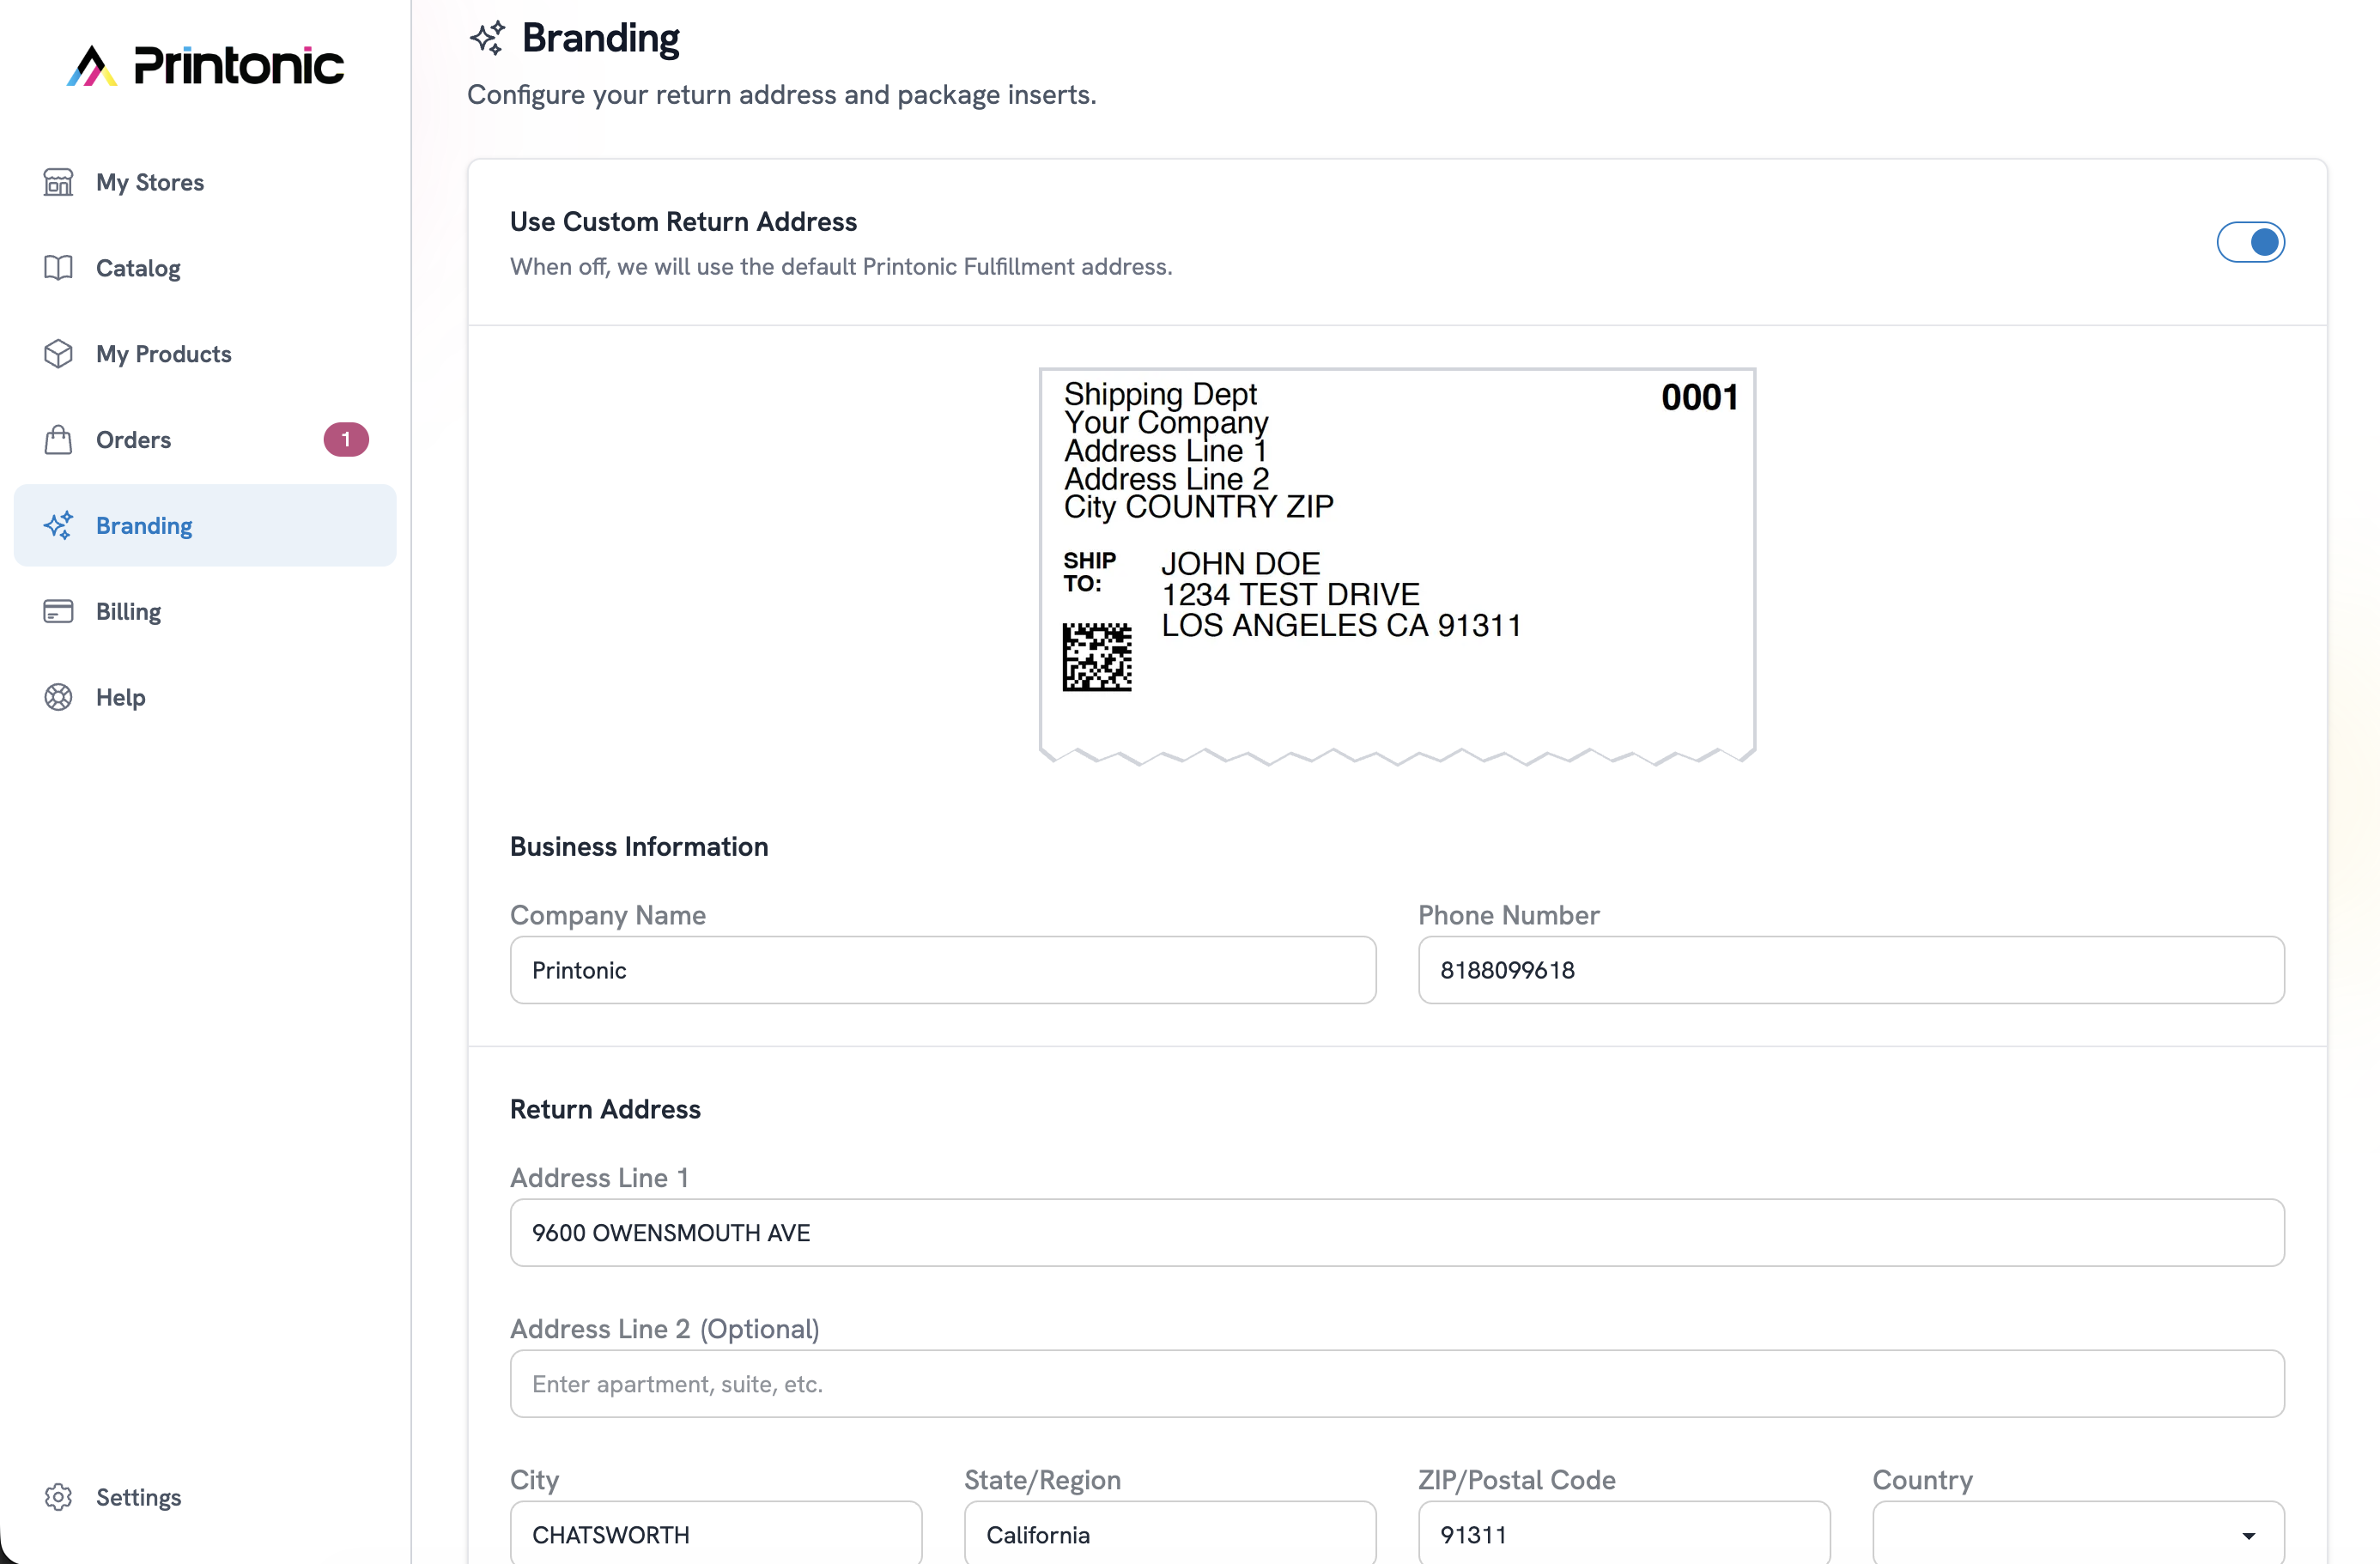
6. How to Add Your Branding in the "Branding" Tab
Branding helps you create a memorable unboxing experience for customers.
Where to find it:
- Click Branding
You'll see two sections:
A. Custom Return Address
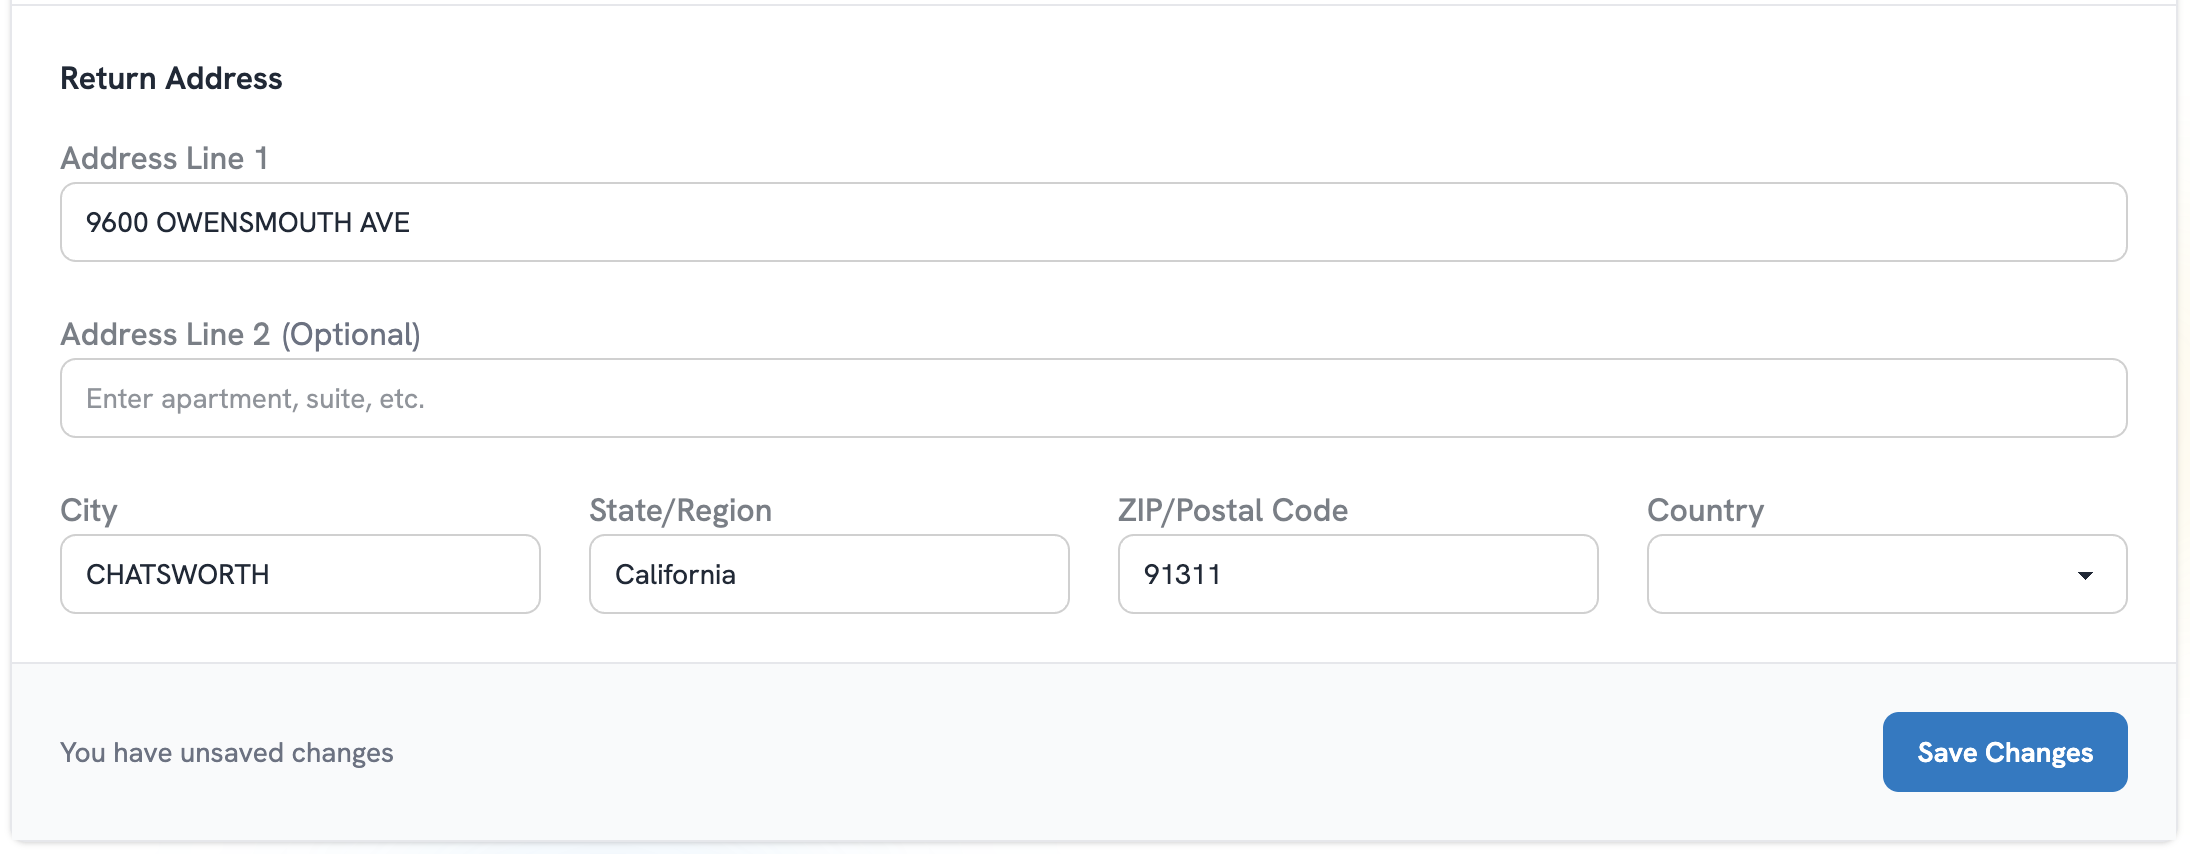
Toggle Use Custom Return Address ON to replace Printonic's default address.
Fill out:
- Company Name
- Phone Number
- Address Line 1
- Address Line 2 (optional)
- City
- State
- ZIP Code
- Country
Click Save Changes
B. Package Inserts (4x6 cards)
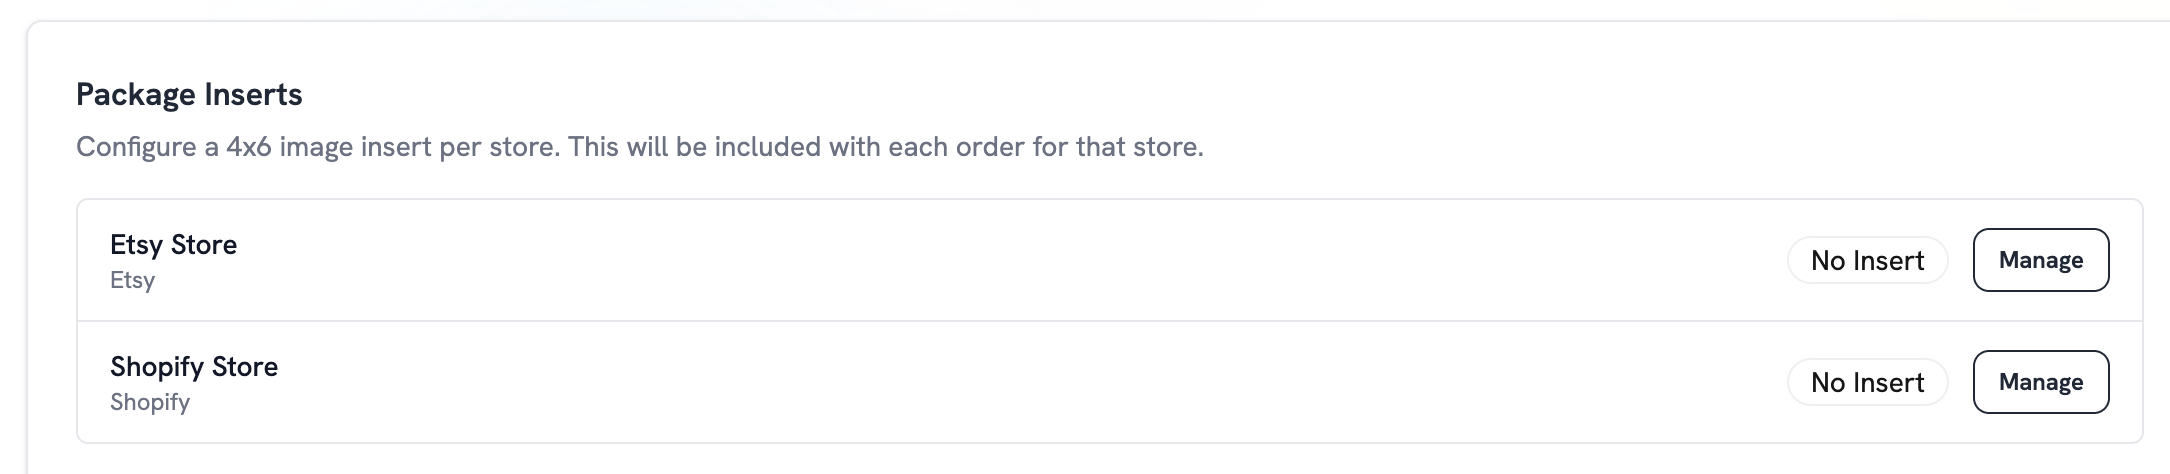
You can add a unique insert for each store.
- Scroll to your store
- Click Manage
- Upload your 4x6 JPG/PNG insert
- Save
Printonic will automatically include the insert in every order from that store.
7. How to Add Your Payment Method
You need a valid payment method to pay for production and to keep your orders flowing.
Steps:
- Click Billing from the sidebar.
- Add a payment card (debit or credit).
- Save.
This ensures Printonic can charge you for product + fulfillment costs whenever a customer orders from your store.
Note: You will not be charged unless you go through the checkout process. We do not automatically charge you.
8. How to Ask Questions in the Help Section
If you ever need assistance:
1. Click "Help" in the sidebar.
Here you can:
- Read FAQs
- Explore guides
- Submit a support ticket
- Contact the Printonic team
2. For faster help
Provide details like:
- Order numbers
- Product links
- Screenshots
Our support team is always here to help you succeed.
You're Ready to Start Selling with Printonic!
With your store connected, products published, branding set, and billing ready, you're fully prepared to run your print-on-demand business with Printonic.
Ready to get started? Sign up for free and launch your first product today!
Have questions? Our support team is here to help you every step of the way. Click the Help section in your dashboard or reach out to us directly.


