Products & Listings
Set up listing defaults with Auto-Mode
Save per-store defaults for tags, shipping, category, and profit so new listings arrive pre-filled and you can skip straight to publishing.
Auto-Mode lets you set listing defaults once per store, then pre-fills those sections every time you create a new listing. Your product's title and description always come from the product itself, so defaults cover everything else: tags, shipping, category, and profit.
Each store keeps its own defaults. That means one store can default to free shipping while another uses a fixed shipping profile, and you only need to configure the stores you actually use.
- 1
Dashboard > Auto-Mode
Open Auto-Mode
Go to the Auto-Mode page in your dashboard. It has two tabs, Defaults and Settings. Listing defaults live on the Defaults tab, which opens first.
The first time you visit, a short How Auto-Mode works walkthrough appears. Click Got it to dismiss it. There is also a Common questions section on this page you can expand anytime.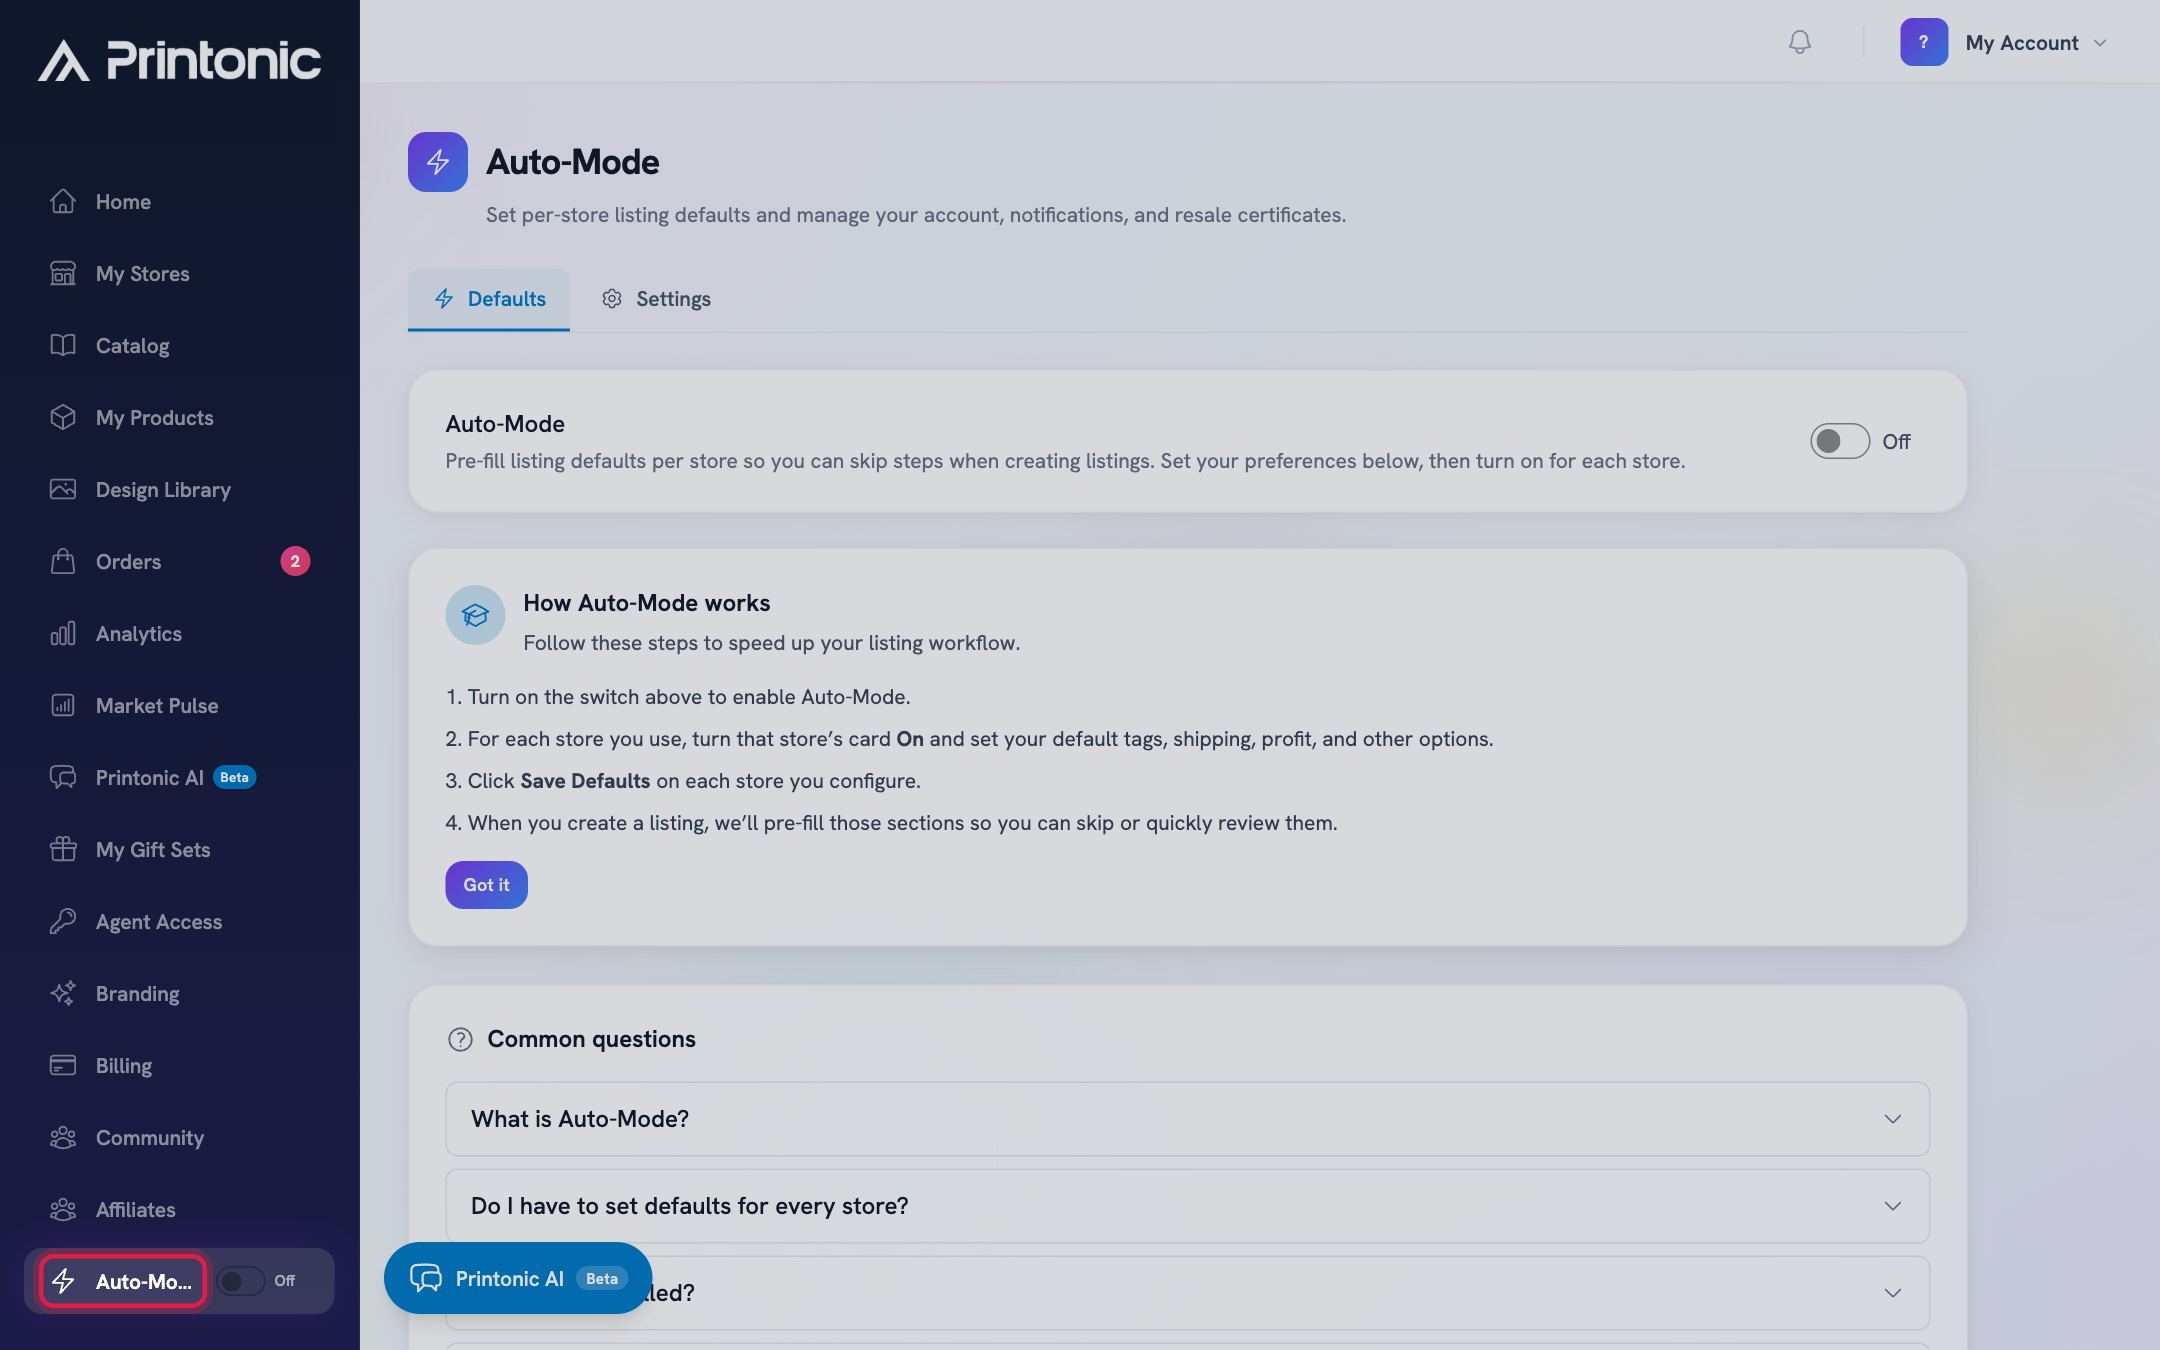
- 2
Dashboard > Auto-Mode > Defaults
Turn on the Auto-Mode switch
At the top of the Defaults tab, flip the Auto-Mode switch on. This reveals the Per-store defaults section with a card for each of your connected stores.
While the switch is off, you will see a message asking you to turn on Auto-Mode above to set per-store defaults. Your store cards stay hidden until it is on.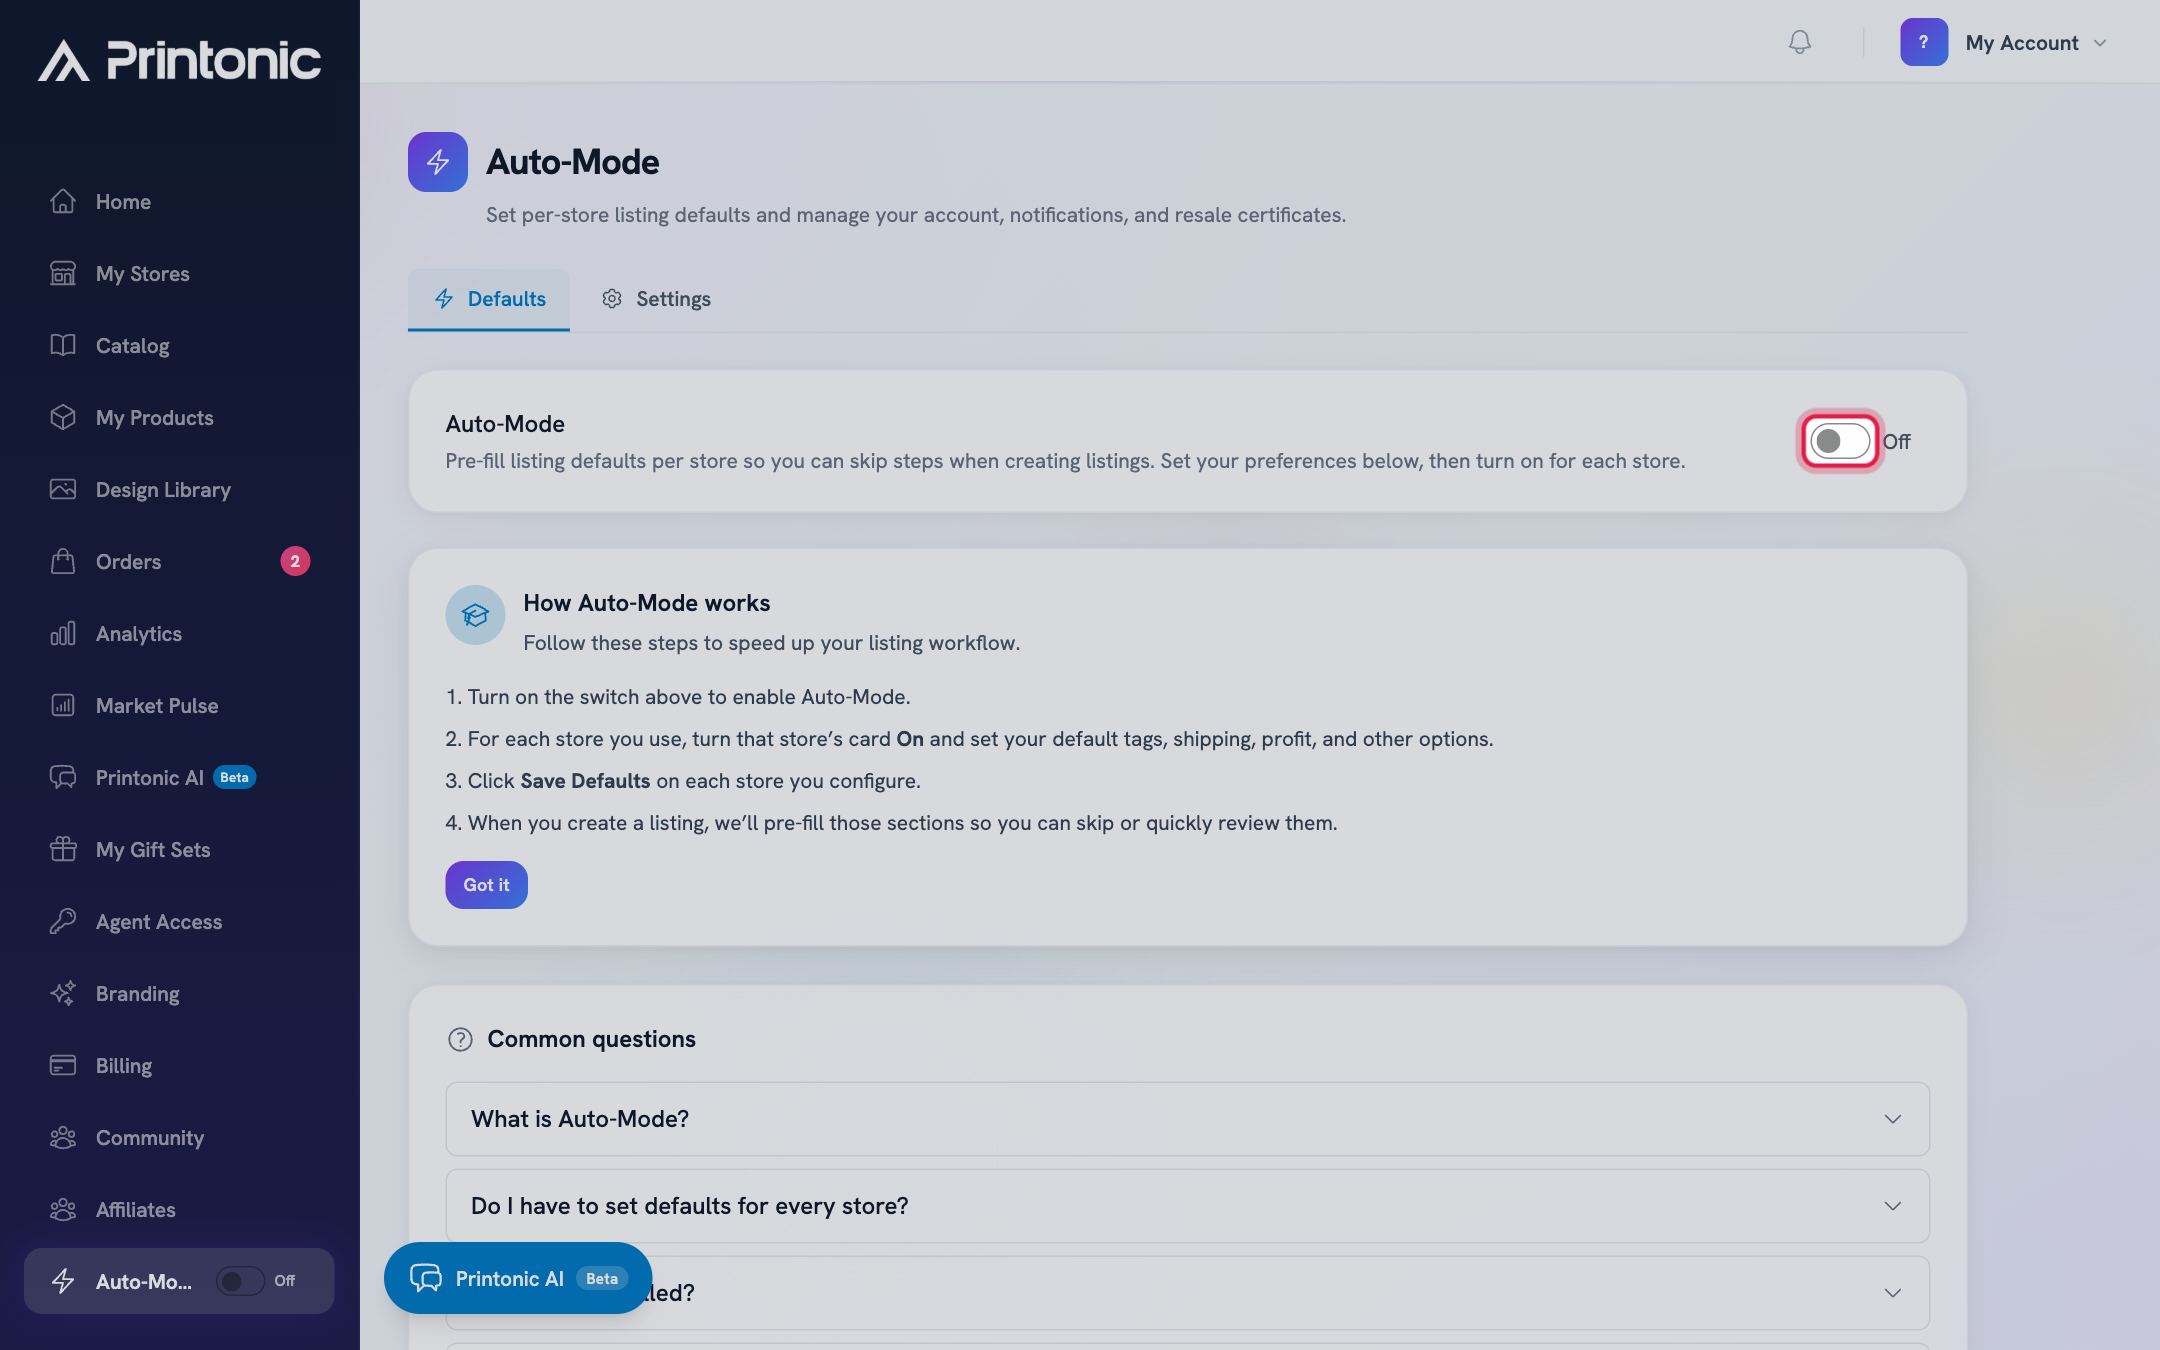
- 3
Dashboard > Auto-Mode > Defaults
Turn on the store you want to configure
Find the card for your store (each card shows the store name and its platform, like Etsy or Shopify) and flip its toggle from Off to On. The card expands to show that store's default options.
Only connected stores appear here. If you see No connected stores, connect a store first, then come back to set up Auto-Mode. Stores you leave off are unchanged.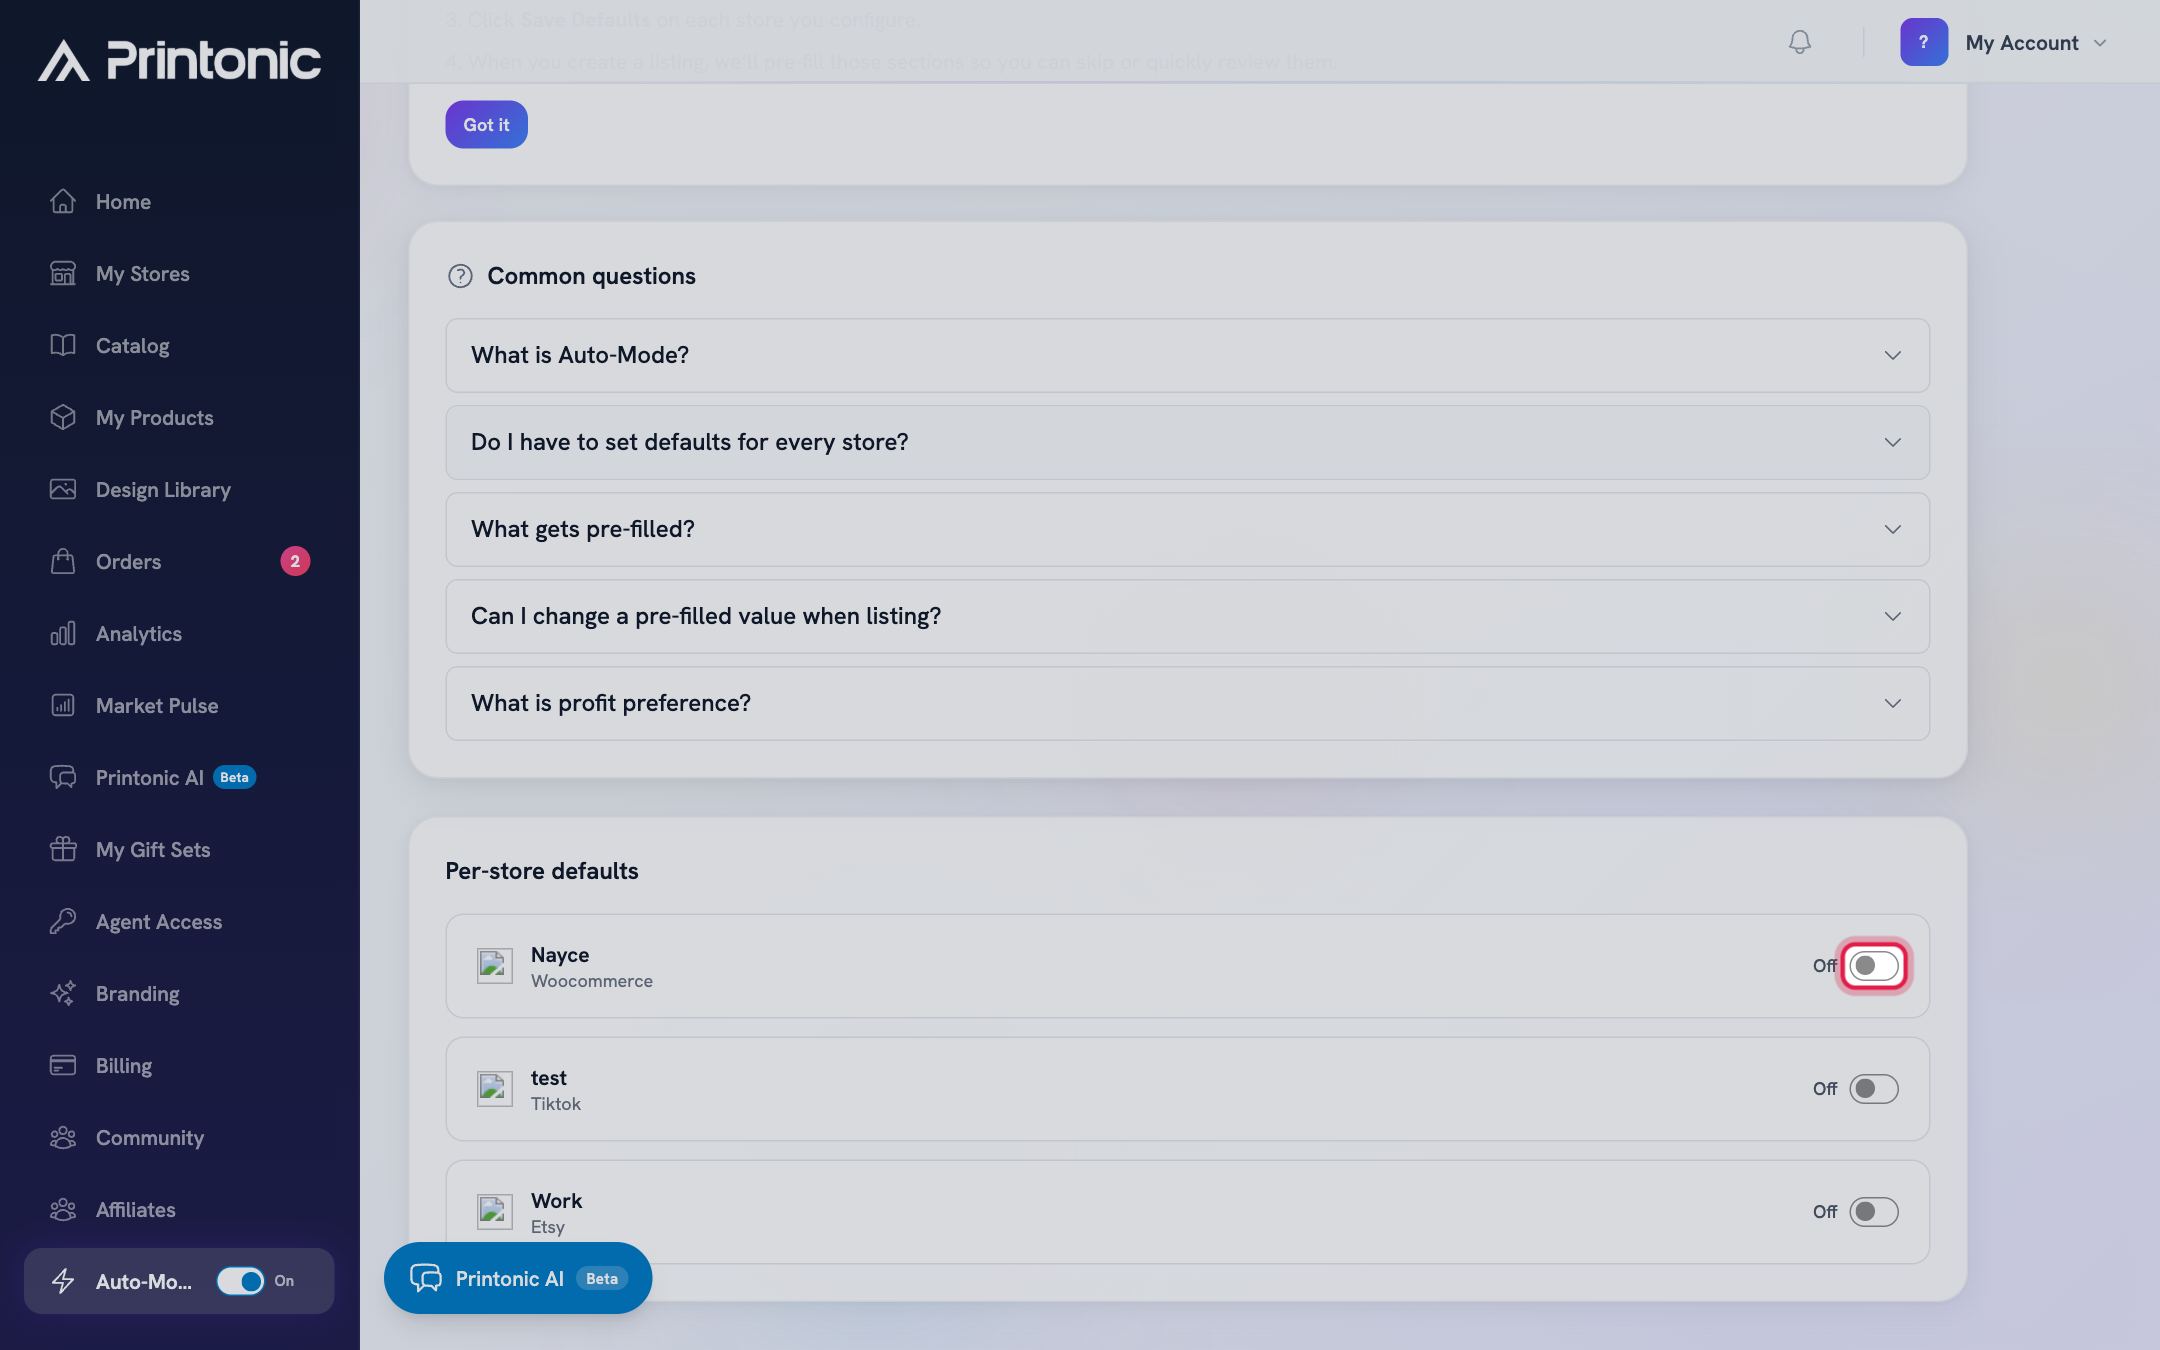
- 4
Dashboard > Auto-Mode > Defaults
Choose your shipping defaults
Turn on Free Shipping if new listings should default to free shipping. On Etsy stores you can instead turn on Cap US Shipping, which caps shipping and absorbs the difference into the price. Etsy stores also get a Default Shipping Profile and a Default Processing Profile dropdown, where you can pick an existing profile or choose Create new shipping profile or Create new processing profile.
Free Shipping and Cap US Shipping cannot both be on at once. Turning one on switches the other off.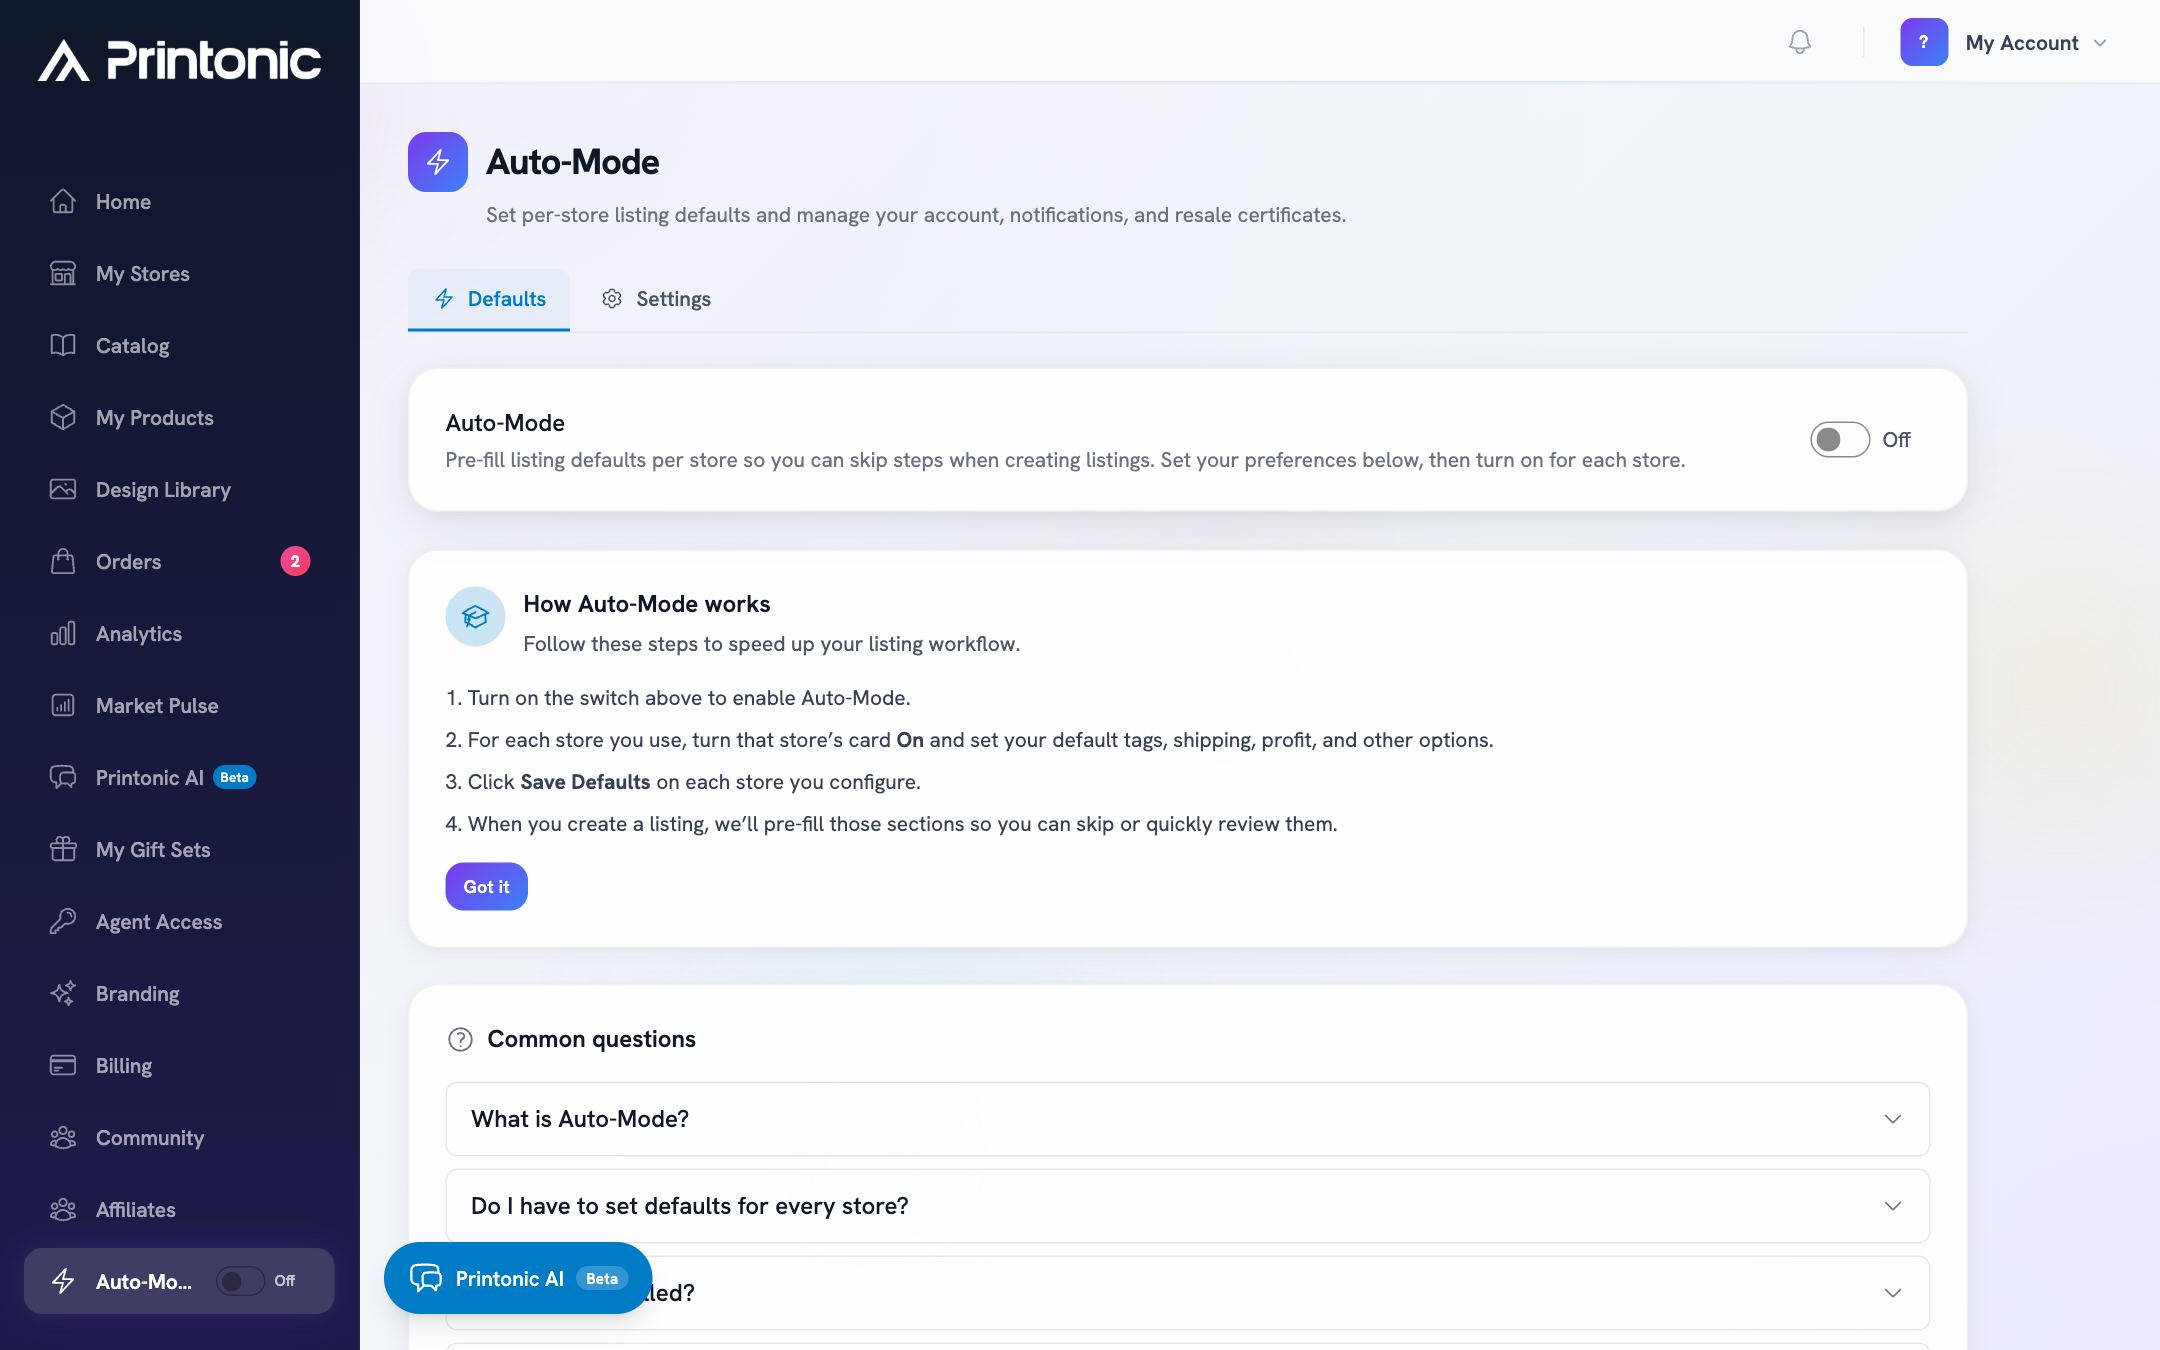
- 5
Dashboard > Auto-Mode > Defaults
Pick a default category (Shopify stores)
On Shopify store cards, use the Default Shopify Category field to search Shopify's product taxonomy and pick the category new listings should use.
This field only appears on Shopify stores. Etsy stores use shipping and processing profiles instead.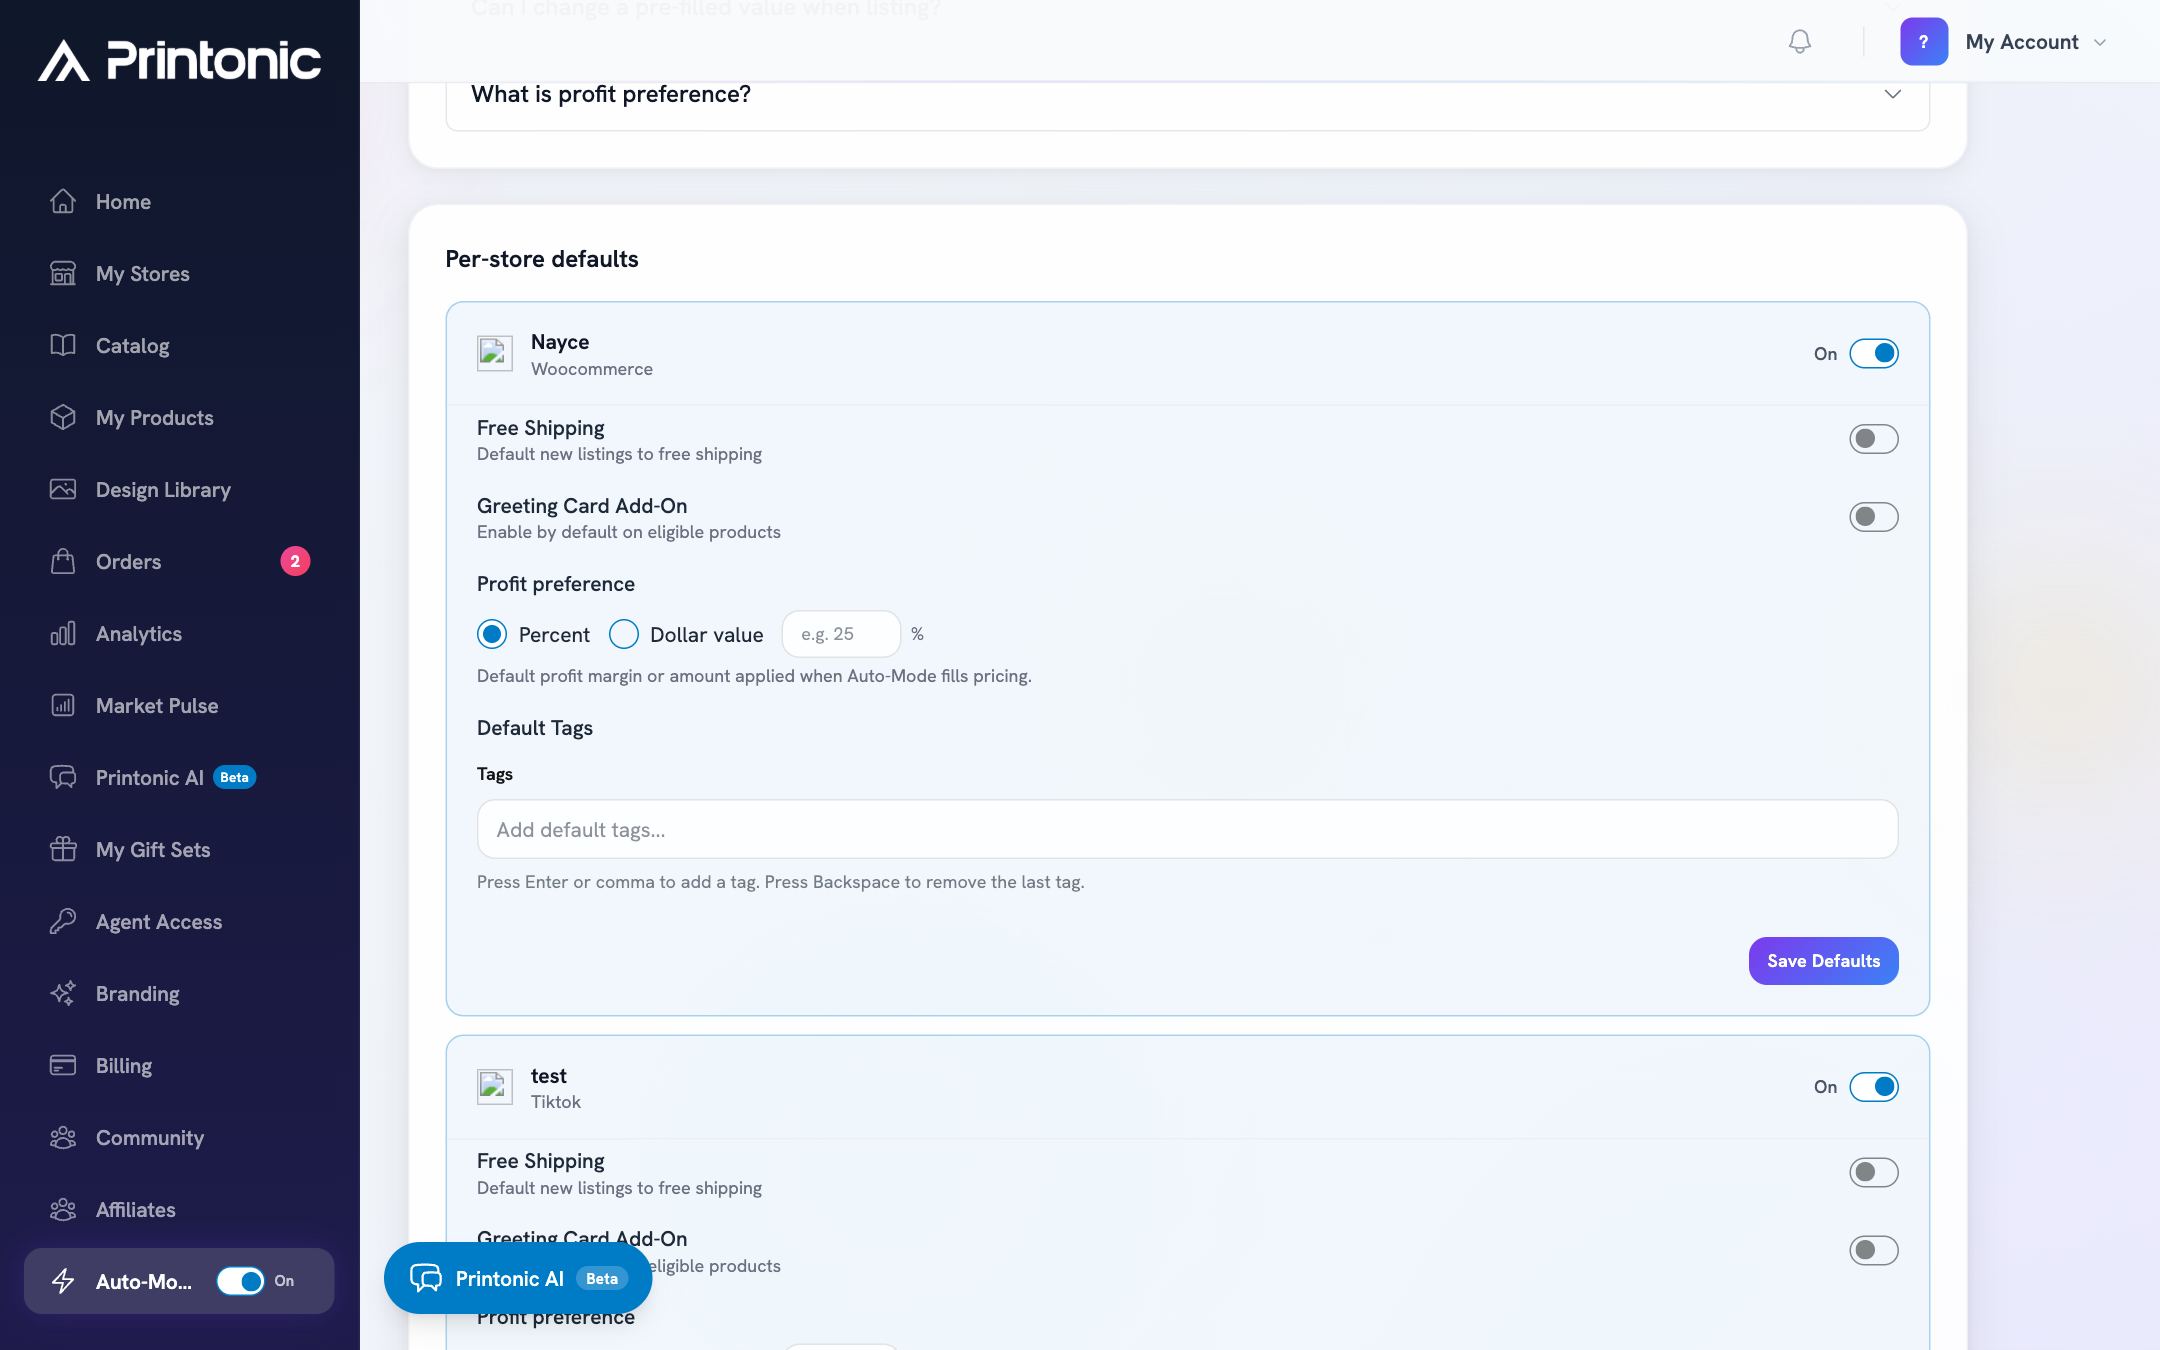
- 6
Dashboard > Auto-Mode > Defaults
Set your profit preference
Under Profit preference, choose Percent or Dollar value, then enter the number (for example 25 percent, or 2.50 dollars per item). This is used when Printonic suggests or applies pricing for new listings in that store. On Etsy stores you can also turn on Include Etsy fees in retail, which builds Etsy's fees (about 9.5 percent) into the price so your net profit matches the amount you entered.
A percent margin must be less than 100. If you enter 100 or more, you will see the error Margin must be less than 100% and the card will not save.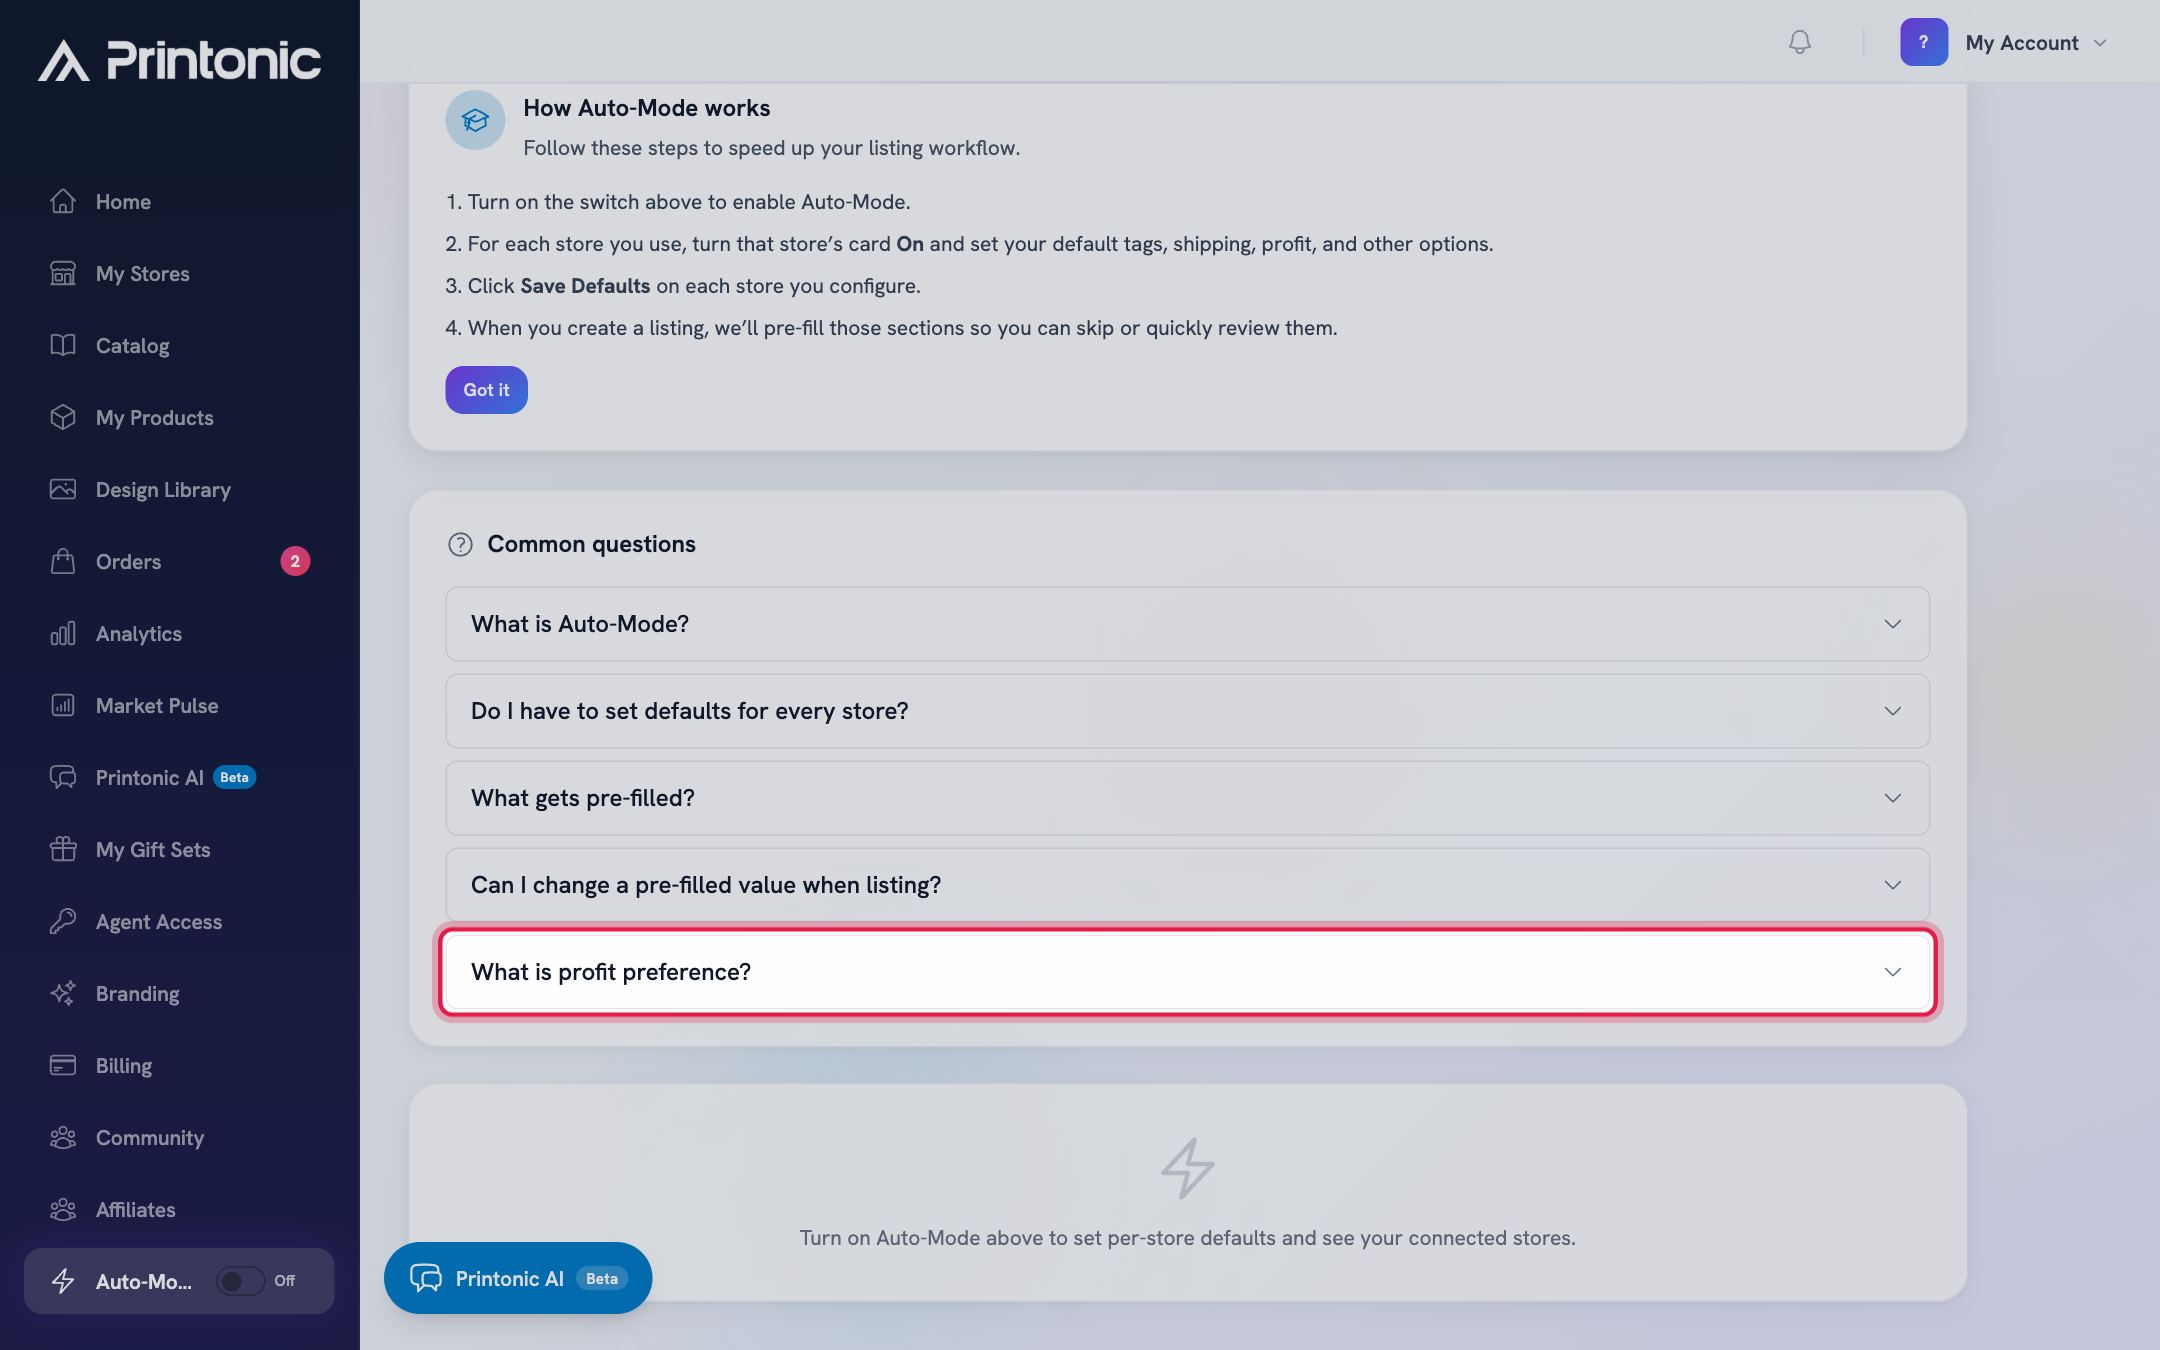
- 7
Dashboard > Auto-Mode > Defaults
Add your default tags
In the Default Tags field, add the tags you want applied to every new listing for this store.
Etsy allows up to 13 tags per listing, and the field enforces that limit. Keep a couple of slots free if you like adding product-specific tags later.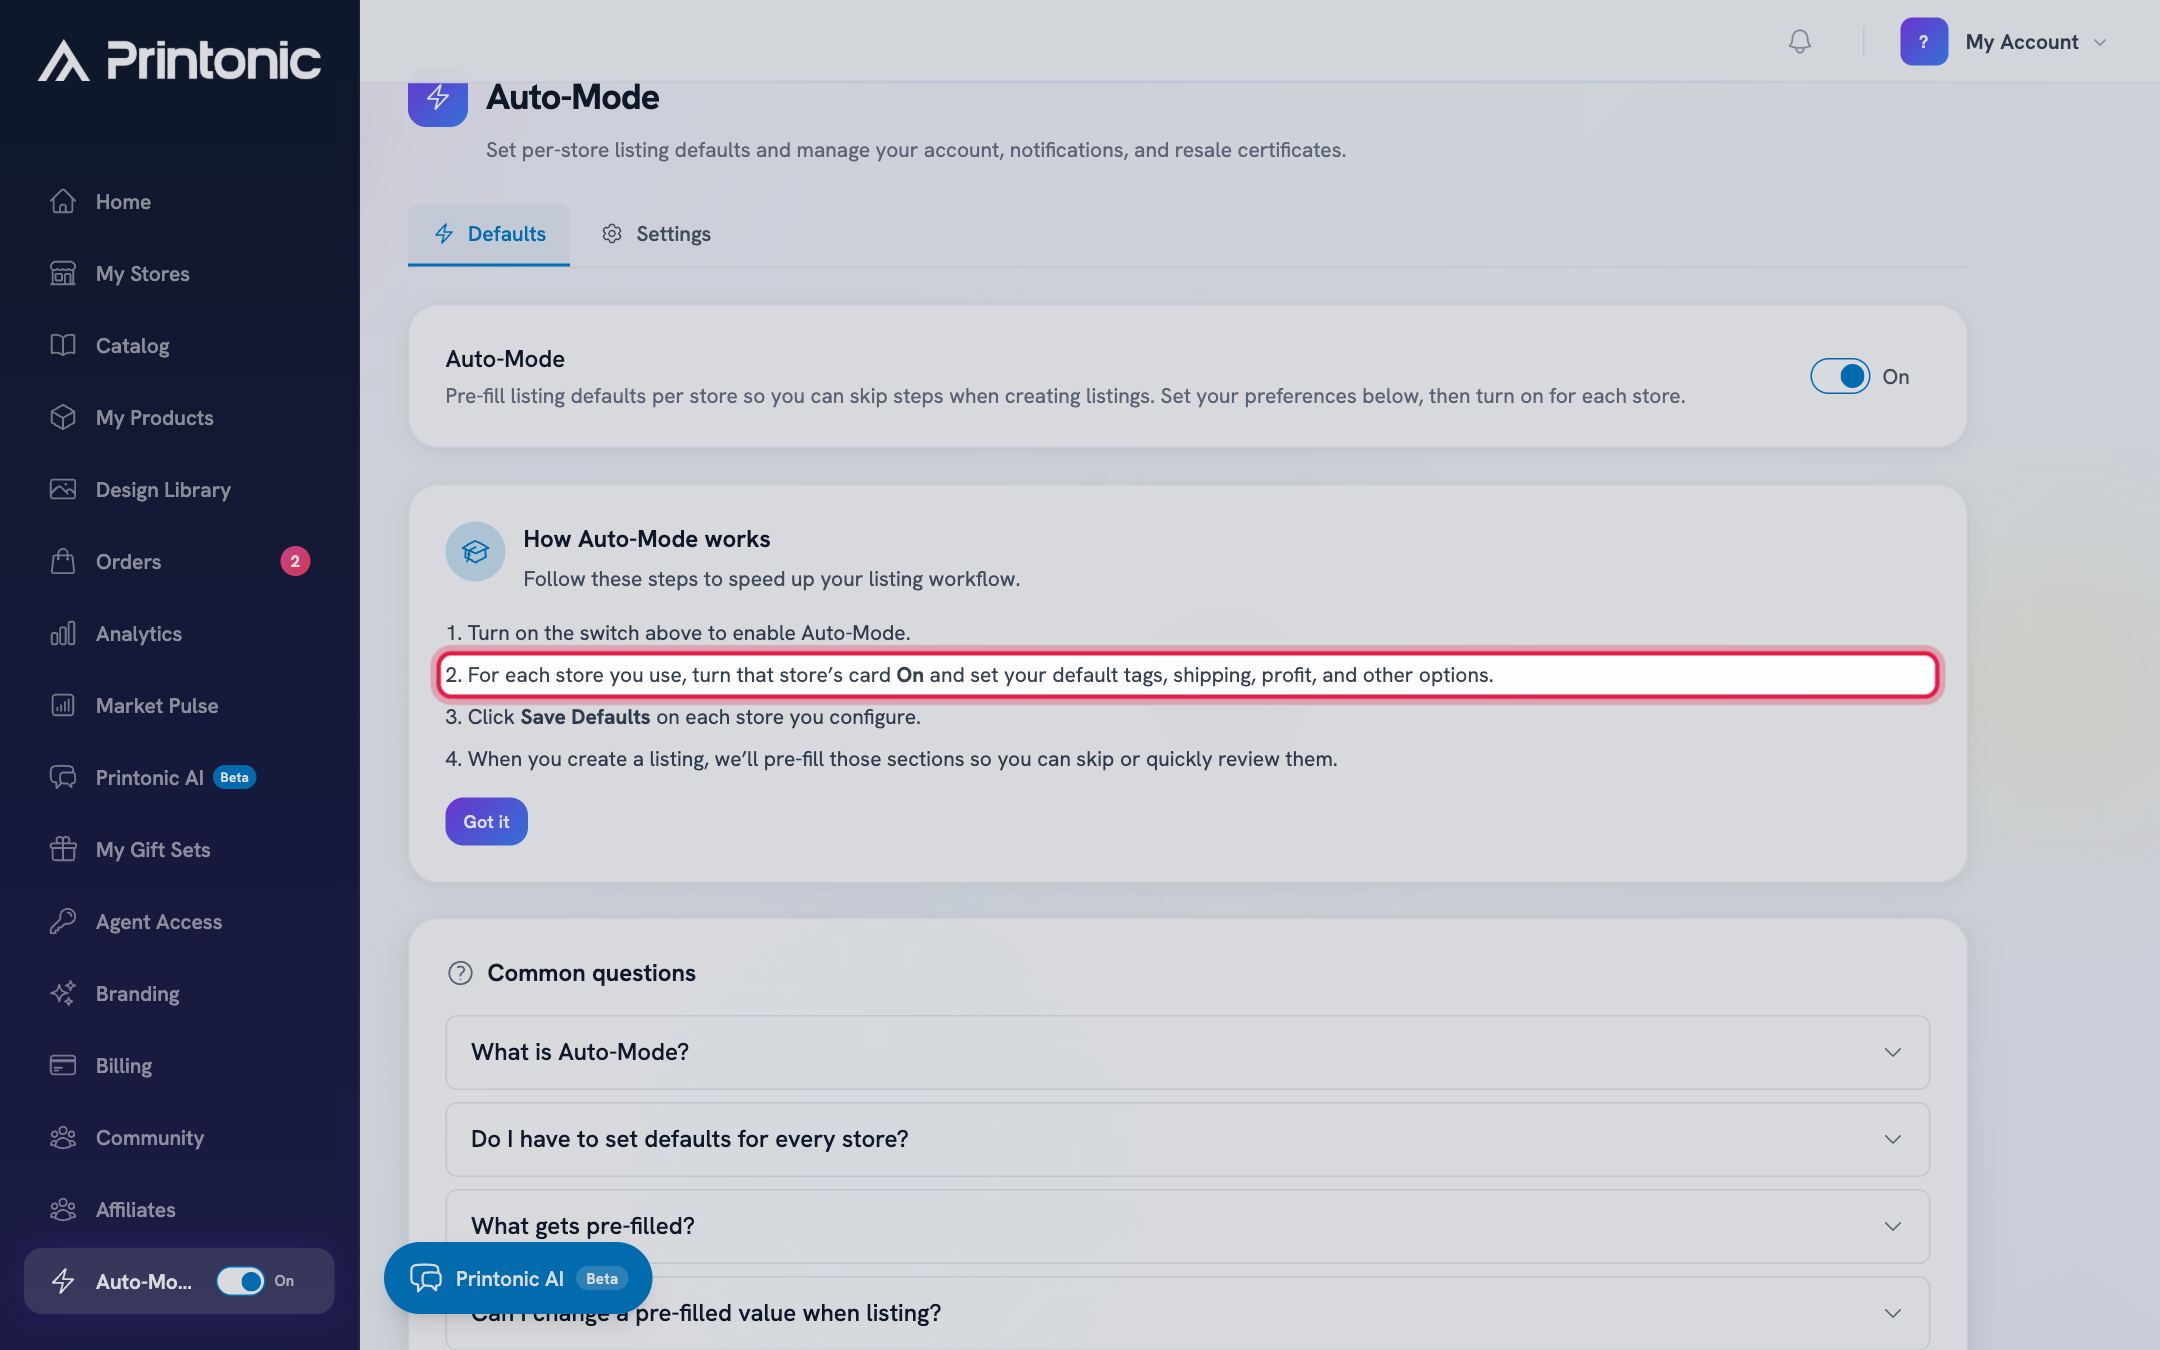
- 8
Dashboard > Auto-Mode > Defaults
Click Save Defaults
Click Save Defaults at the bottom of the store card. Repeat for each store you want to configure, saving each card separately.
The button stays grayed out until you change something. When the save goes through you will see Defaults saved successfully, and the page shows a count of stores with Auto-Mode enabled.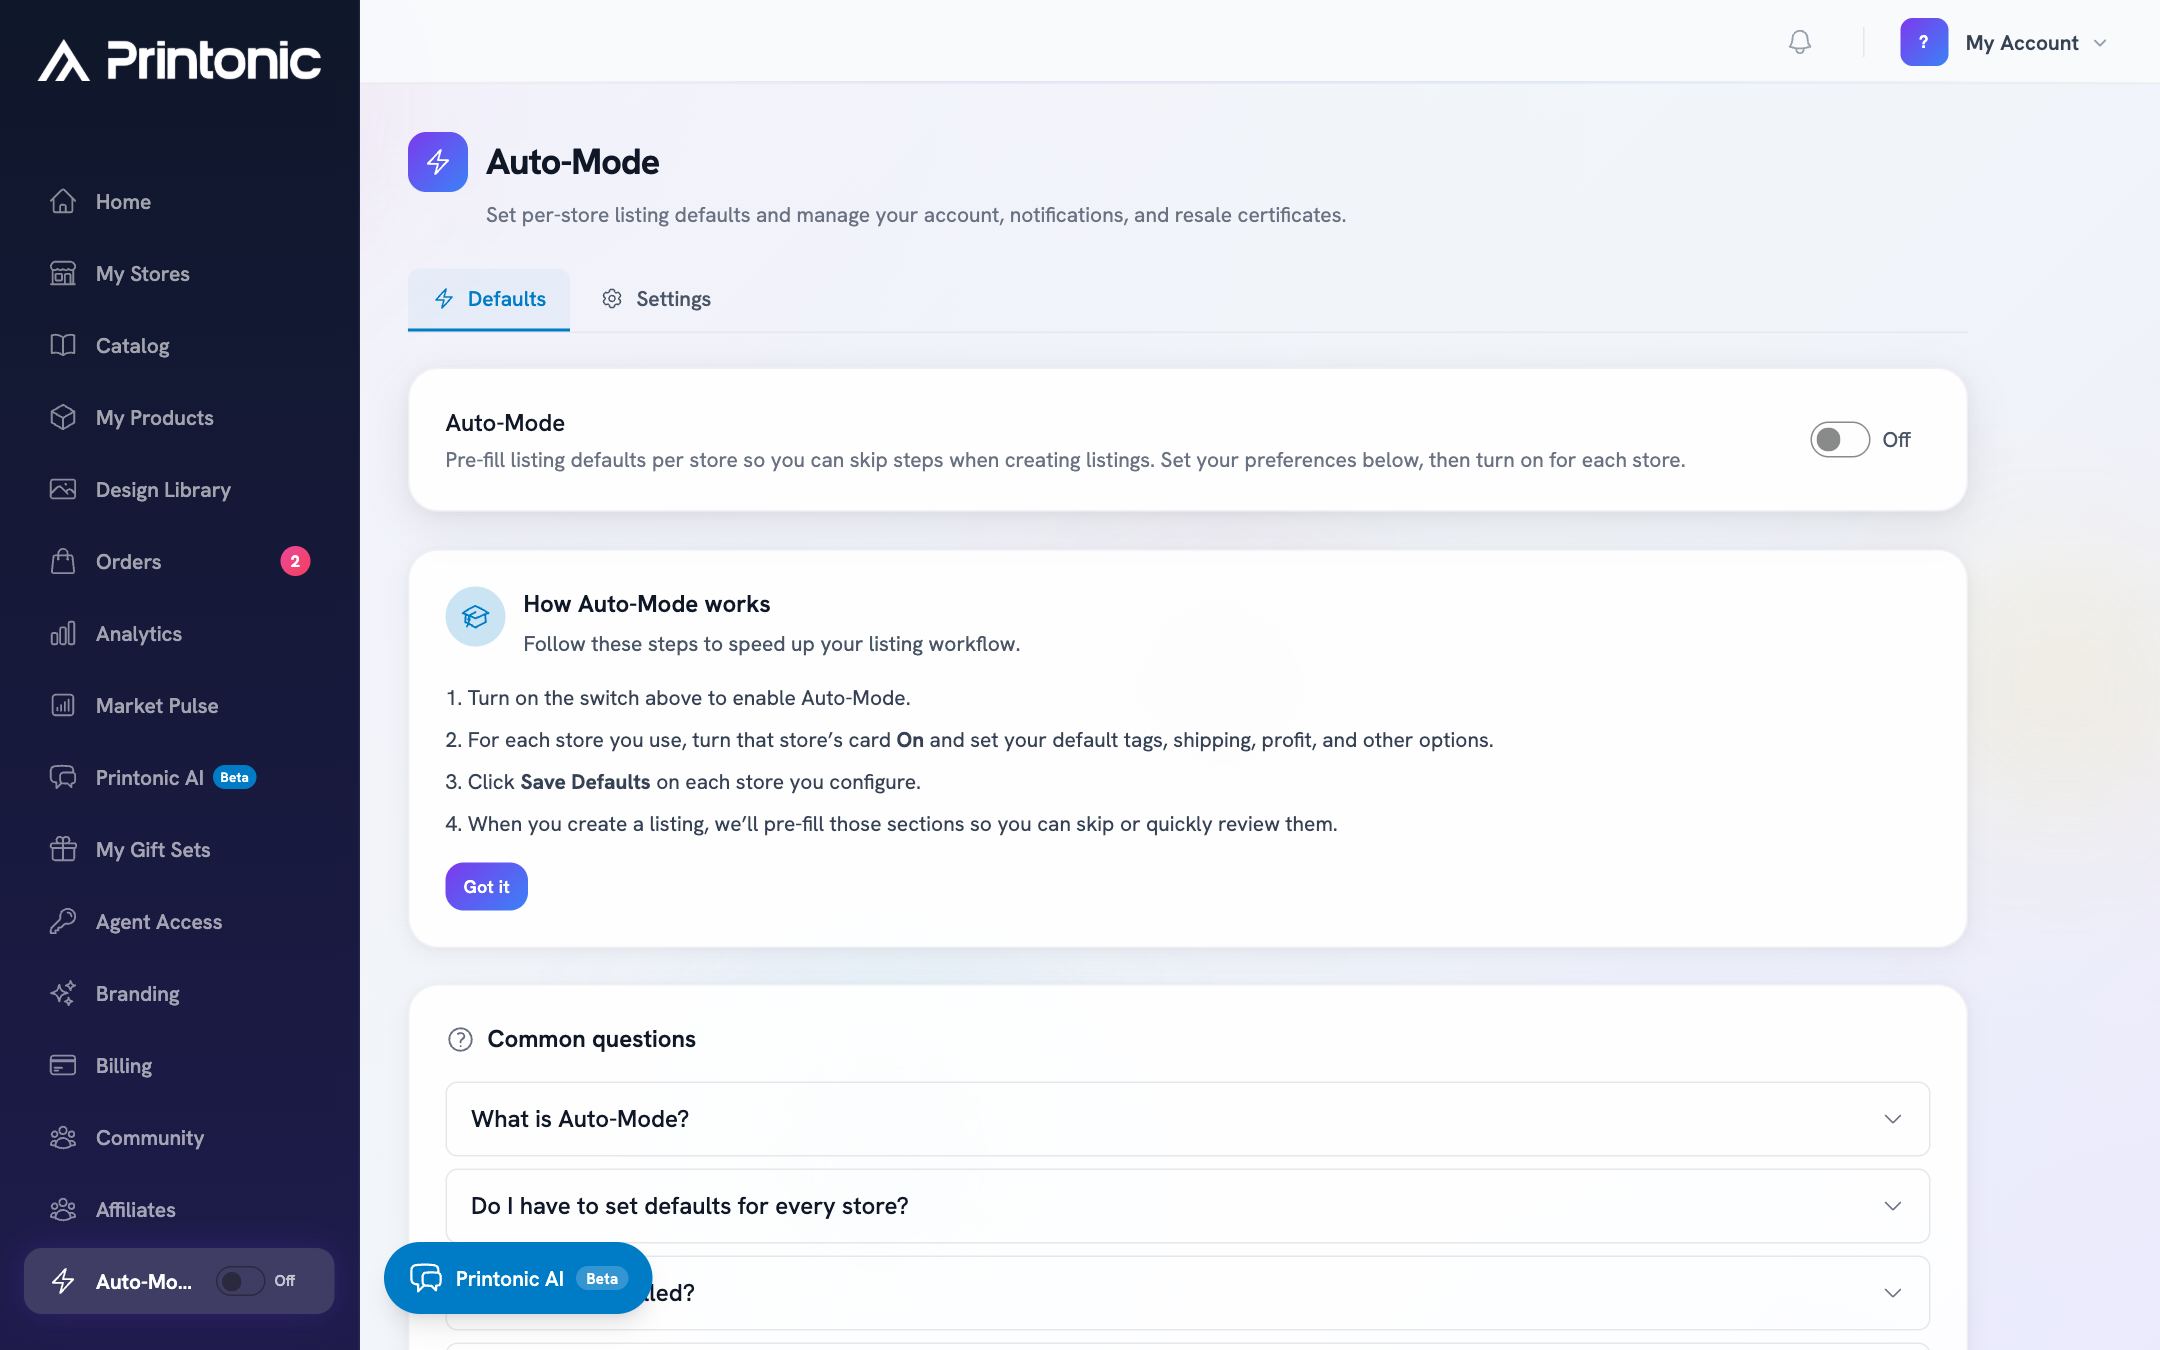
- 9
Create a listing and review the pre-filled sections
Next time you create a listing for that store, sections covered by your defaults are filled in automatically. A section that is fully filled by defaults appears with a checkmark, so you can skip it entirely or expand it to change something for that one product.
Auto-Mode only sets initial values. You can edit any field on the listing step before publishing, and your saved defaults stay unchanged for the next listing.
Good to know
- Every store card also has a Greeting Card Add-On toggle. Turn it on to enable the greeting card option by default on eligible products.
- You do not have to configure every store. Set defaults only for the stores you list to regularly, and leave the rest off.
- If your store cards seem to have disappeared, check the main Auto-Mode switch at the top of the Defaults tab. The cards only show while it is on.
- Defaults are per store, so use them to run different strategies, like free shipping on one store and a capped shipping profile on another.
Common questions
Where do the title and description come from?
Always from your product itself. Auto-Mode does not set a default title or description. Per-store defaults cover tags, shipping, category, greeting card, and profit.
Will changing my defaults update listings I already published?
No. Auto-Mode only sets initial values when you create a new listing. Existing listings are not touched, and edits you make on the listing step never change your saved defaults.
Can I change a pre-filled value on a specific product?
Yes. On the listing step, expand any pre-filled section and edit whatever you need before publishing. That change applies to that listing only.
What is the profit preference used for?
It tells Printonic whether your default profit is a percentage or a fixed dollar amount per item. That preference is applied whenever pricing is suggested or filled in for new listings in that store.