Products & Listings
Add a product
Turn a catalog item into your own product: pick variations, upload your art, set prices, and publish it to your store with the step-by-step setup wizard.
Every product you sell on Printonic starts as a catalog item (a mug, a print, a candle) that you make your own. You choose which variations to offer, upload your artwork for each print area, set your prices, and publish the finished listing to your store.
The whole flow happens in a guided setup wizard with up to three steps: Variations, Files, and Listing. Your progress is saved as you go, so you can stop at any point and pick up later from My Products.
- 1
Dashboard > Catalog
Browse the Catalog and pick a base product
Open Catalog in your dashboard and click any product that interests you. The product page shows the base price, available variations, shipping rates, processing time (1-3 business days), and estimated delivery windows, so you can check the numbers before you commit.
Not sure about quality? Use the Order a sample link under the main button to have one printed and shipped to you first.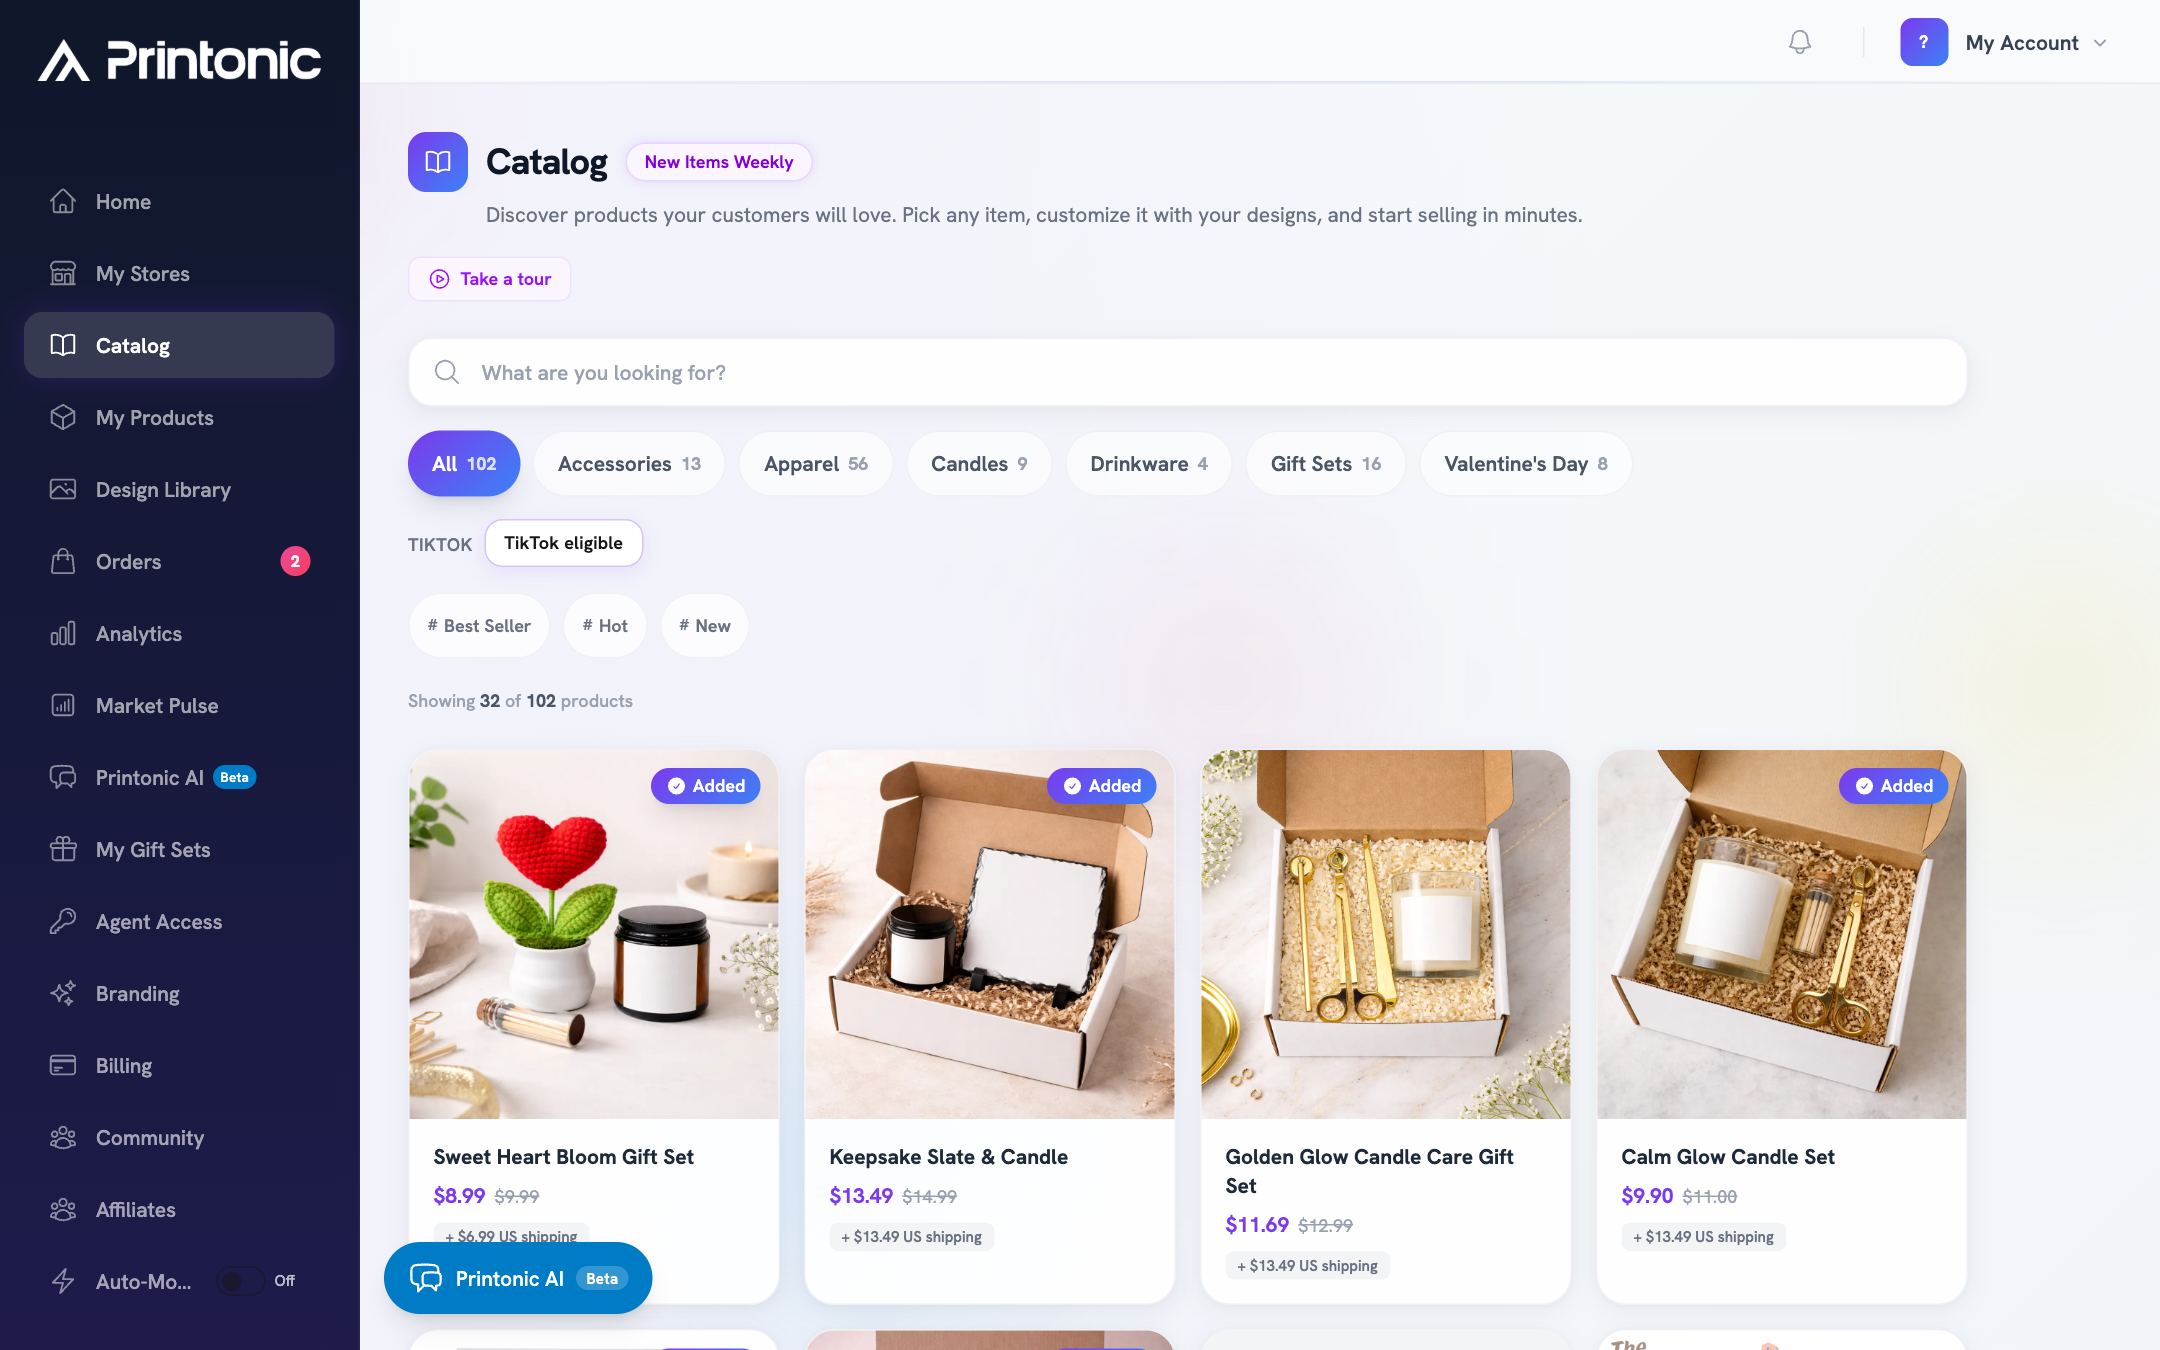
- 2
Dashboard > Catalog > product page
Click Add to My Products
Press the Add to My Products button. Printonic creates a draft copy of the product just for you and drops you straight into the setup wizard.
The draft appears in My Products immediately with the status Draft. Nothing is published yet, and you can leave the wizard at any time and come back through My Products > Manage.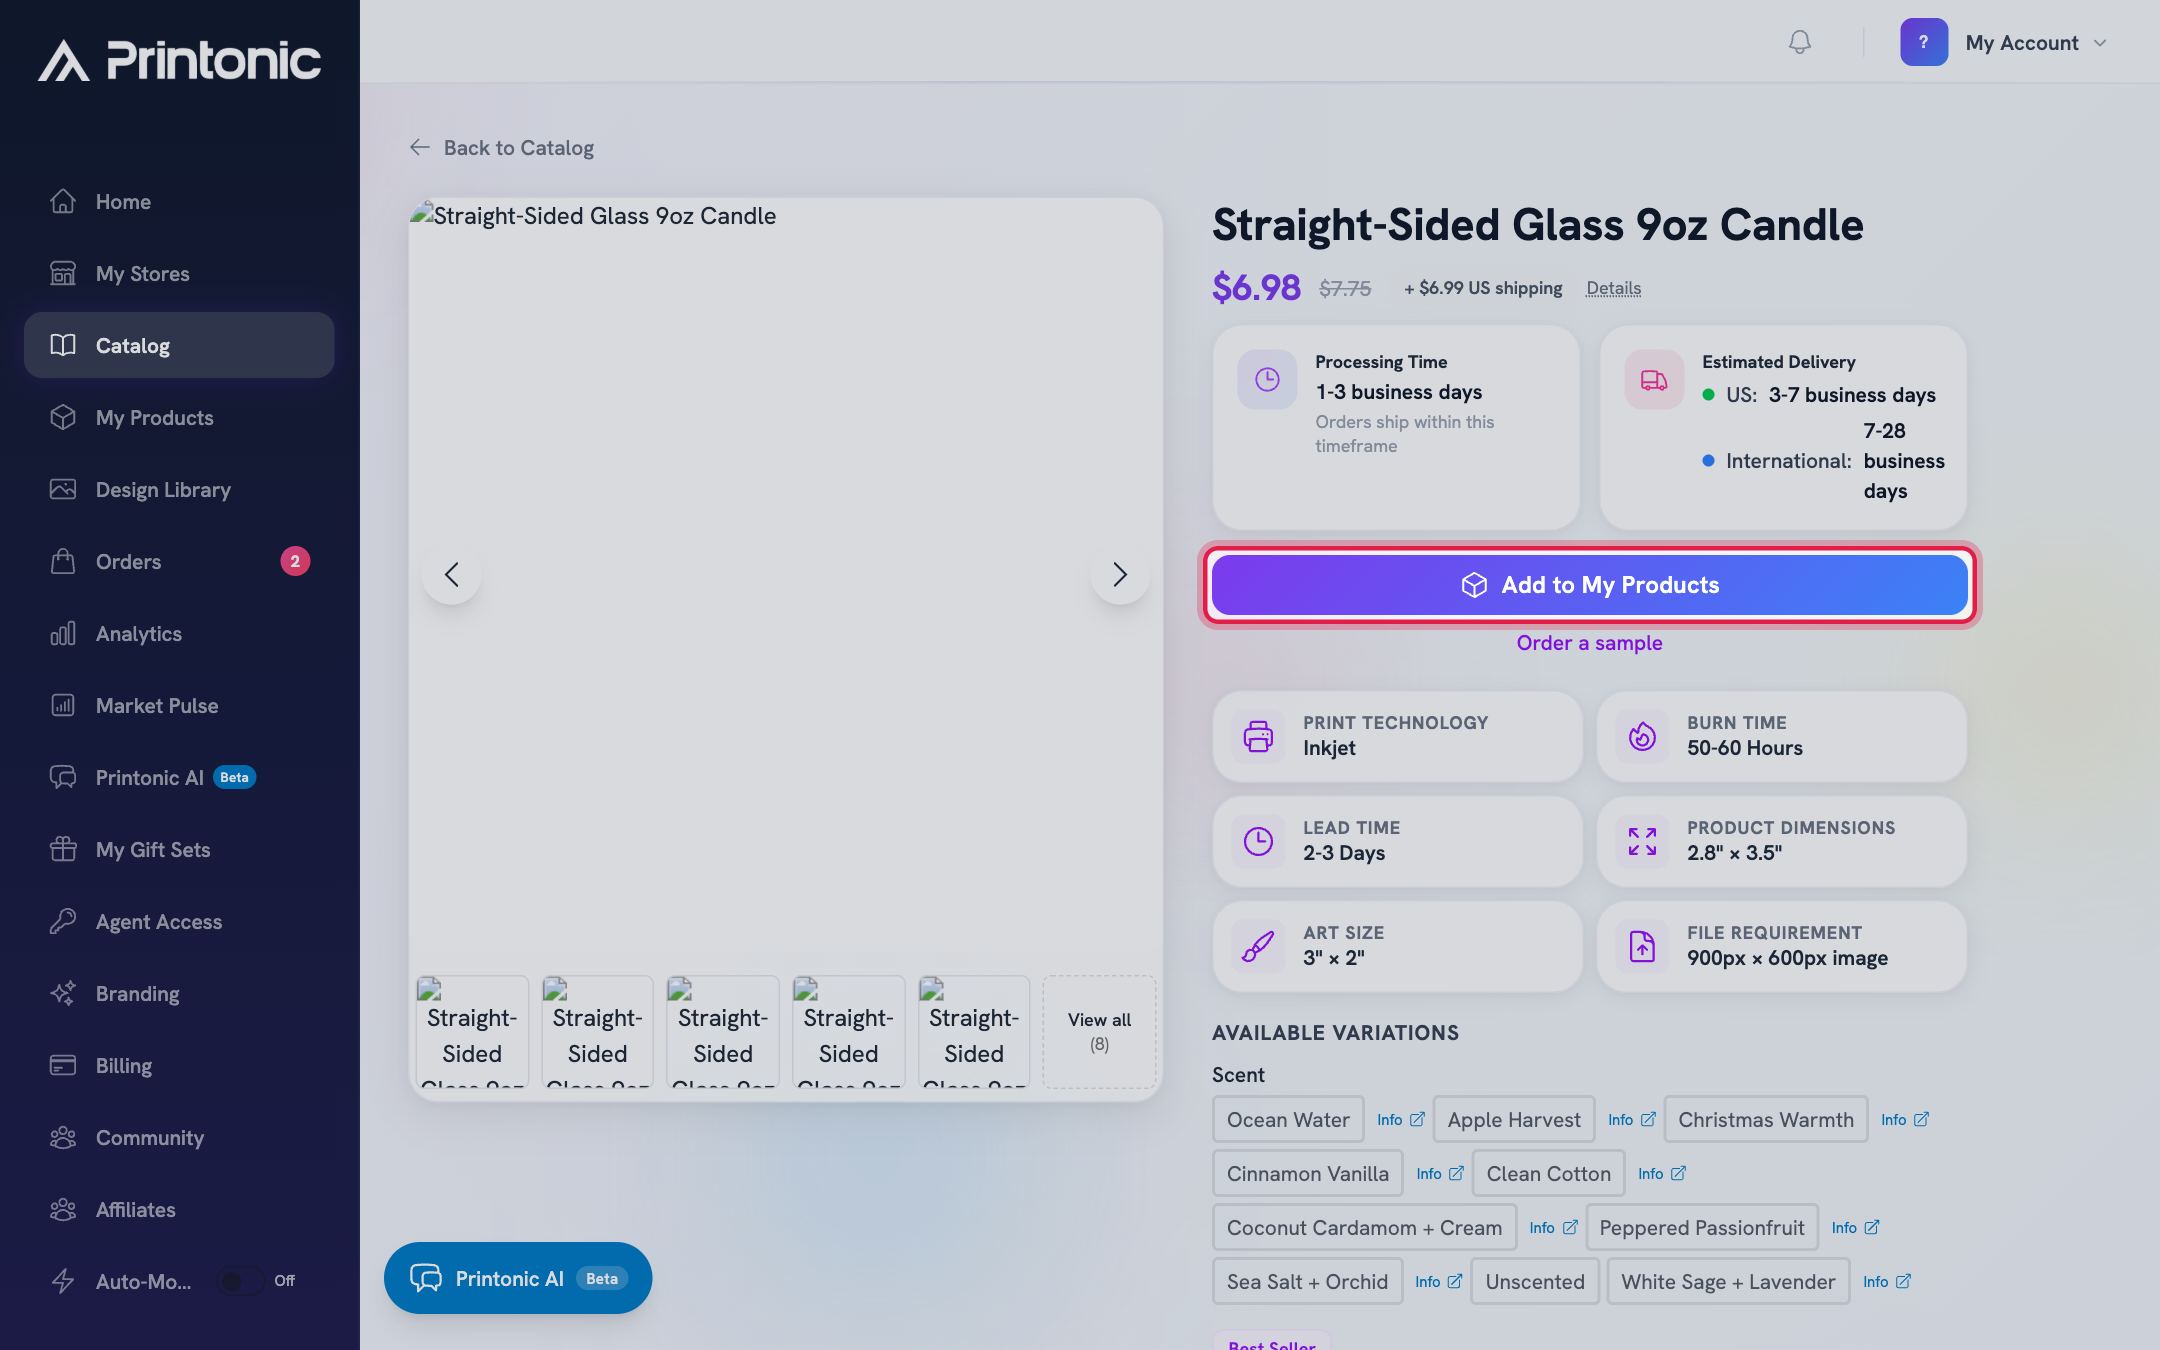
- 3
Product setup > Variations
Select the variations you want to offer
On the Select Variations screen, tick the options you want to sell, for example specific sizes, colors, or materials. Use Select All to grab every available option in a group. When you are happy, click Next Step.
This step only appears for products that have variations. Your choices here decide which art files the next step asks for, so if you change your selection later, the file requirements can change too.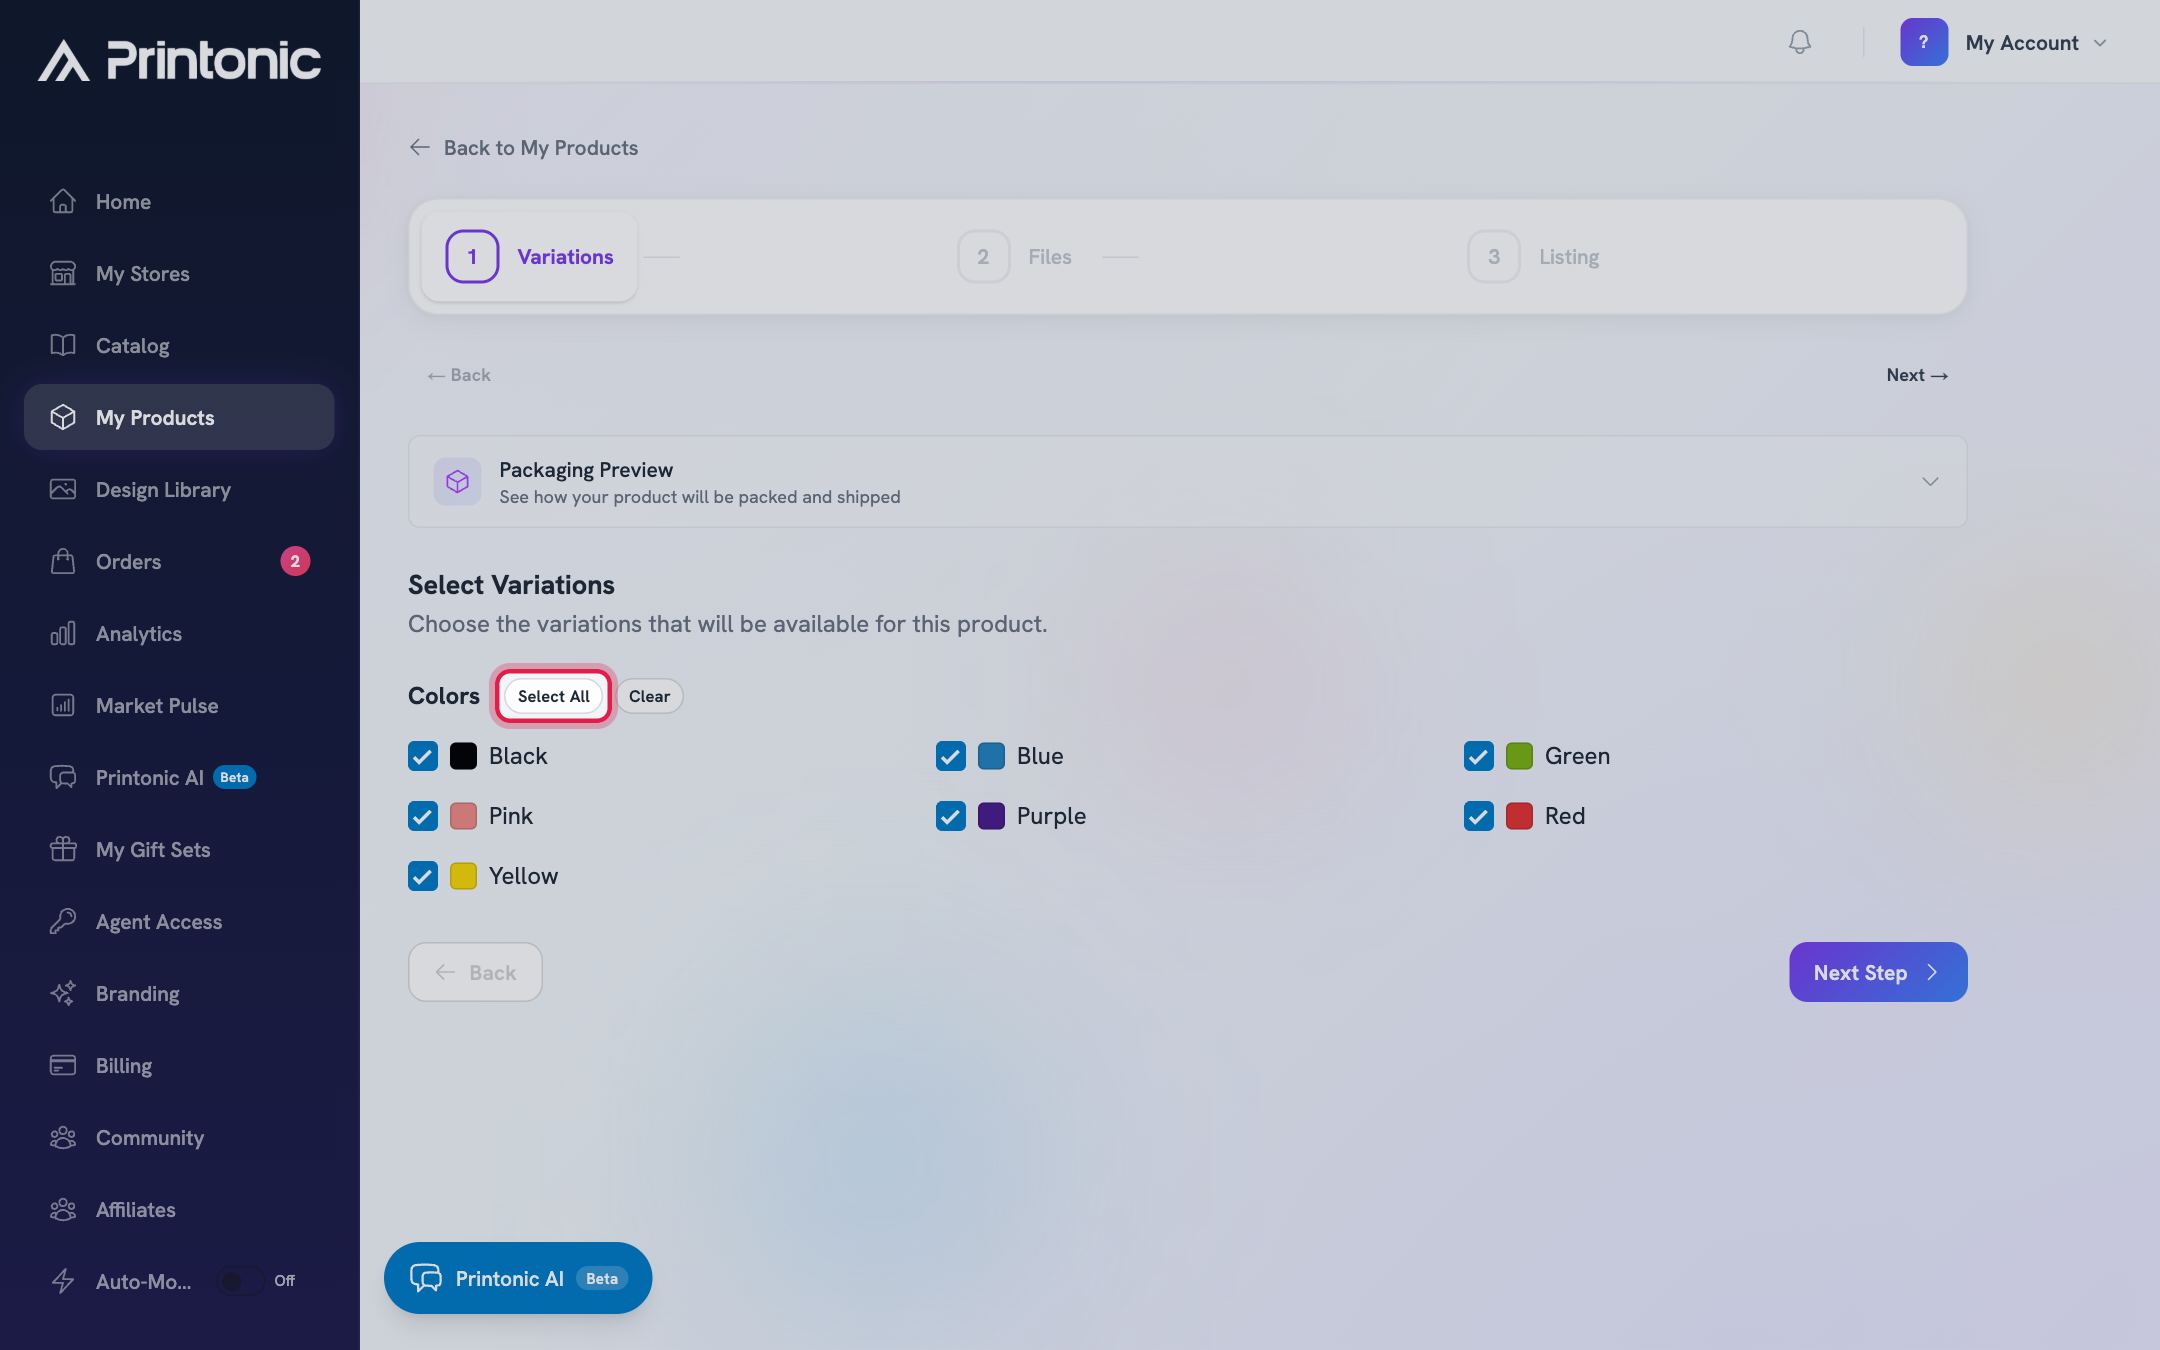
- 4
Product setup > Files
Upload your art for each print area
Under Required Files, each print area has its own tab. Open each tab, upload your artwork, and use the crop tool to fit it to the required shape. A preview shows exactly what you uploaded.
Next Step stays disabled until every required file is uploaded and its proportions match the print area. If you see the message asking you to upload all required files and check aspect ratios, re-crop the flagged file and try again.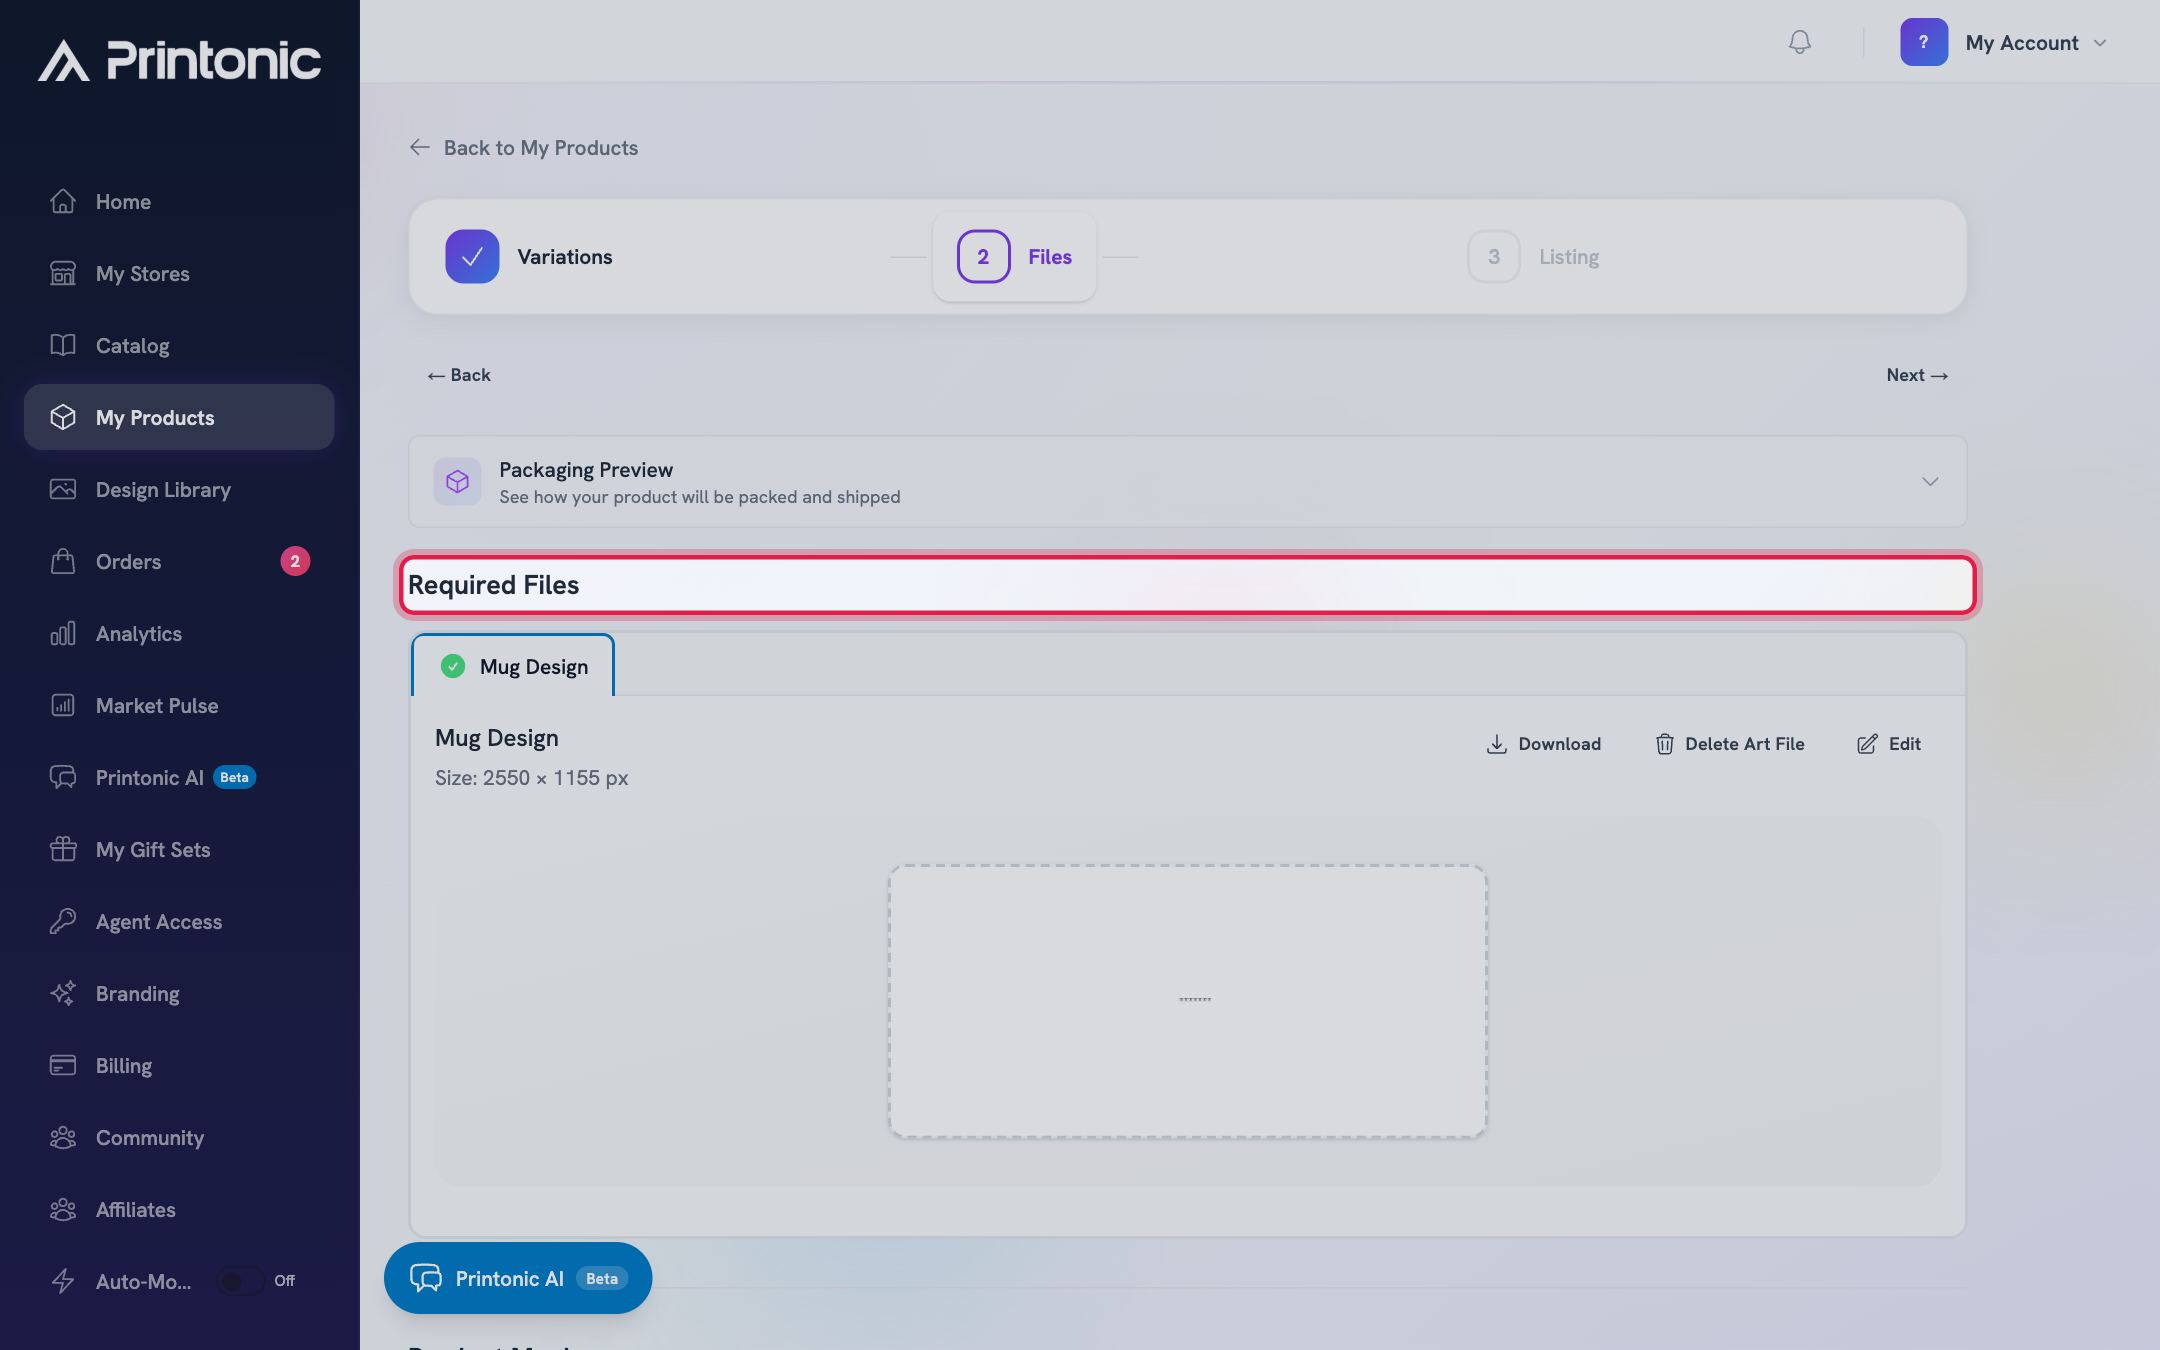
- 5
Product setup > Files
Generate mockups (optional)
If the product supports it, a Mockups area appears below your files. Click Generate Mockups to render realistic product photos with your art applied, then select the ones you want to use. Selected mockups become the photos on your listing.
This is optional, and there is a limit on how many mockups you can select. If you prefer your own photography, skip it and add photos on your store after publishing.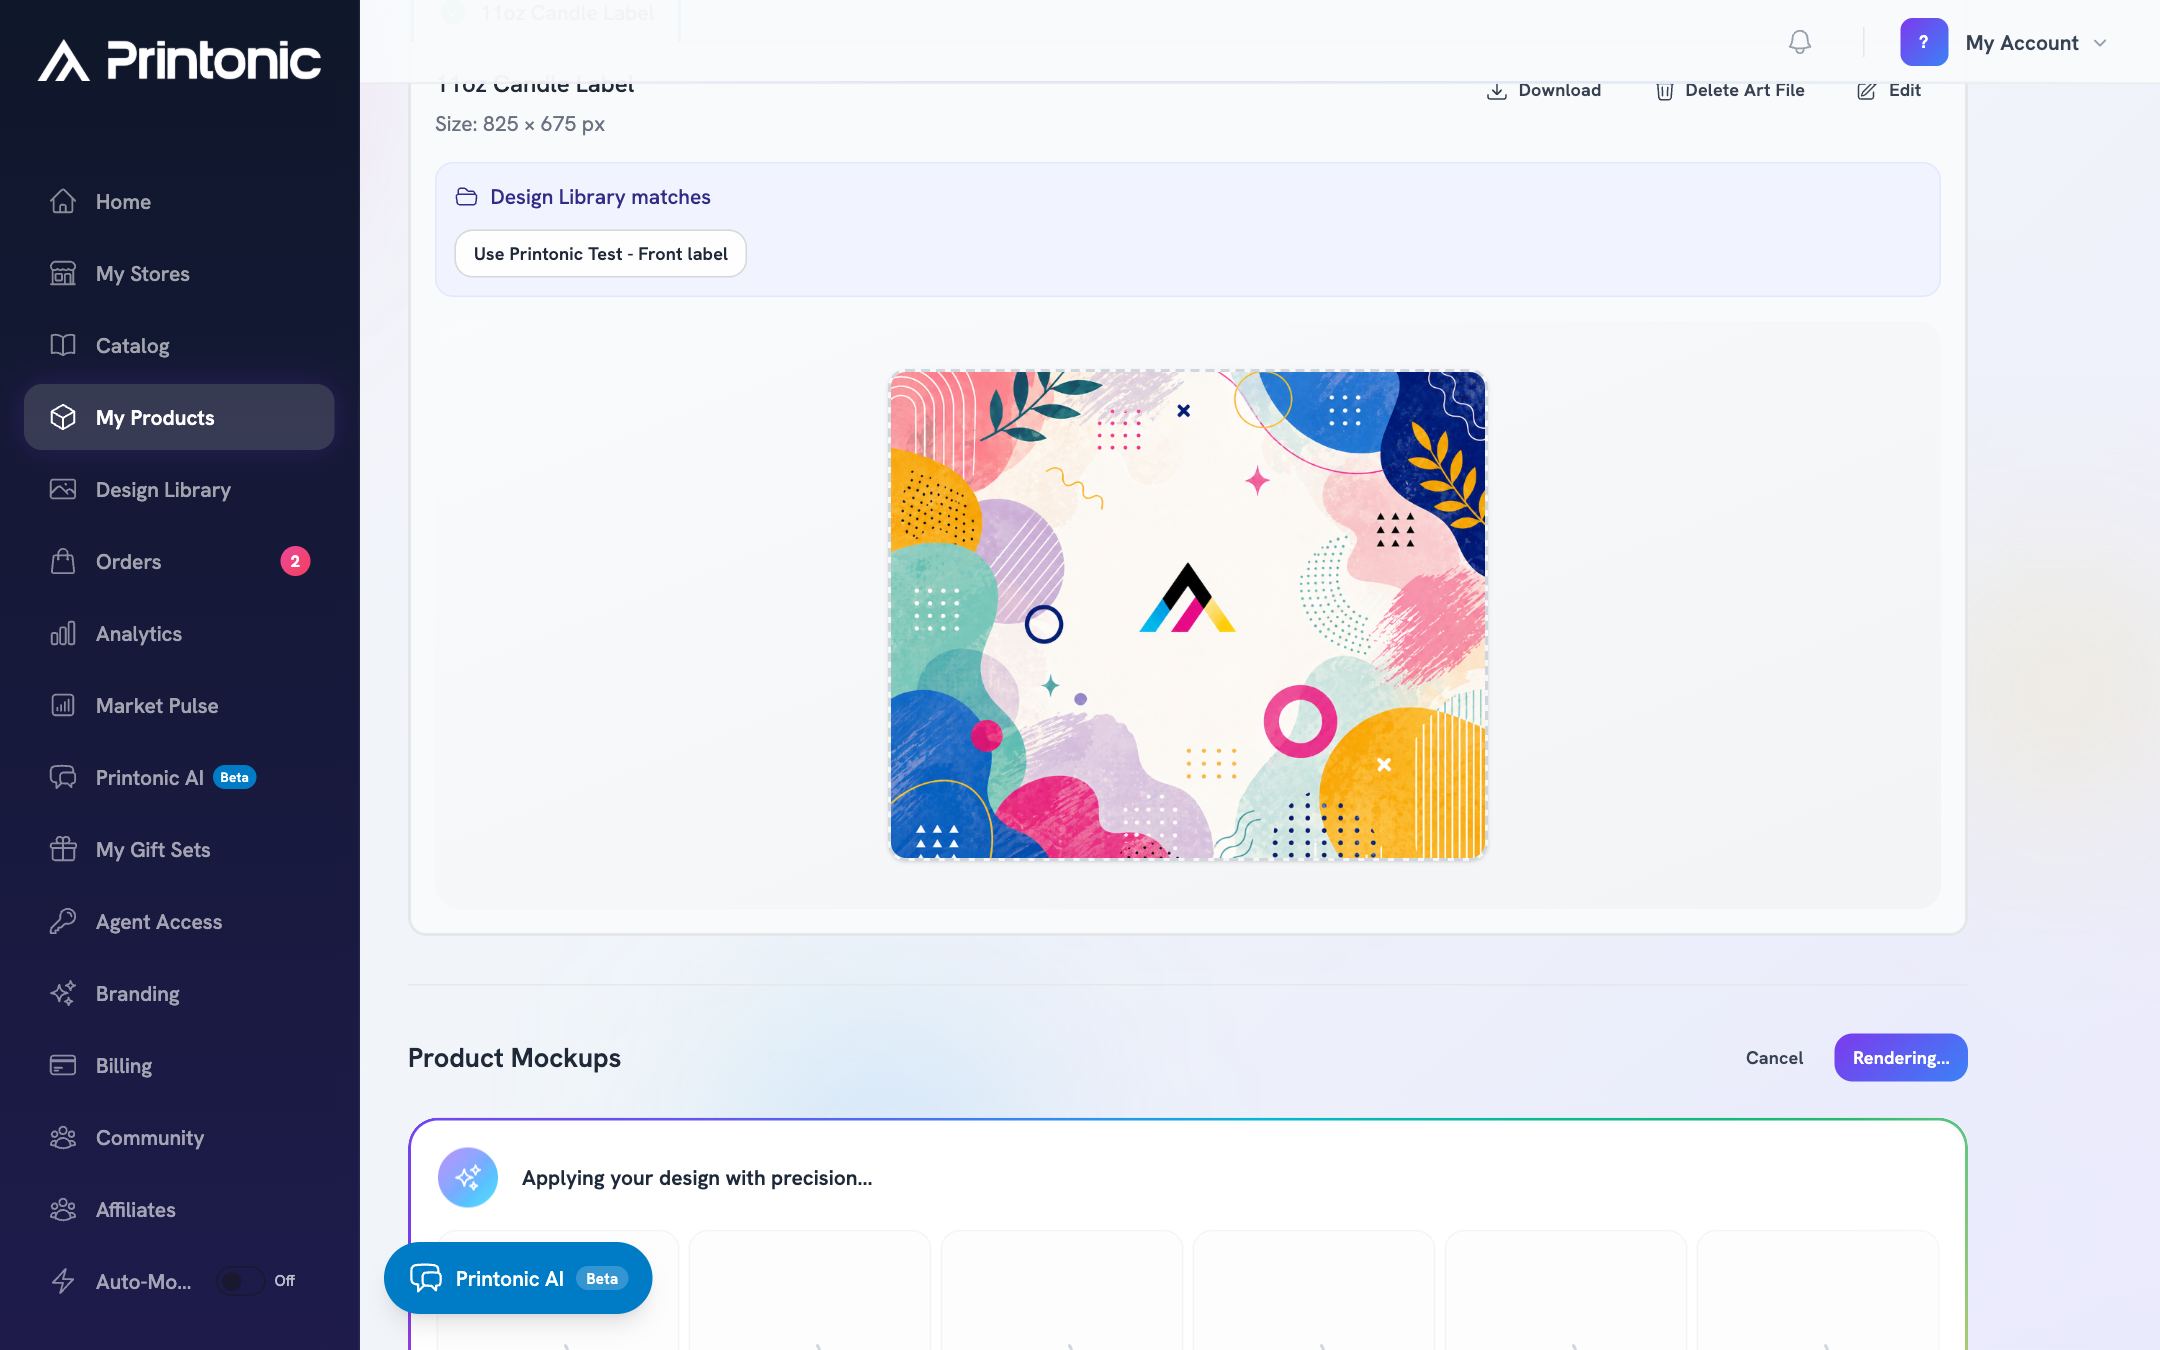
- 6
Product setup > Listing
Fill in the Listing step
Work through the sections from top to bottom. Store: pick which connected store this listing belongs to. Listing Info: write your Listing Title and Listing Description (both required). Pricing: set a price for each variation while Printonic shows your cost and profit live. Shipping (Etsy and Shopify): choose free US shipping or buyer-paid, and pick or create a shipping and processing profile. Tags: add search tags (Etsy allows up to 13). A live preview of your listing sits on the right.
Everything on this step saves automatically as you type. Selling on Etsy? Turn on the include Etsy fees option in Pricing so your profit numbers account for Etsy's cut.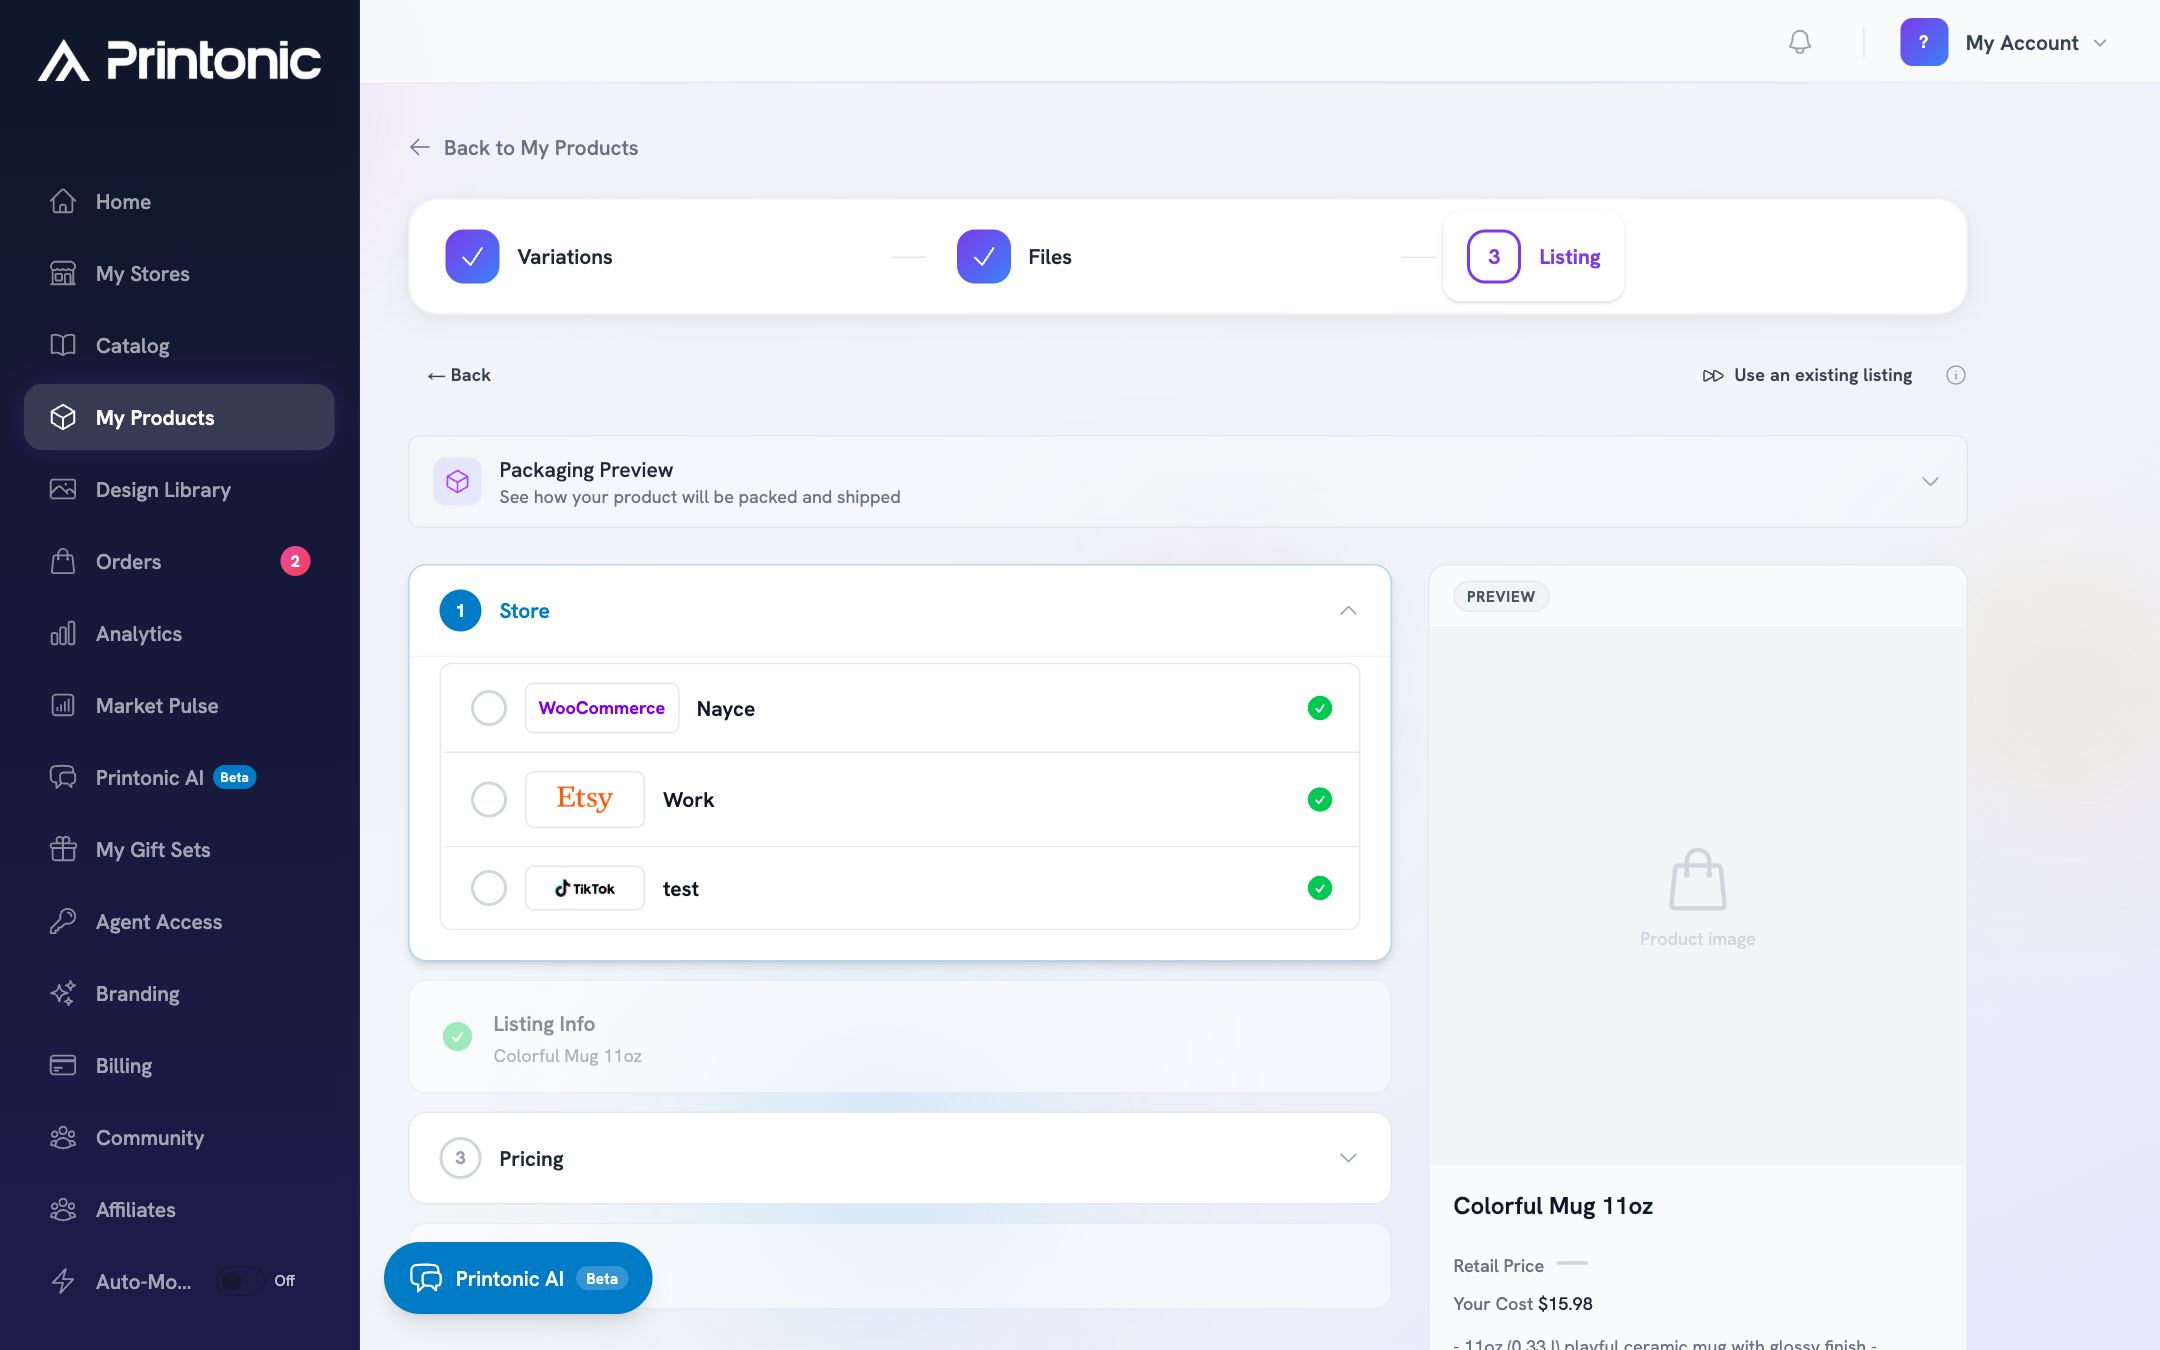
- 7
Product setup > Listing
Publish
Click Publish at the bottom of the Listing step. Printonic creates the listing on your store and then shows a summary, including a collapsed SKU codes section you can expand to view or copy your Printonic SKU codes.
Already have this listing live on your store? Click Use an existing listing at the top of the Listing step instead. That skips the listing setup and just generates Printonic SKU codes that connect your existing listing to Printonic for fulfillment.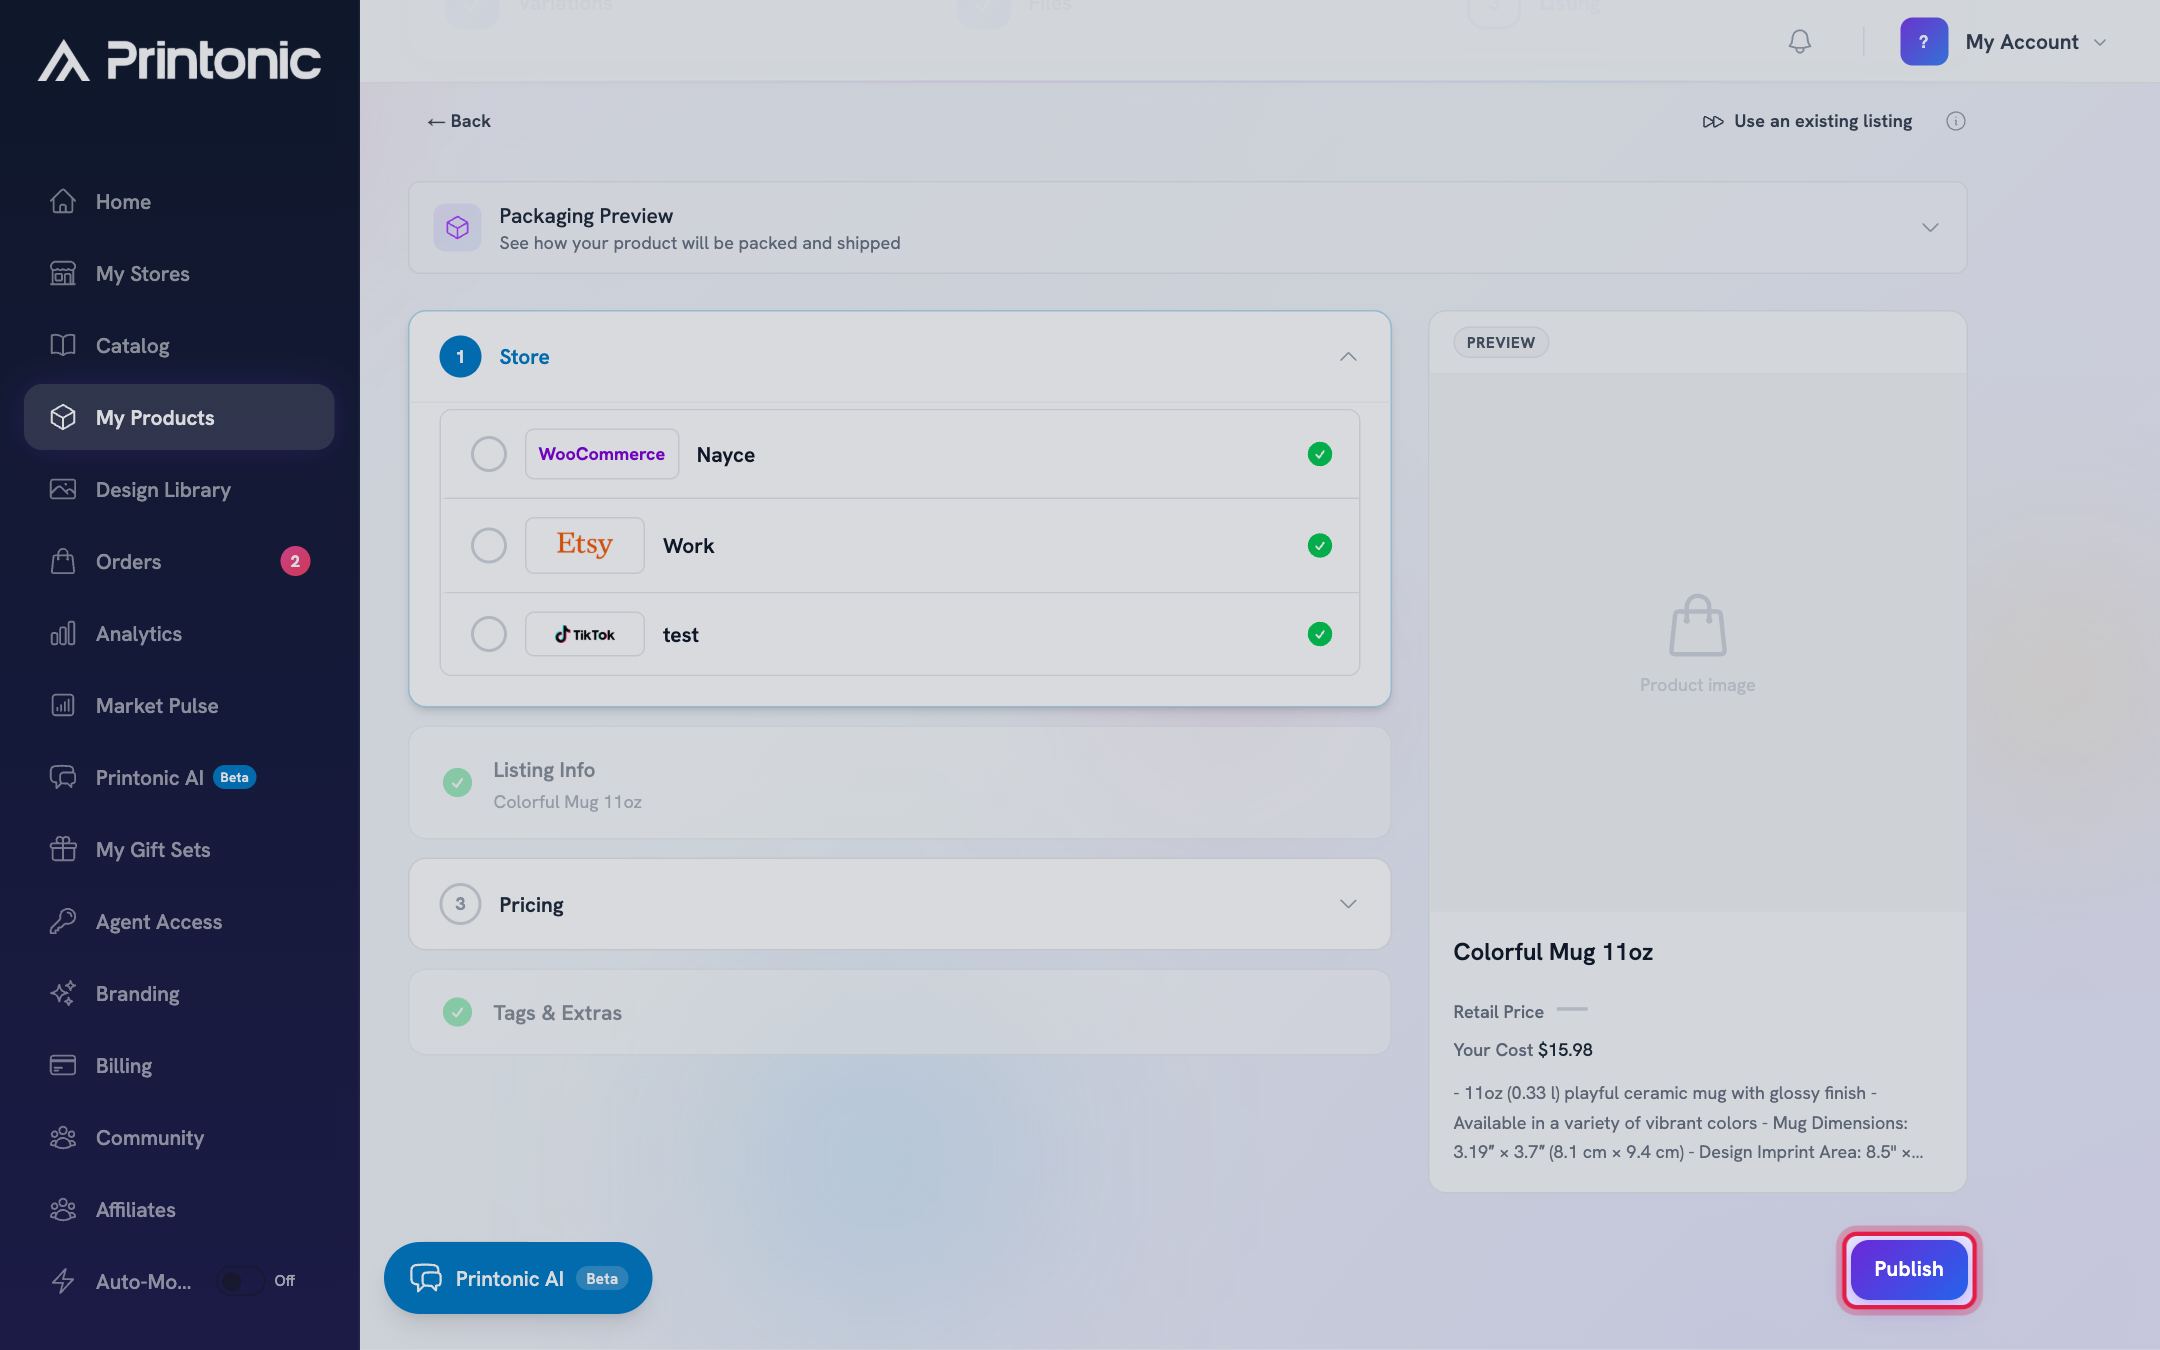
- 8
Dashboard > My Products
Manage it from My Products
Your product now appears in the My Products table with a green Published badge that links straight to the live listing. Drafts show a gray Draft badge. Use the search box and the Store and Status filters to find products, Manage to reopen the wizard, Duplicate to copy a product, and the trash icon to delete one.
Deleting only removes the product from My Products. Your marketplace listing and any pending orders are not affected.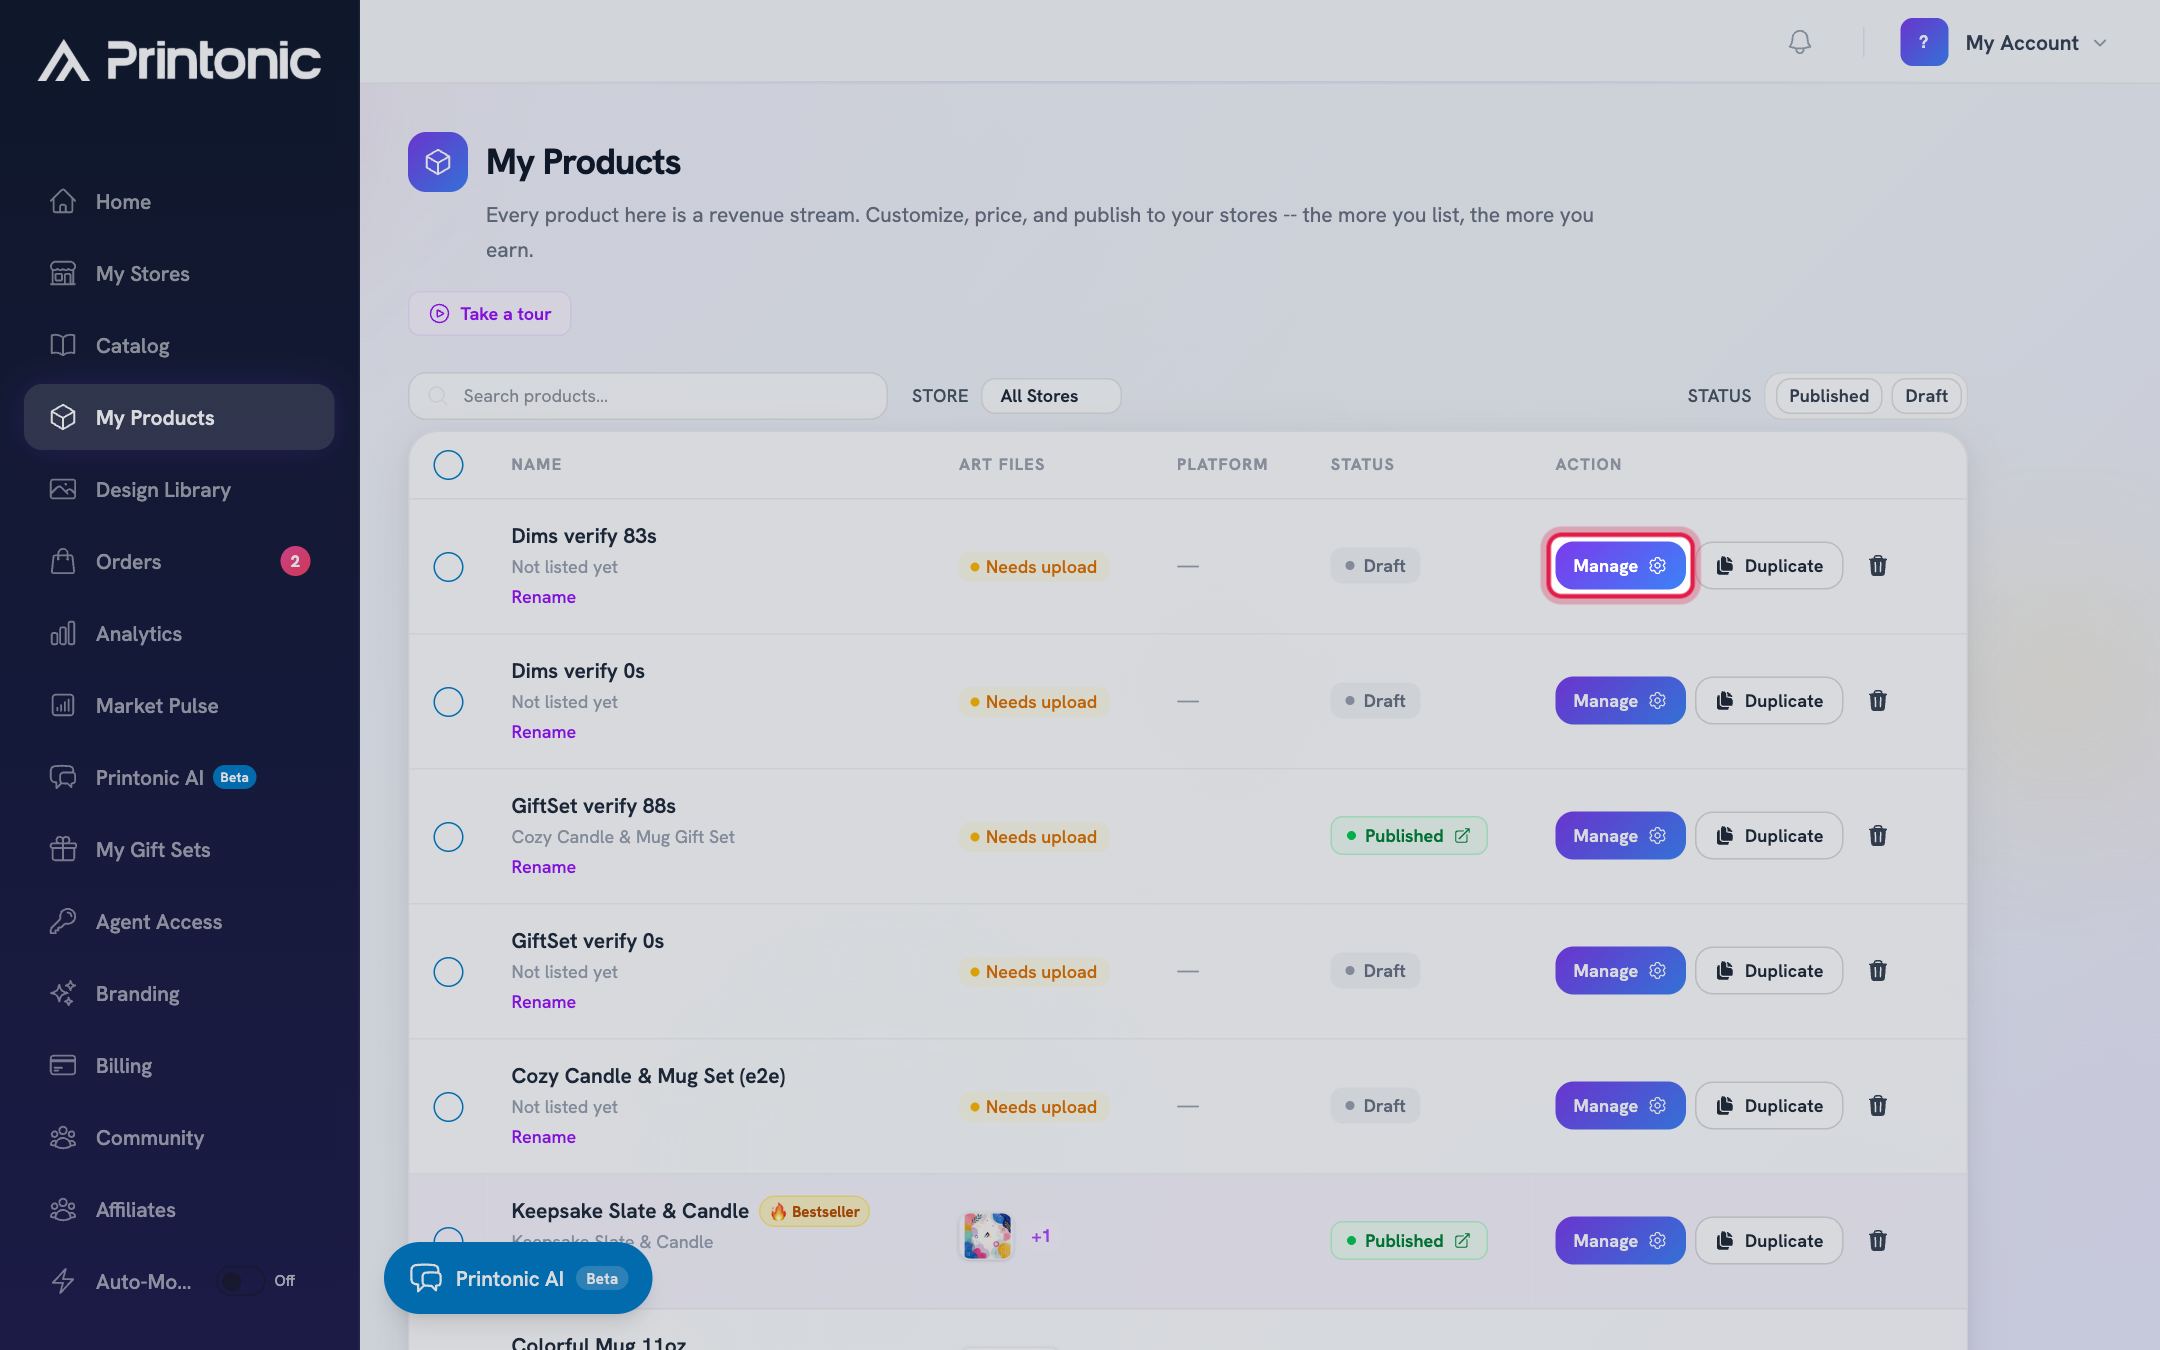
Good to know
- You do not have to finish in one sitting. The Listing step saves automatically, and your draft waits in My Products until you publish.
- Duplicate is the fastest way to launch a design series. It copies all the listing details from an existing product, so you only upload new art and adjust the title.
- If you list often, set up Auto-Mode in the dashboard sidebar. It pre-fills tags, shipping choices, and profit-based prices on every new product so the Listing step is mostly done for you.
- An amber Needs upload badge in the Art Files column of My Products means a product is still missing required artwork.
Common questions
Where did my product go after I clicked Add to My Products?
It was saved as a draft in Dashboard > My Products. Click Manage on its row to reopen the setup wizard exactly where you left off.
Why is the Next Step button grayed out on the Files step?
One or more required files are missing or do not match the required proportions for their print area. Check each tab under Required Files for a warning, then upload or re-crop the flagged file.
Can I change things after publishing?
Yes, partly. Open the product from My Products and you can still update your art files and revisit the listing summary. Variations are locked once a product is published, so to sell a different set of options, duplicate the product and publish a new listing.
What are the SKU codes shown after publishing?
They are Printonic SKU codes that link each variation of your listing to the right product for fulfillment. They are added to your listing automatically, and you can expand the SKU codes section on the publish summary to view or copy them anytime.