Products & Listings
Use the Design Library
Upload your artwork once, save print-ready versions of it for different products, and reuse those versions when you build listings.
The Design Library stores your artwork in two layers. A master is the original, full-quality file you upload once (your logo, illustration, or pattern). A product version is that same artwork prepared for one specific product, sized and positioned to match its print file requirements (for example, a mug wrap or a 9oz candle label). One master can have many versions.
This guide walks you through uploading a master, creating product versions from it, and applying a saved version to a product listing.
- 1
Dashboard > Design Library
Open the Design Library
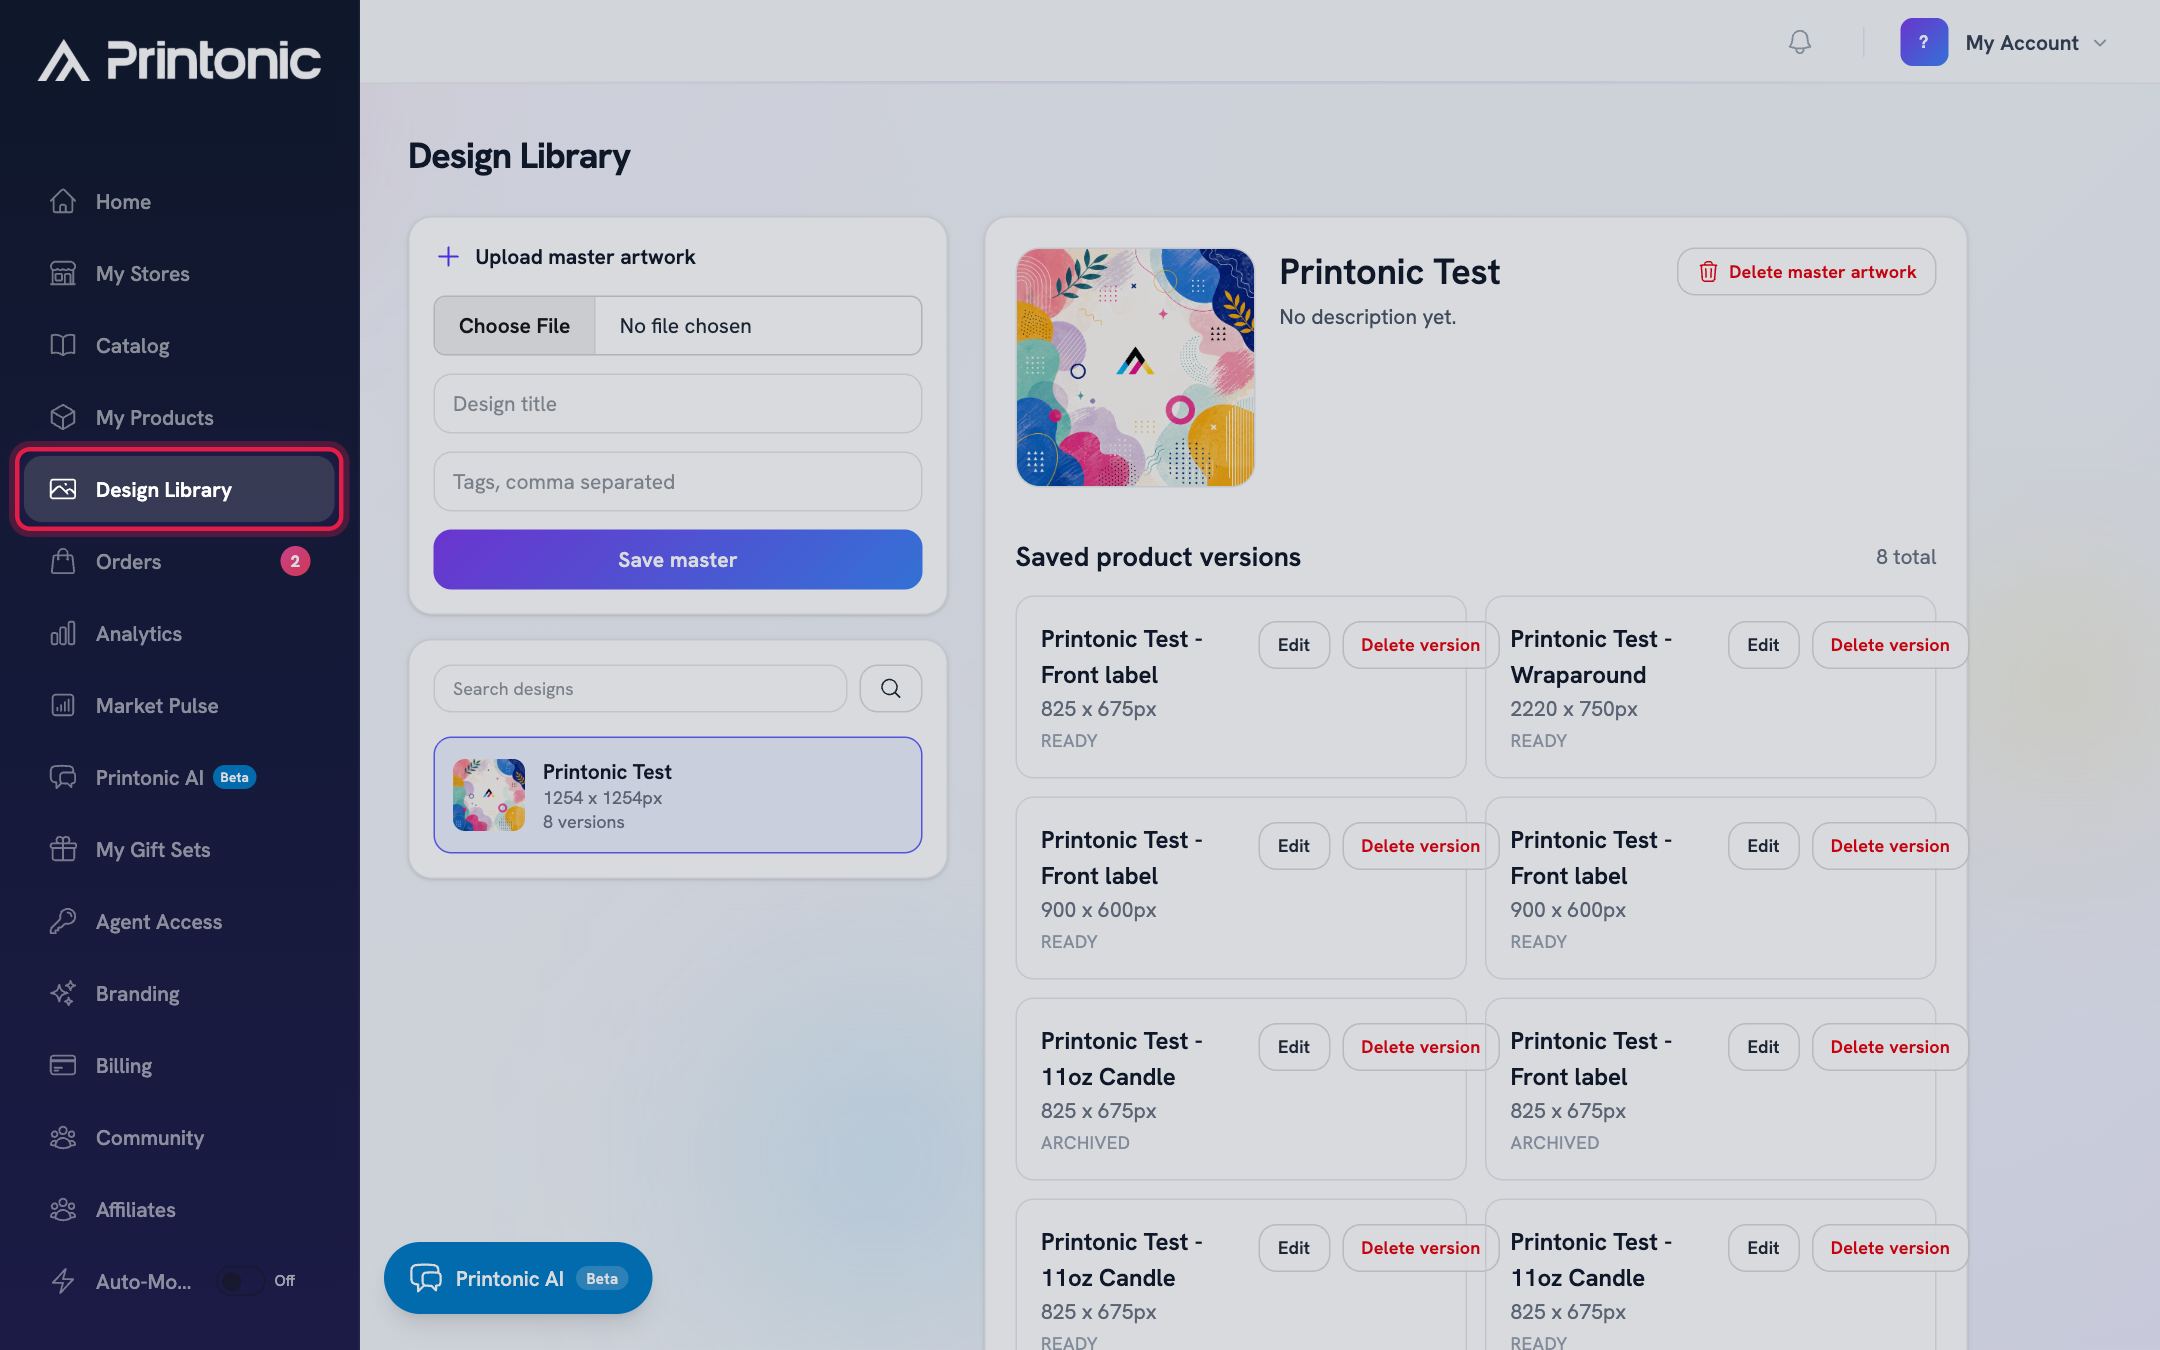
In your dashboard, click Design Library in the left menu. The left side of the page holds the Upload master artwork form and your list of designs. The right side shows details for whichever design is selected. If you have not uploaded anything yet, you will see 'No master artwork yet.'
- 2
Design Library > Upload master artwork
Upload a master artwork
In the Upload master artwork card, choose your file, type a Design title, and optionally add tags (comma separated). Then click Save master. The new design appears at the top of your list and opens on the right.
You can upload PNG, JPEG, WEBP, GIF, SVG, AVIF, or HEIC files. Upload the largest, highest-quality file you have, since every product version is prepared from this master. If you skip the title, the file name is used. If you click Save master without choosing a file, you will see 'Choose an artwork file first.'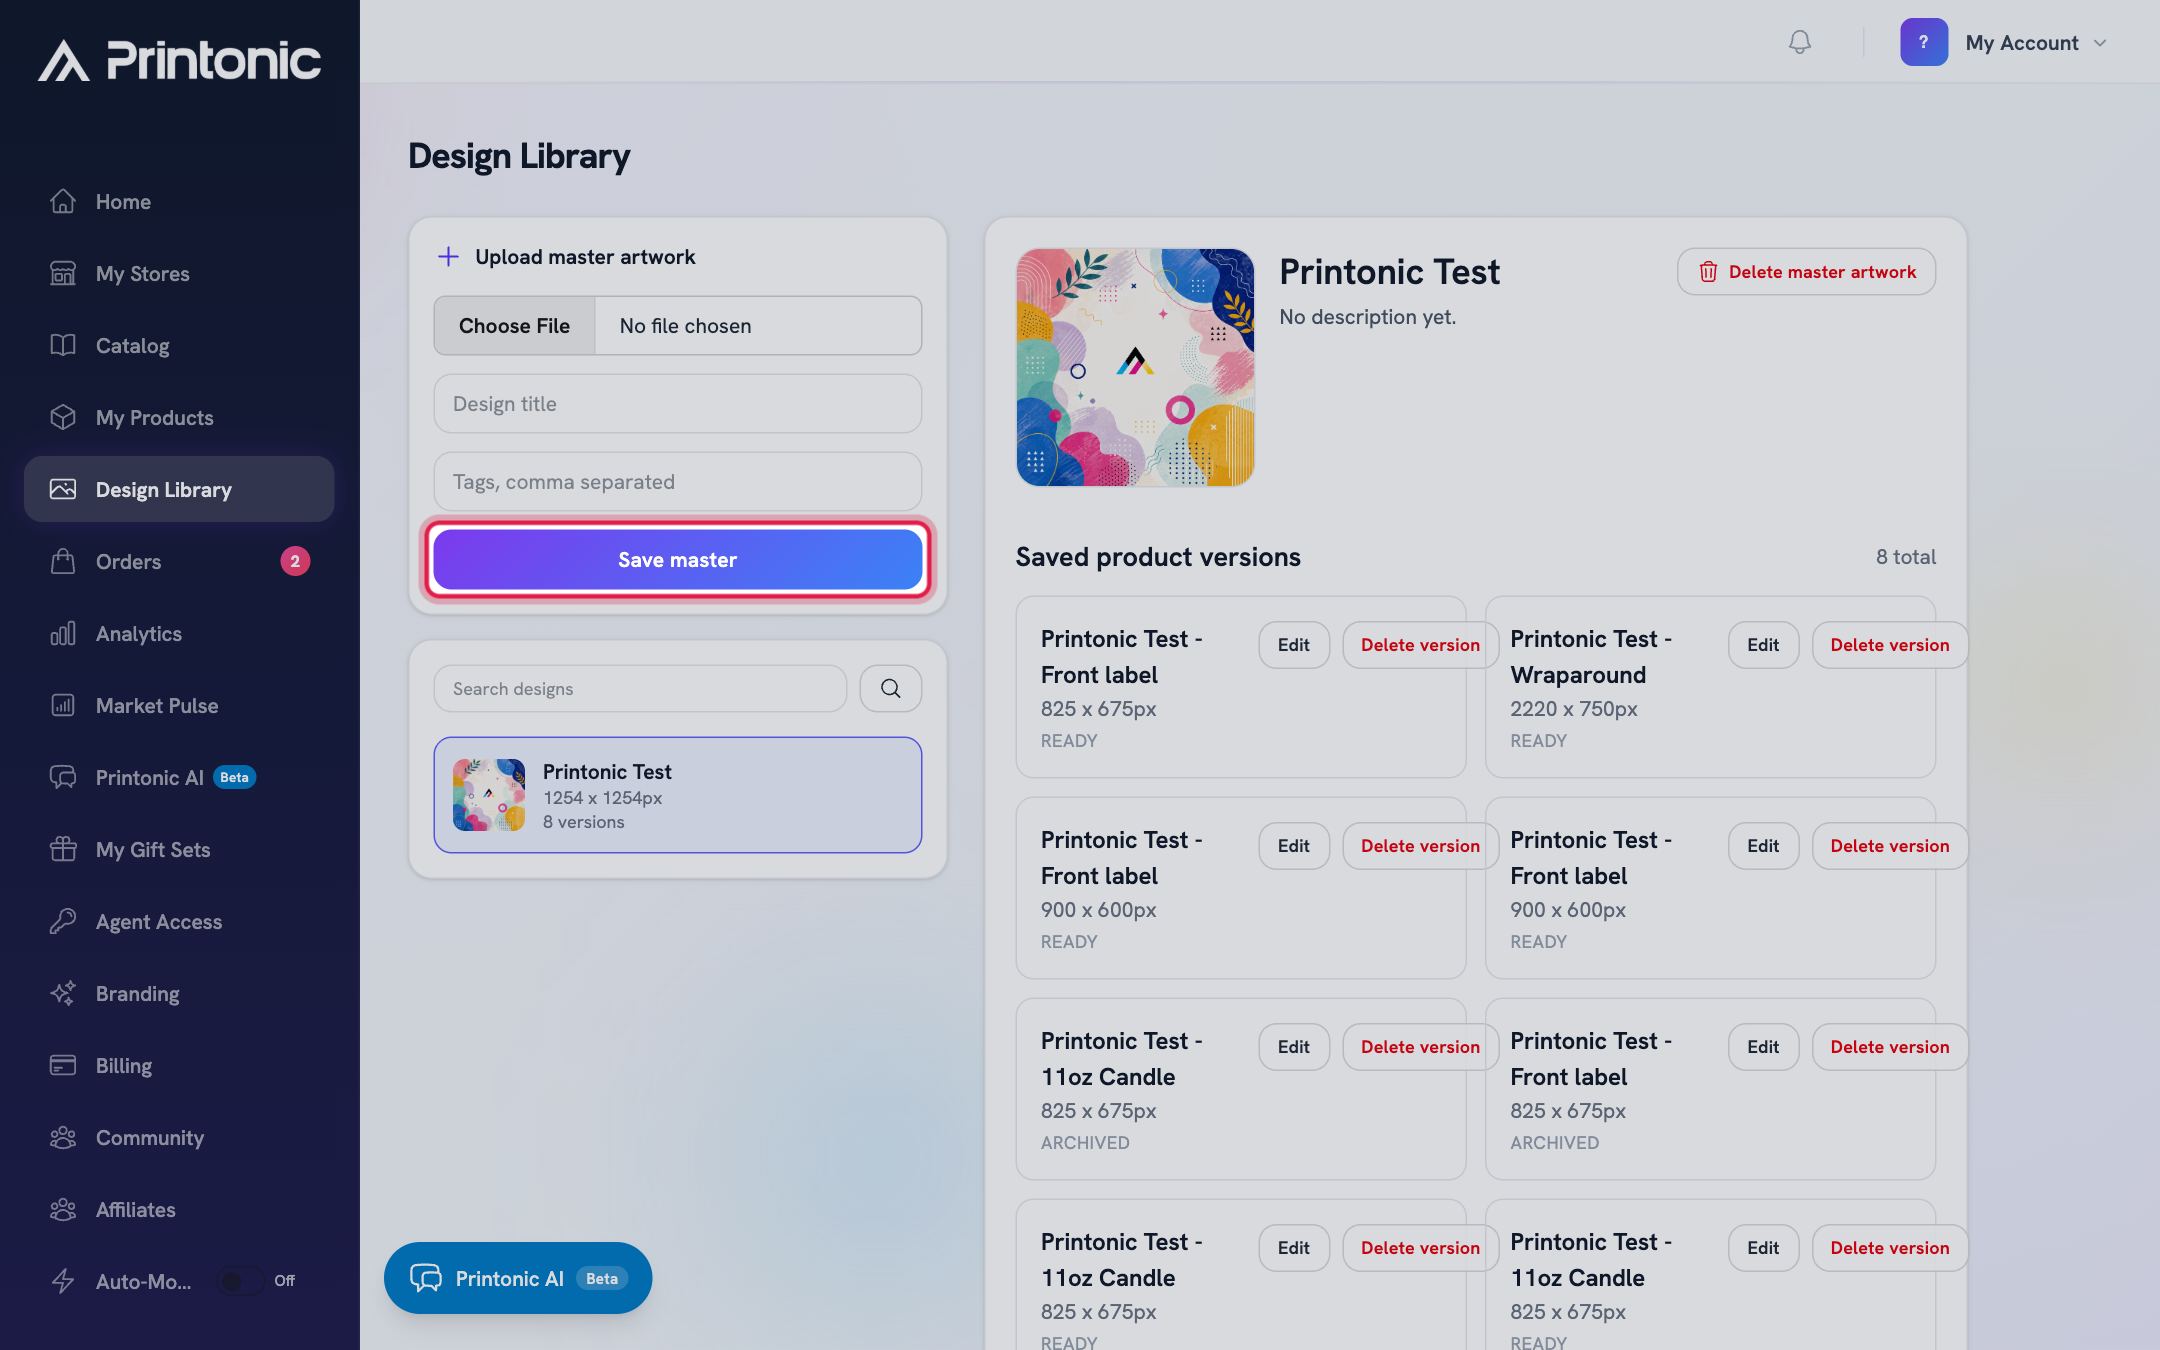
- 3
Design Library > Search designs
Find and select a design
Use the Search designs box to filter your list by title or tags, then click a design to open it. Each card in the list shows a small preview, the image dimensions (for example, 3000 x 3000px), and how many versions it has.
If a design shows 'Dimensions pending', the image is still being processed. Give it a moment and search again.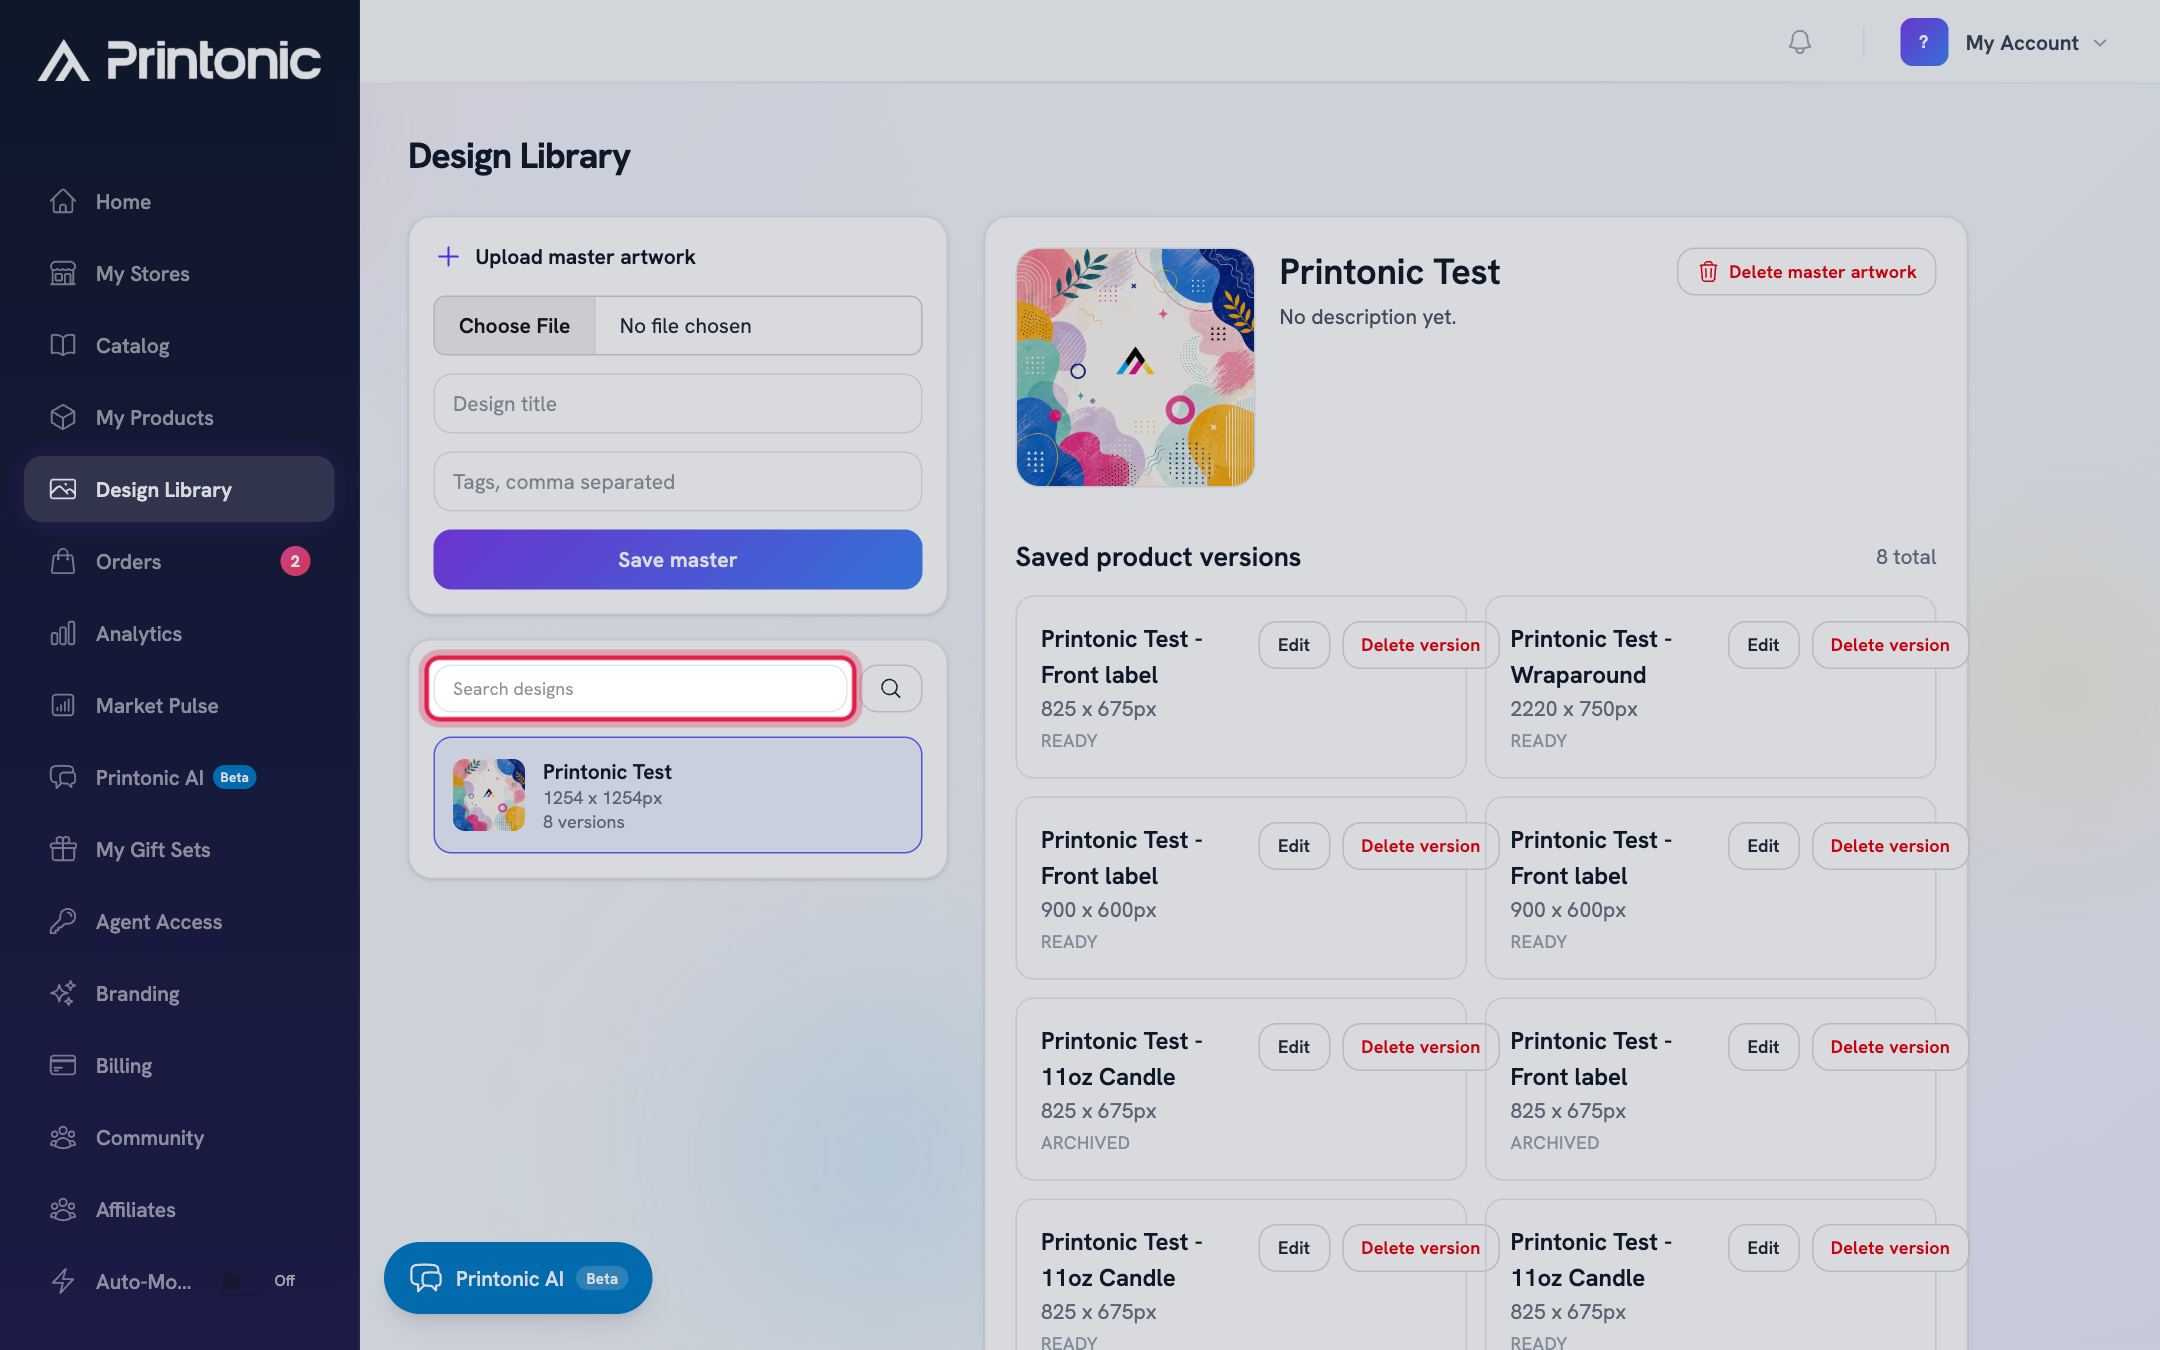
- 4
Design Library > Create a product version
Create a product version
With a design selected, scroll to the Create a product version section. Search for the print requirement that matches the product you want, for example '9oz candle label', 'mug', or 'shirt'. Each result shows the template name, its required print size in pixels, and the placement. Click a template to create the version.
A version is always tied to one print requirement so the exported art comes out at exactly the size that product needs. After you click a template, Printonic creates the version and takes you straight into the editor.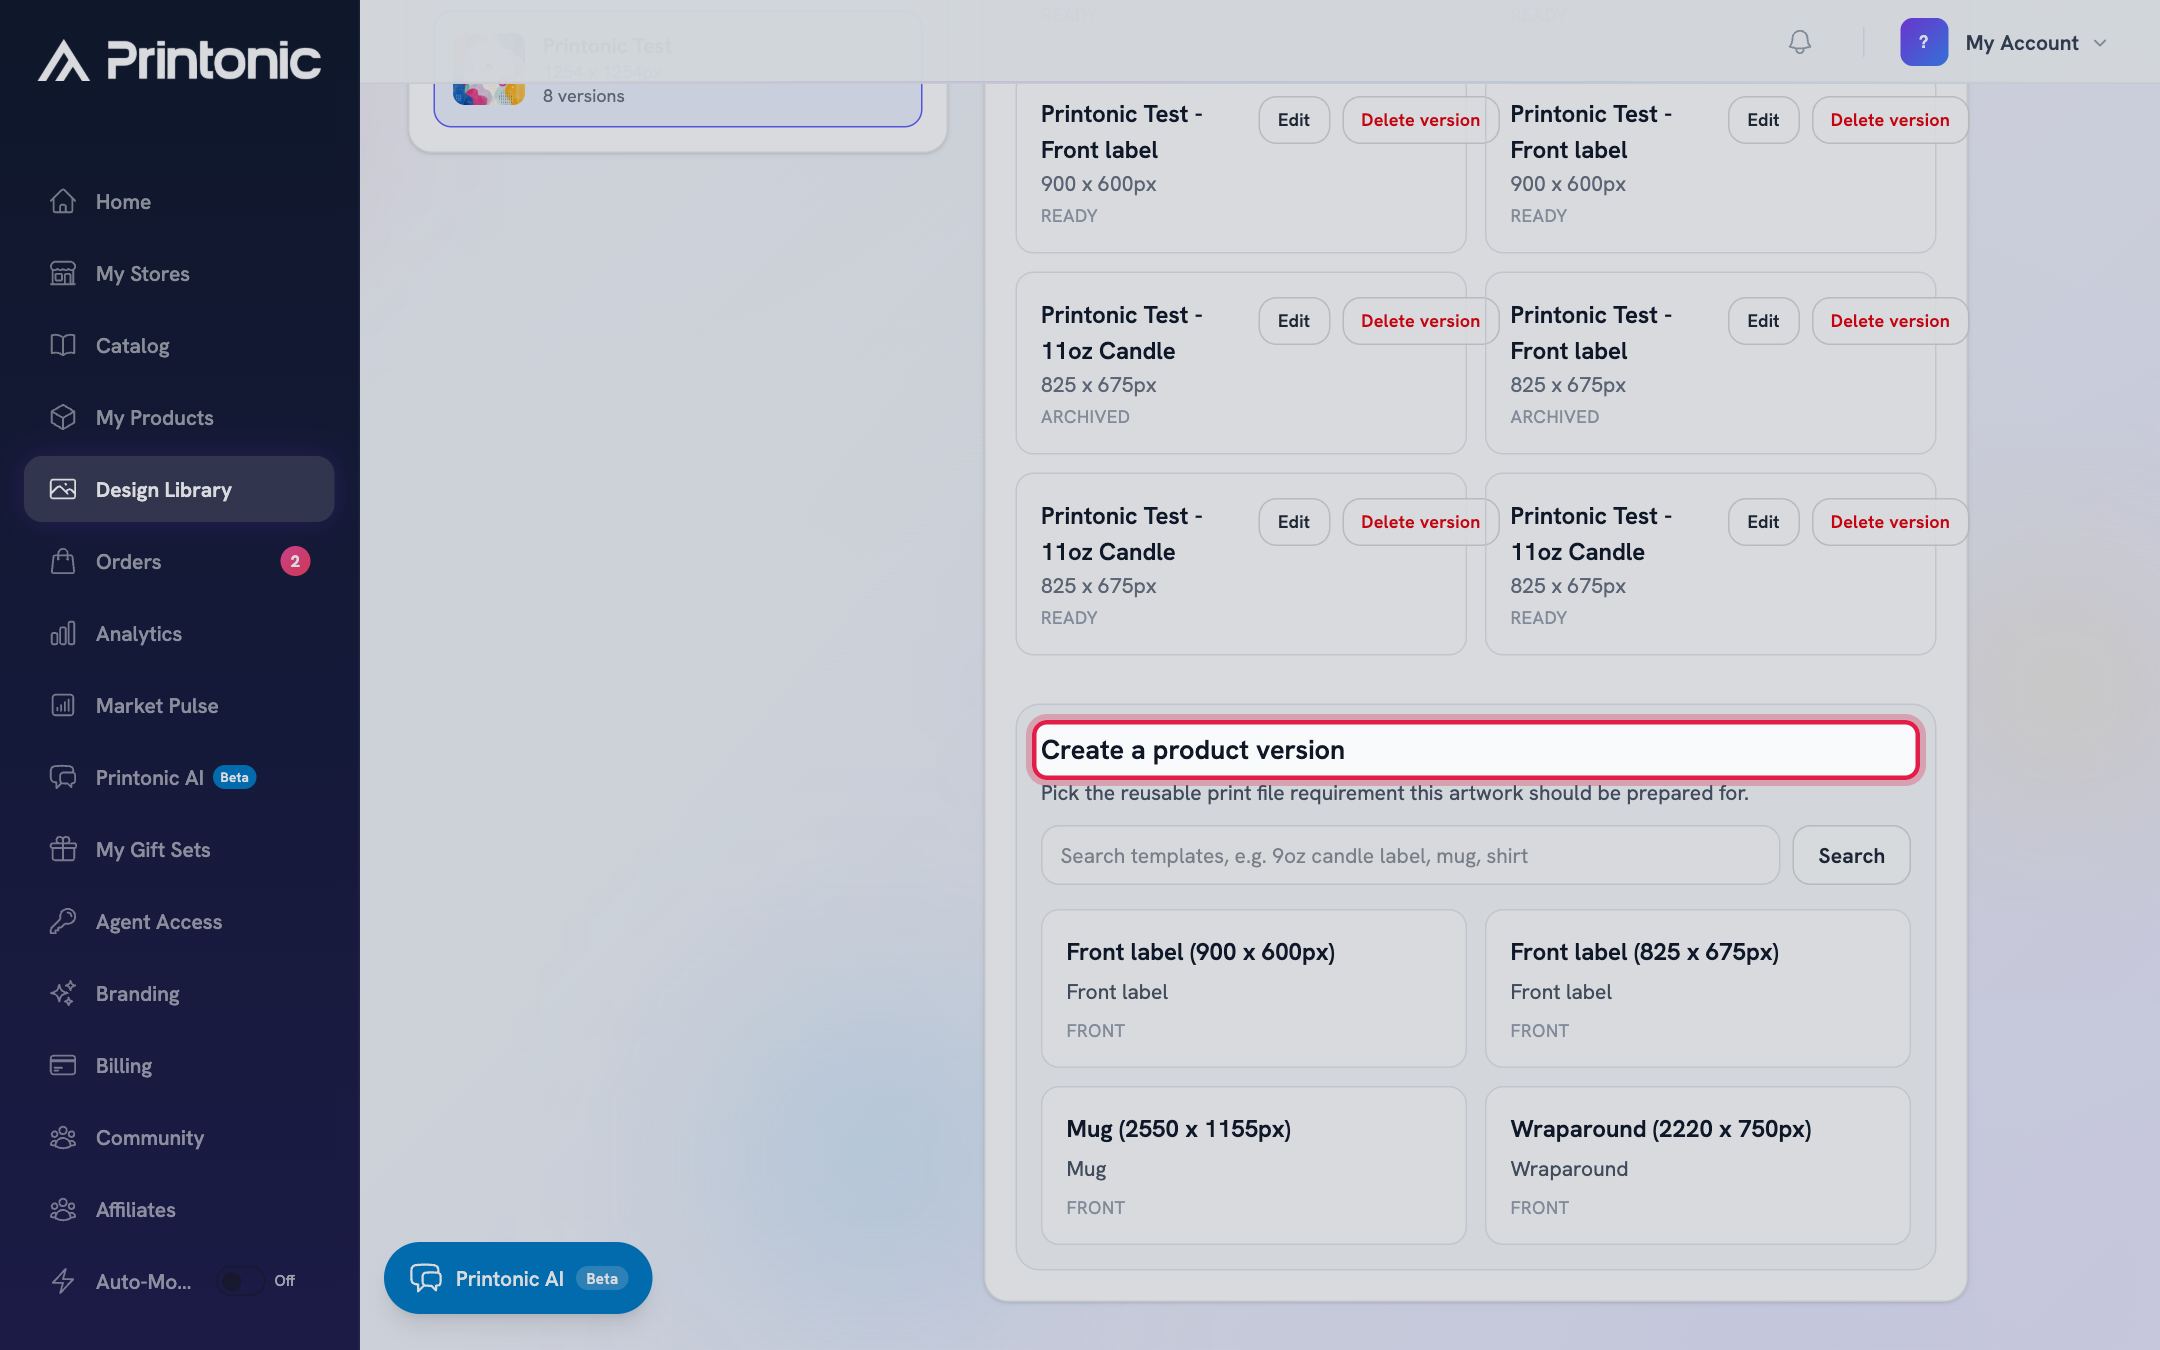
- 5
Design Library > Edit product version
Position your artwork and save
In the editor, your master artwork sits on a canvas that matches the product's print area. The requirement and its required size are shown above the canvas. Move, scale, and crop the artwork until it fills the area the way you want, then save. You will see 'Product-ready version saved.' when the export is stored.
Saving creates the actual print file. Until you save, the version exists but has no export yet. Once saved, its status shows as READY back on the Design Library page. Use the Back to Design Library link at the top to return.
- 6
Design Library > Saved product versions
Review or re-edit your saved versions
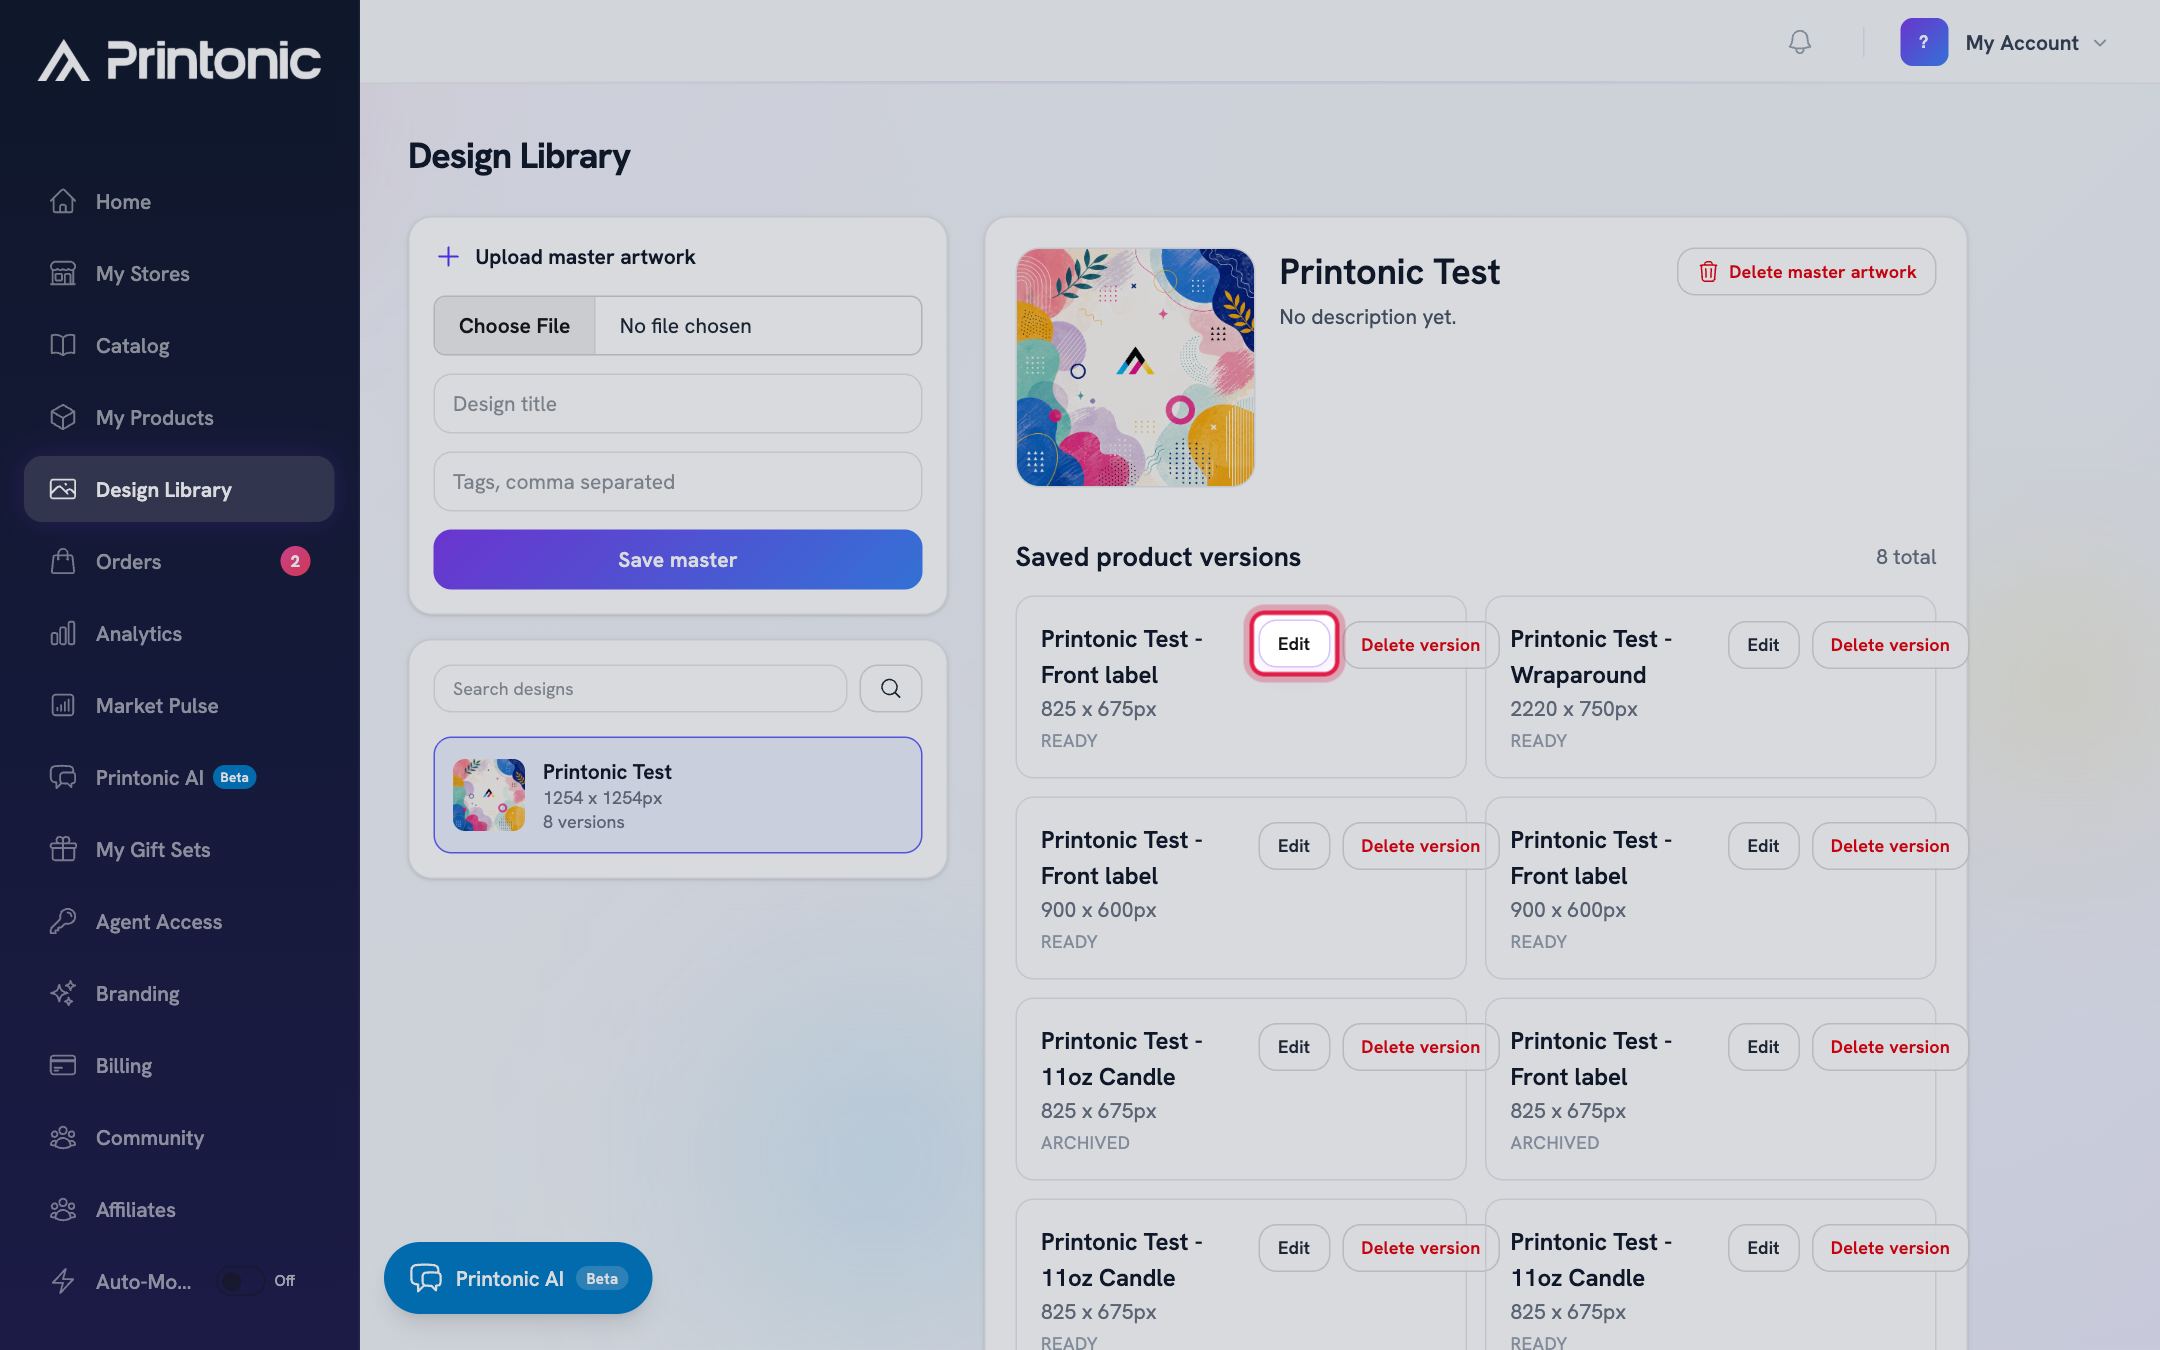
Back on the design's detail view, the Saved product versions section lists every version with its name, dimensions, and status. Click Edit on any version to reopen the editor and adjust the layout, then save again to replace the export.
- 7
Dashboard > My Products > your product > artwork upload
Use a saved version on a product
When you edit a product's artwork, Printonic checks your Design Library for versions that match that product's print requirement. Compatible ones appear in a Design Library matches panel. Click Use next to the version you want, and you will see 'Saved Design Library version applied to this file requirement.'
Only versions created for a matching print requirement show up here. If nothing appears, go back to the Design Library and create a version using that product's template first.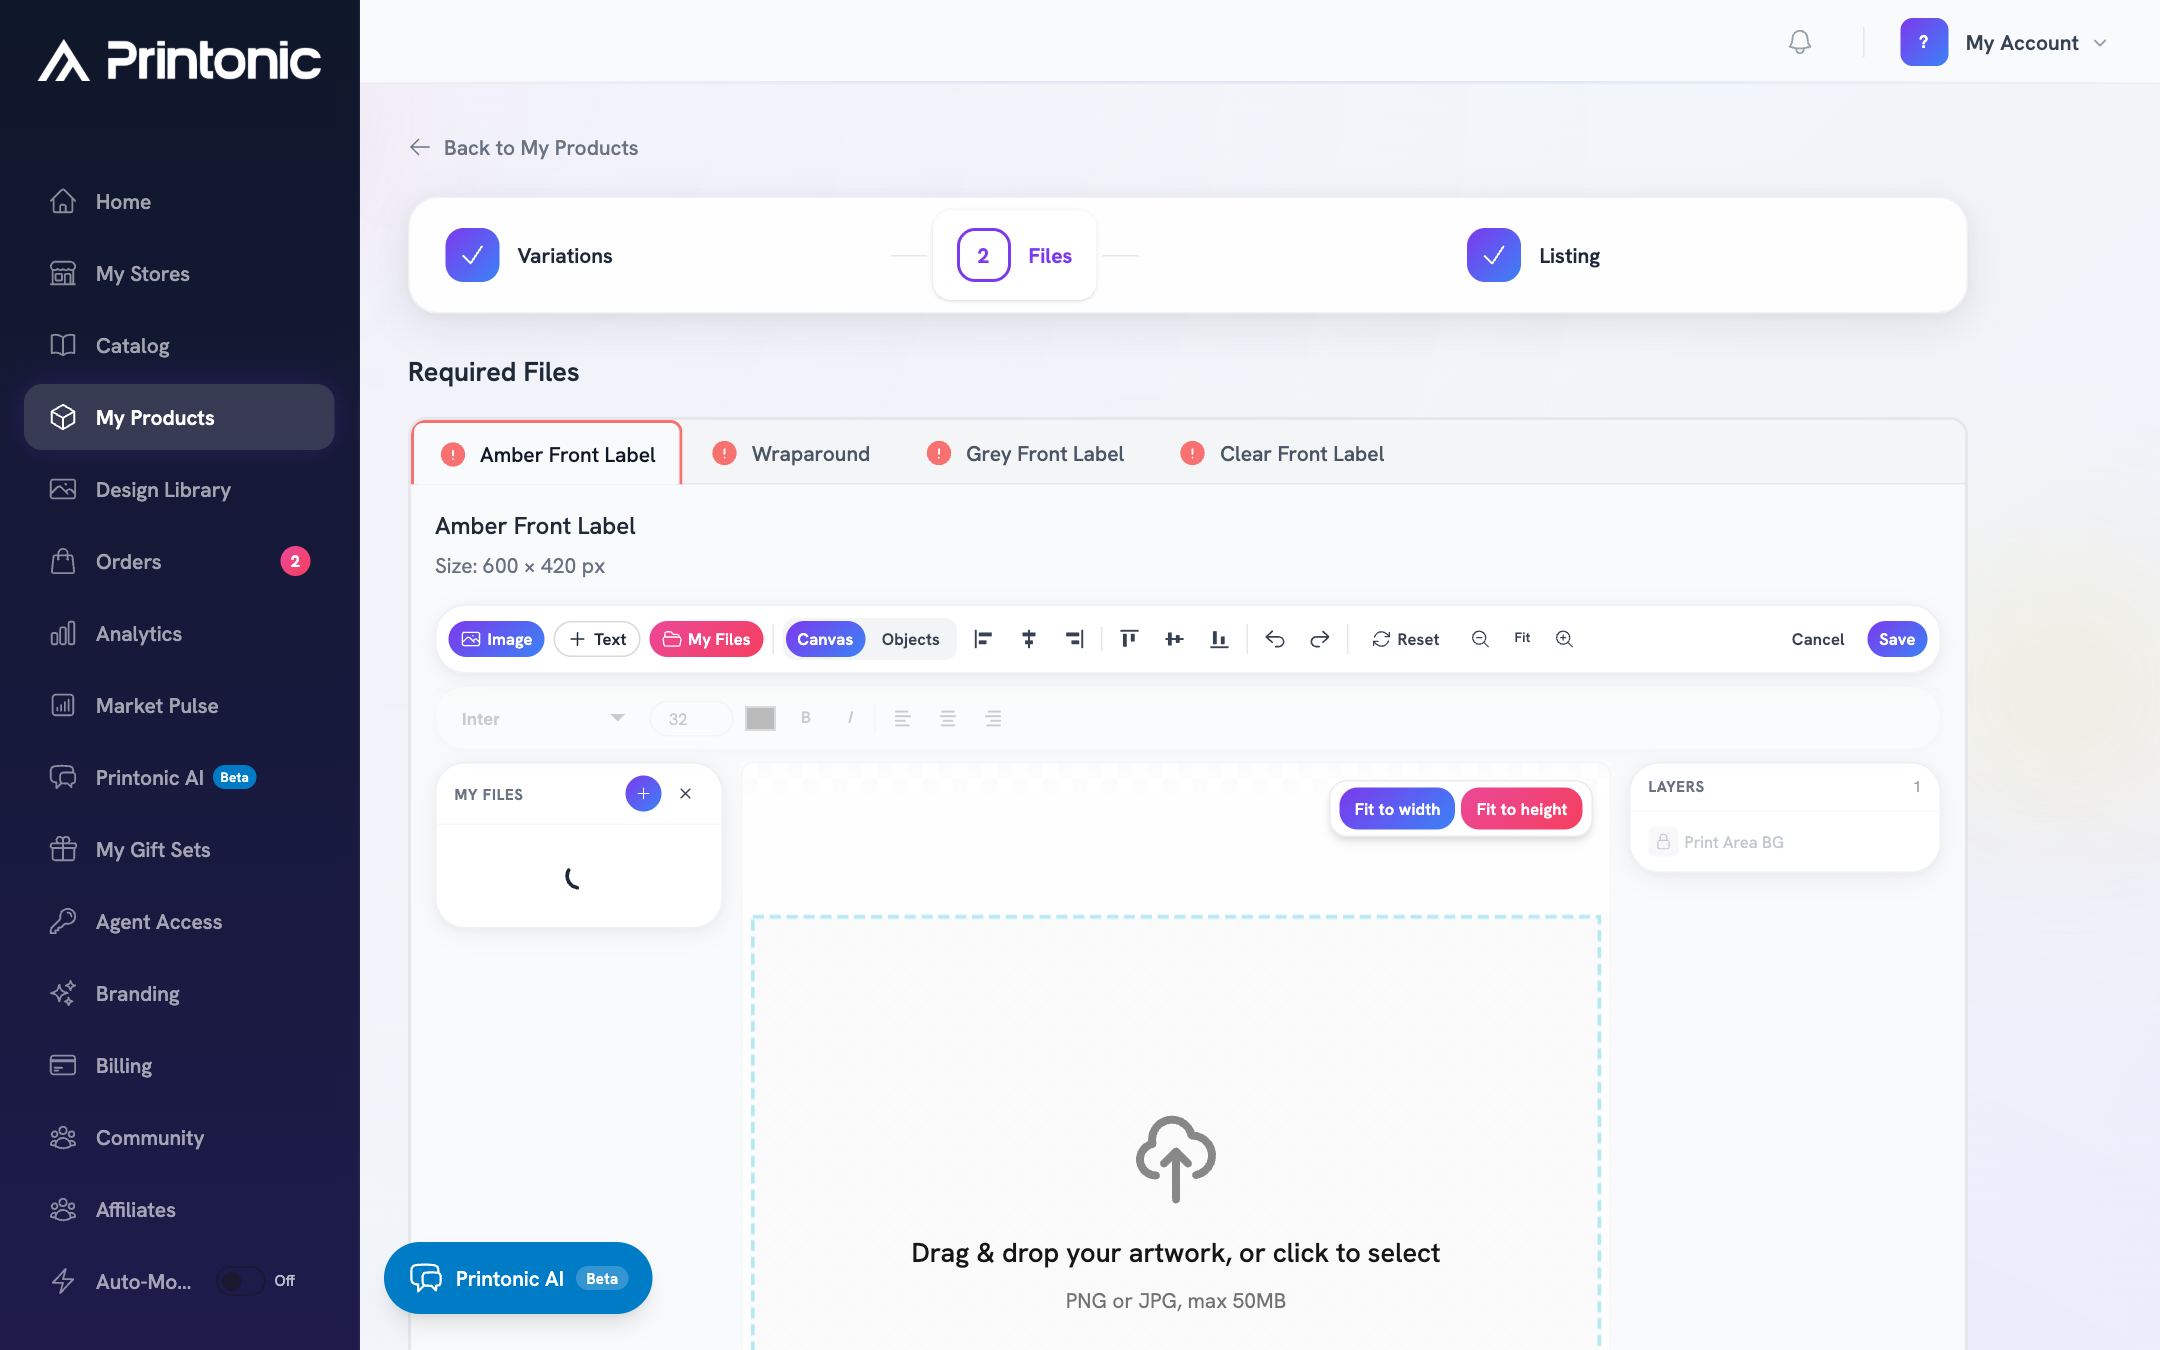
- 8
Design Library > design details
Delete versions or masters you no longer need
To remove a single version, click Delete version on its card and confirm. To remove a design entirely, click Delete master artwork at the top of the detail view and confirm. Deleting a master removes it and its versions from your library.
Deleting is safe for your shop. Listings that already use the exported art keep working unchanged. Deleting only removes the design from your library so you cannot reuse it on new products.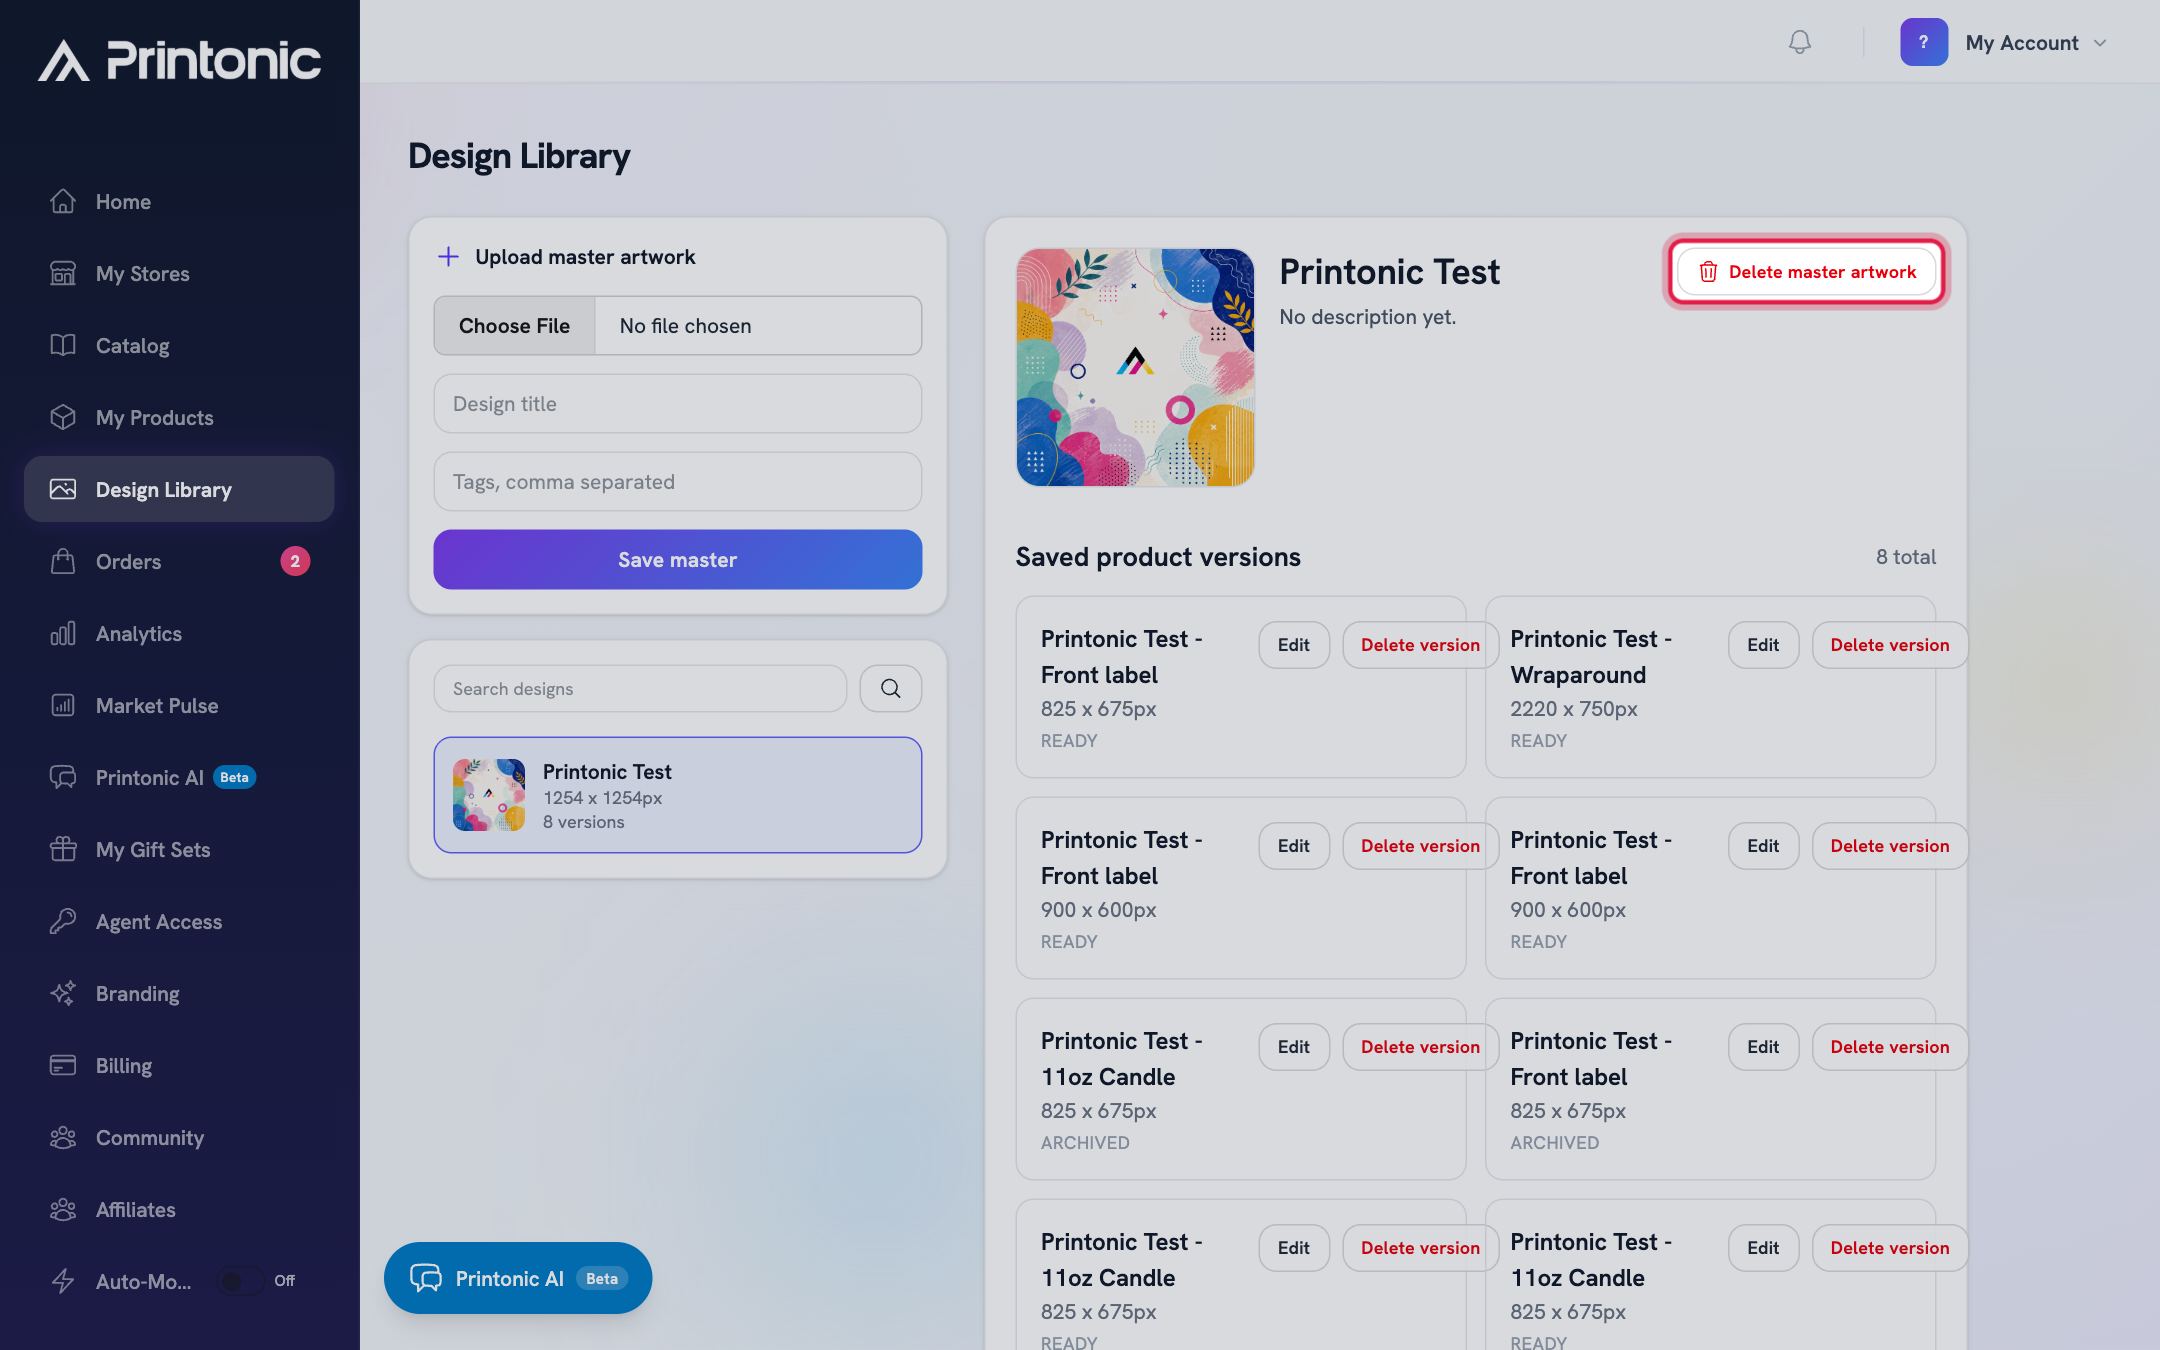
Good to know
- Add tags when you upload (like 'floral', 'halloween', 'logo'). Search matches tags, so tagging pays off once your library grows.
- Create one version per product type you sell. The same master can power a mug, a shirt, and a candle label, each with its own saved layout.
- Upload masters at the highest resolution you have. A small master may look soft when a product needs a large print file.
- If you are not sure which template to pick, search by the product name you see in the catalog, such as 'mug' or 'shirt'.
Common questions
What is the difference between a master and a version?
The master is the original artwork file you upload once. A version is that artwork prepared for one specific product's print requirement, with its own saved layout and a print-ready export. You edit versions, never the master itself.
Will deleting a design break listings that already use it?
No. Listings that already use the exported art stay unchanged. Deleting only removes the master or version from your library, so you cannot apply it to new products.
Why does my design say 'Dimensions pending'?
The uploaded image is still being processed. The width and height appear once processing finishes, usually within a few moments.
Do I have to create a version before I can use a design on a product?
Yes. Products only offer saved versions that match their print requirement. Create a version with the matching template, save it in the editor so its status is READY, and it will appear in the Design Library matches panel on that product.
Related guides
Add a product
Turn a catalog item into your own product: pick variations, upload your art, set prices, and publish it to your store with the step-by-step setup wizard.
Publish a listing to your store
Finish your product's Listing step (store, title, description, pricing), publish it to your connected store, and find your SKU codes afterward.