Products & Listings
Publish a listing to your store
Finish your product's Listing step (store, title, description, pricing), publish it to your connected store, and find your SKU codes afterward.
Publishing takes a product you have set up in Printonic and creates a live listing in your connected store (Etsy or Shopify). Printonic also attaches SKU codes to the listing so incoming orders automatically route to us for fulfillment.
This guide covers the standard flow where Printonic creates the listing for you. If you already have a live listing on your store, see the guide on using an existing listing instead. Publishing to TikTok Shop has a few extra requirements and has its own guide.
- 1
Dashboard > My Products
Open your product
Click the product you want to publish. The product setup opens as a numbered set of steps across the top. Depending on the product you will see Variations, Files, and Listing. Publishing happens on the Listing step, which is always last.
You need a connected store before you can publish. If you have not connected one yet, do that first (see the Connect your store guide).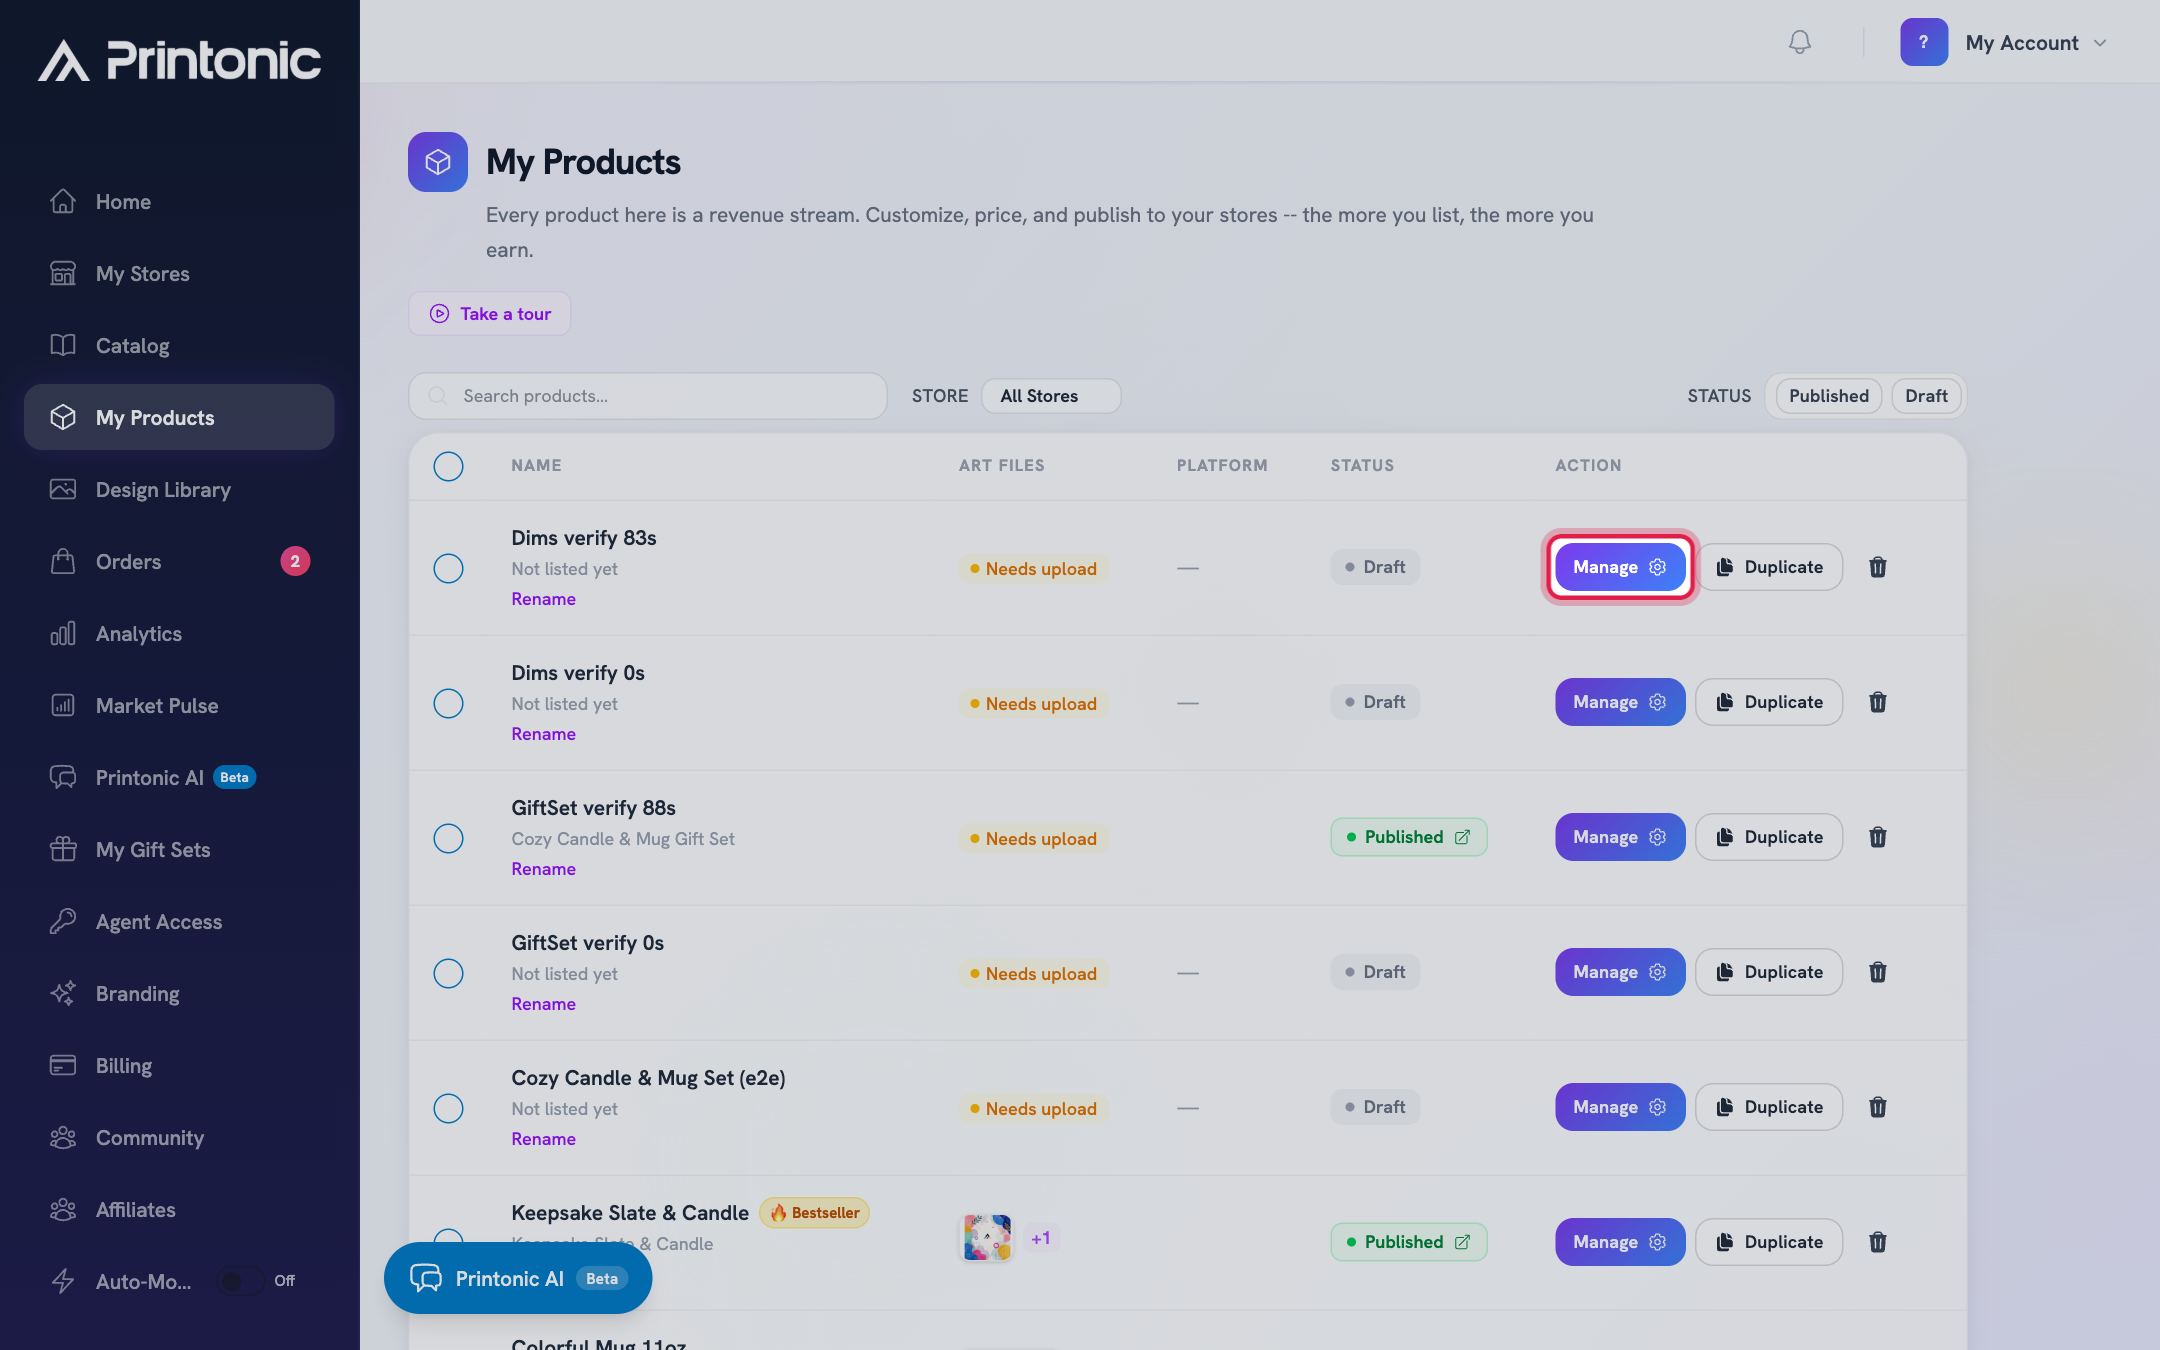
- 2
Product setup > Variations and Files
Work through the earlier steps
Pick the options you want to sell on the Variations step, then upload your artwork on the Files step. Click Next Step to move forward.
Next Step stays disabled on the Files step until every required file is uploaded and passes the aspect ratio check. If you see an error asking you to fix files, correct them before continuing.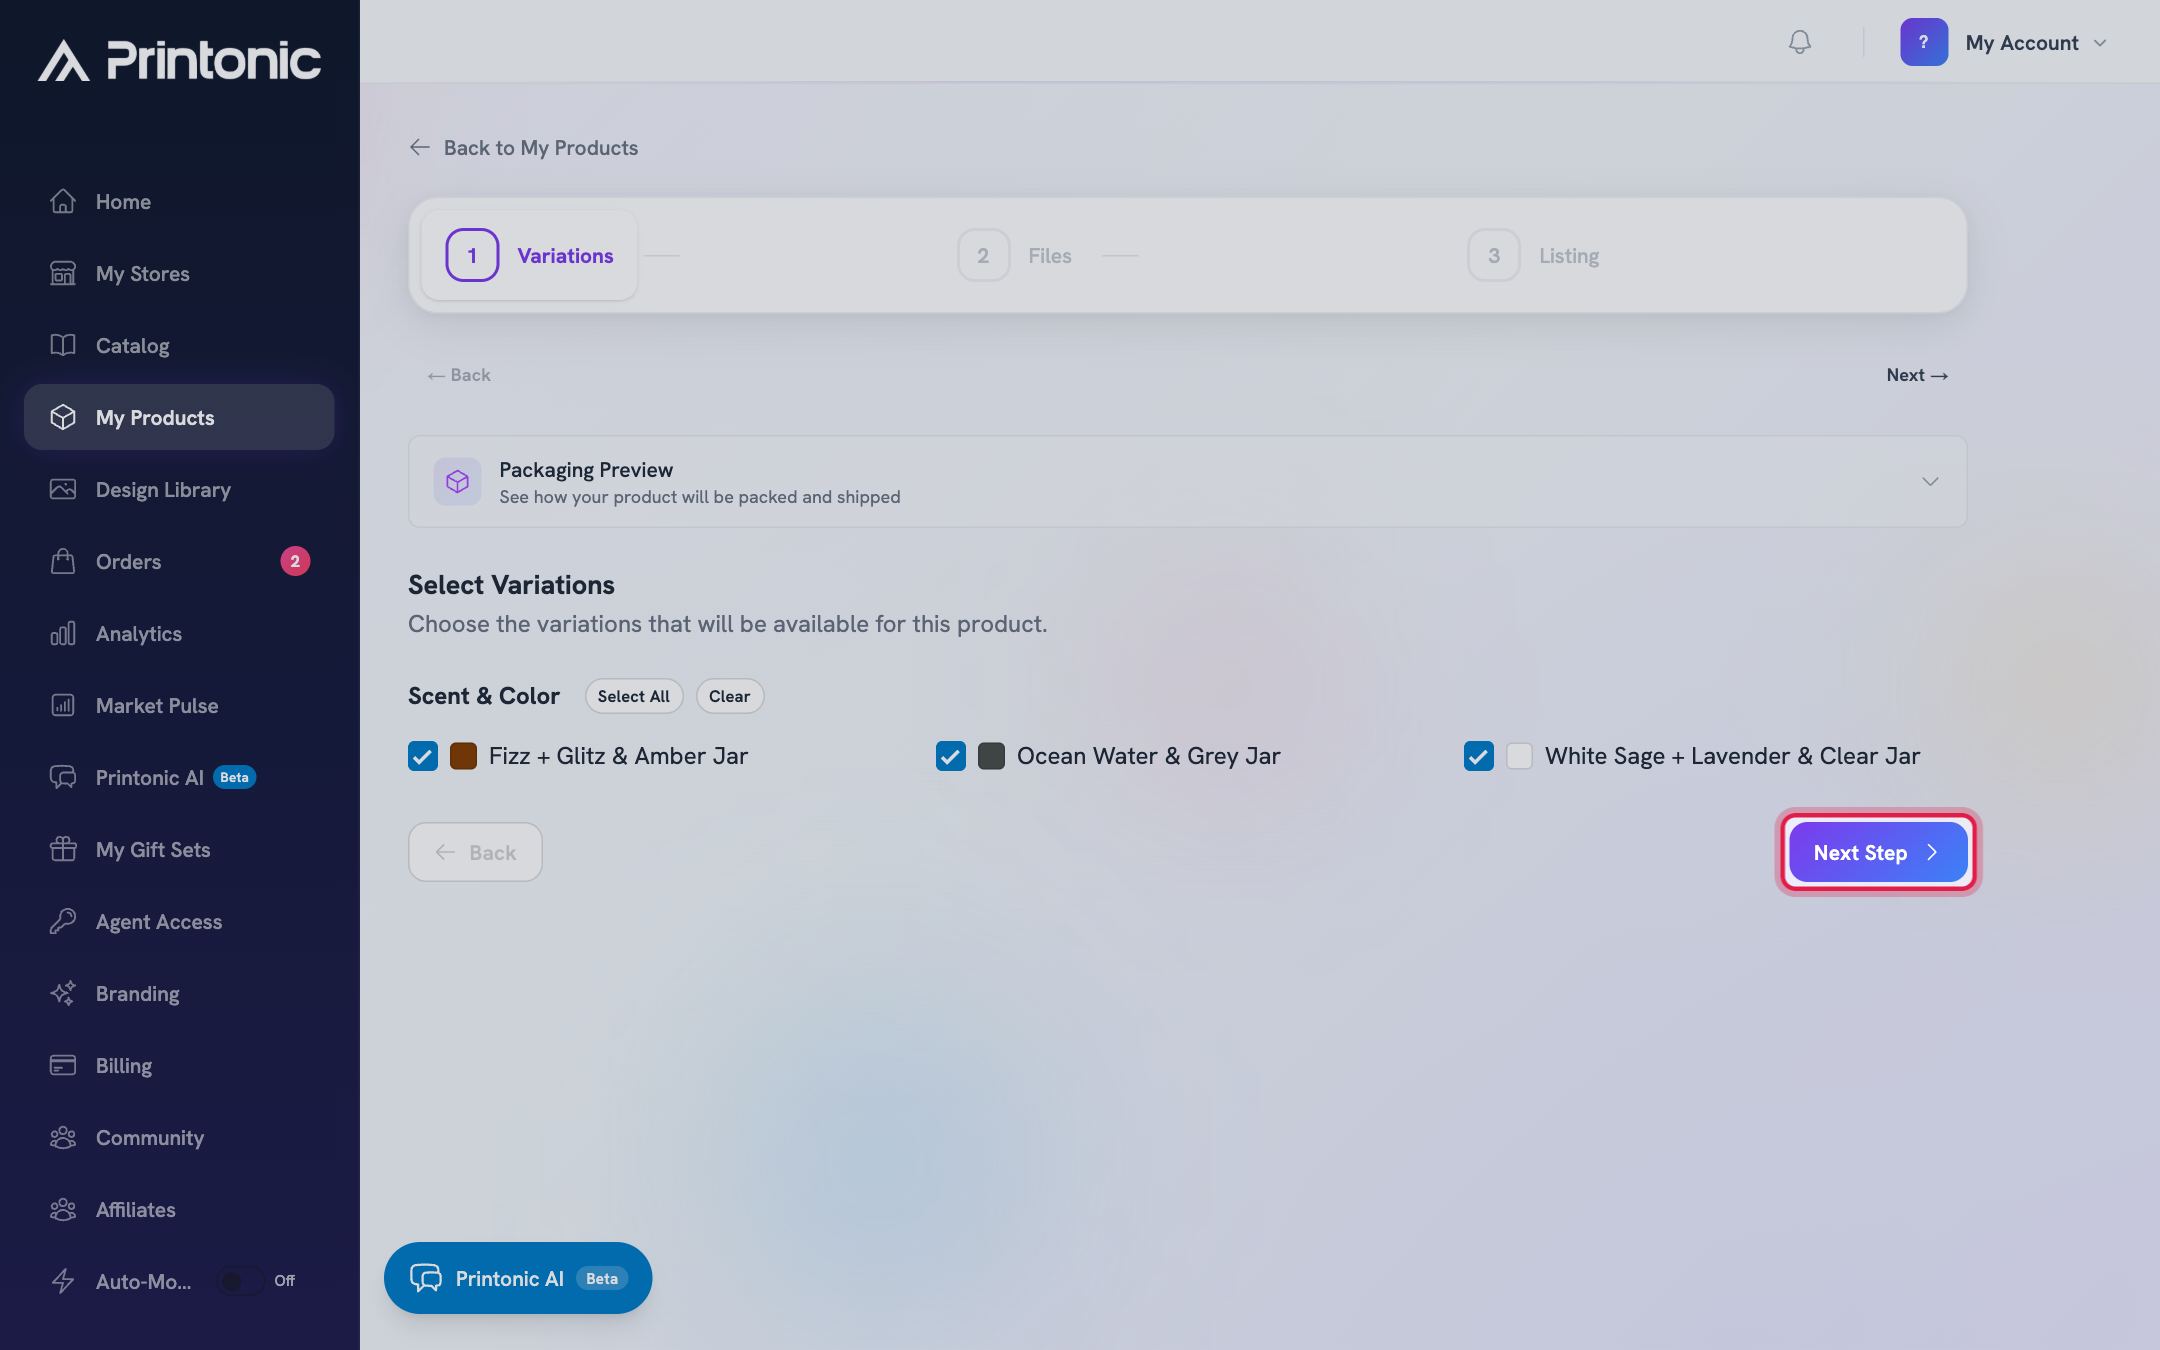
- 3
Product setup > Listing step > Store
Choose your store
On the Listing step, open the Store section and select the store this listing belongs to. Only connected stores can be selected.
The store you pick decides which sections appear next. Etsy and Shopify show a Shipping section, and Shopify and TikTok show a Category & Tags section with a required category.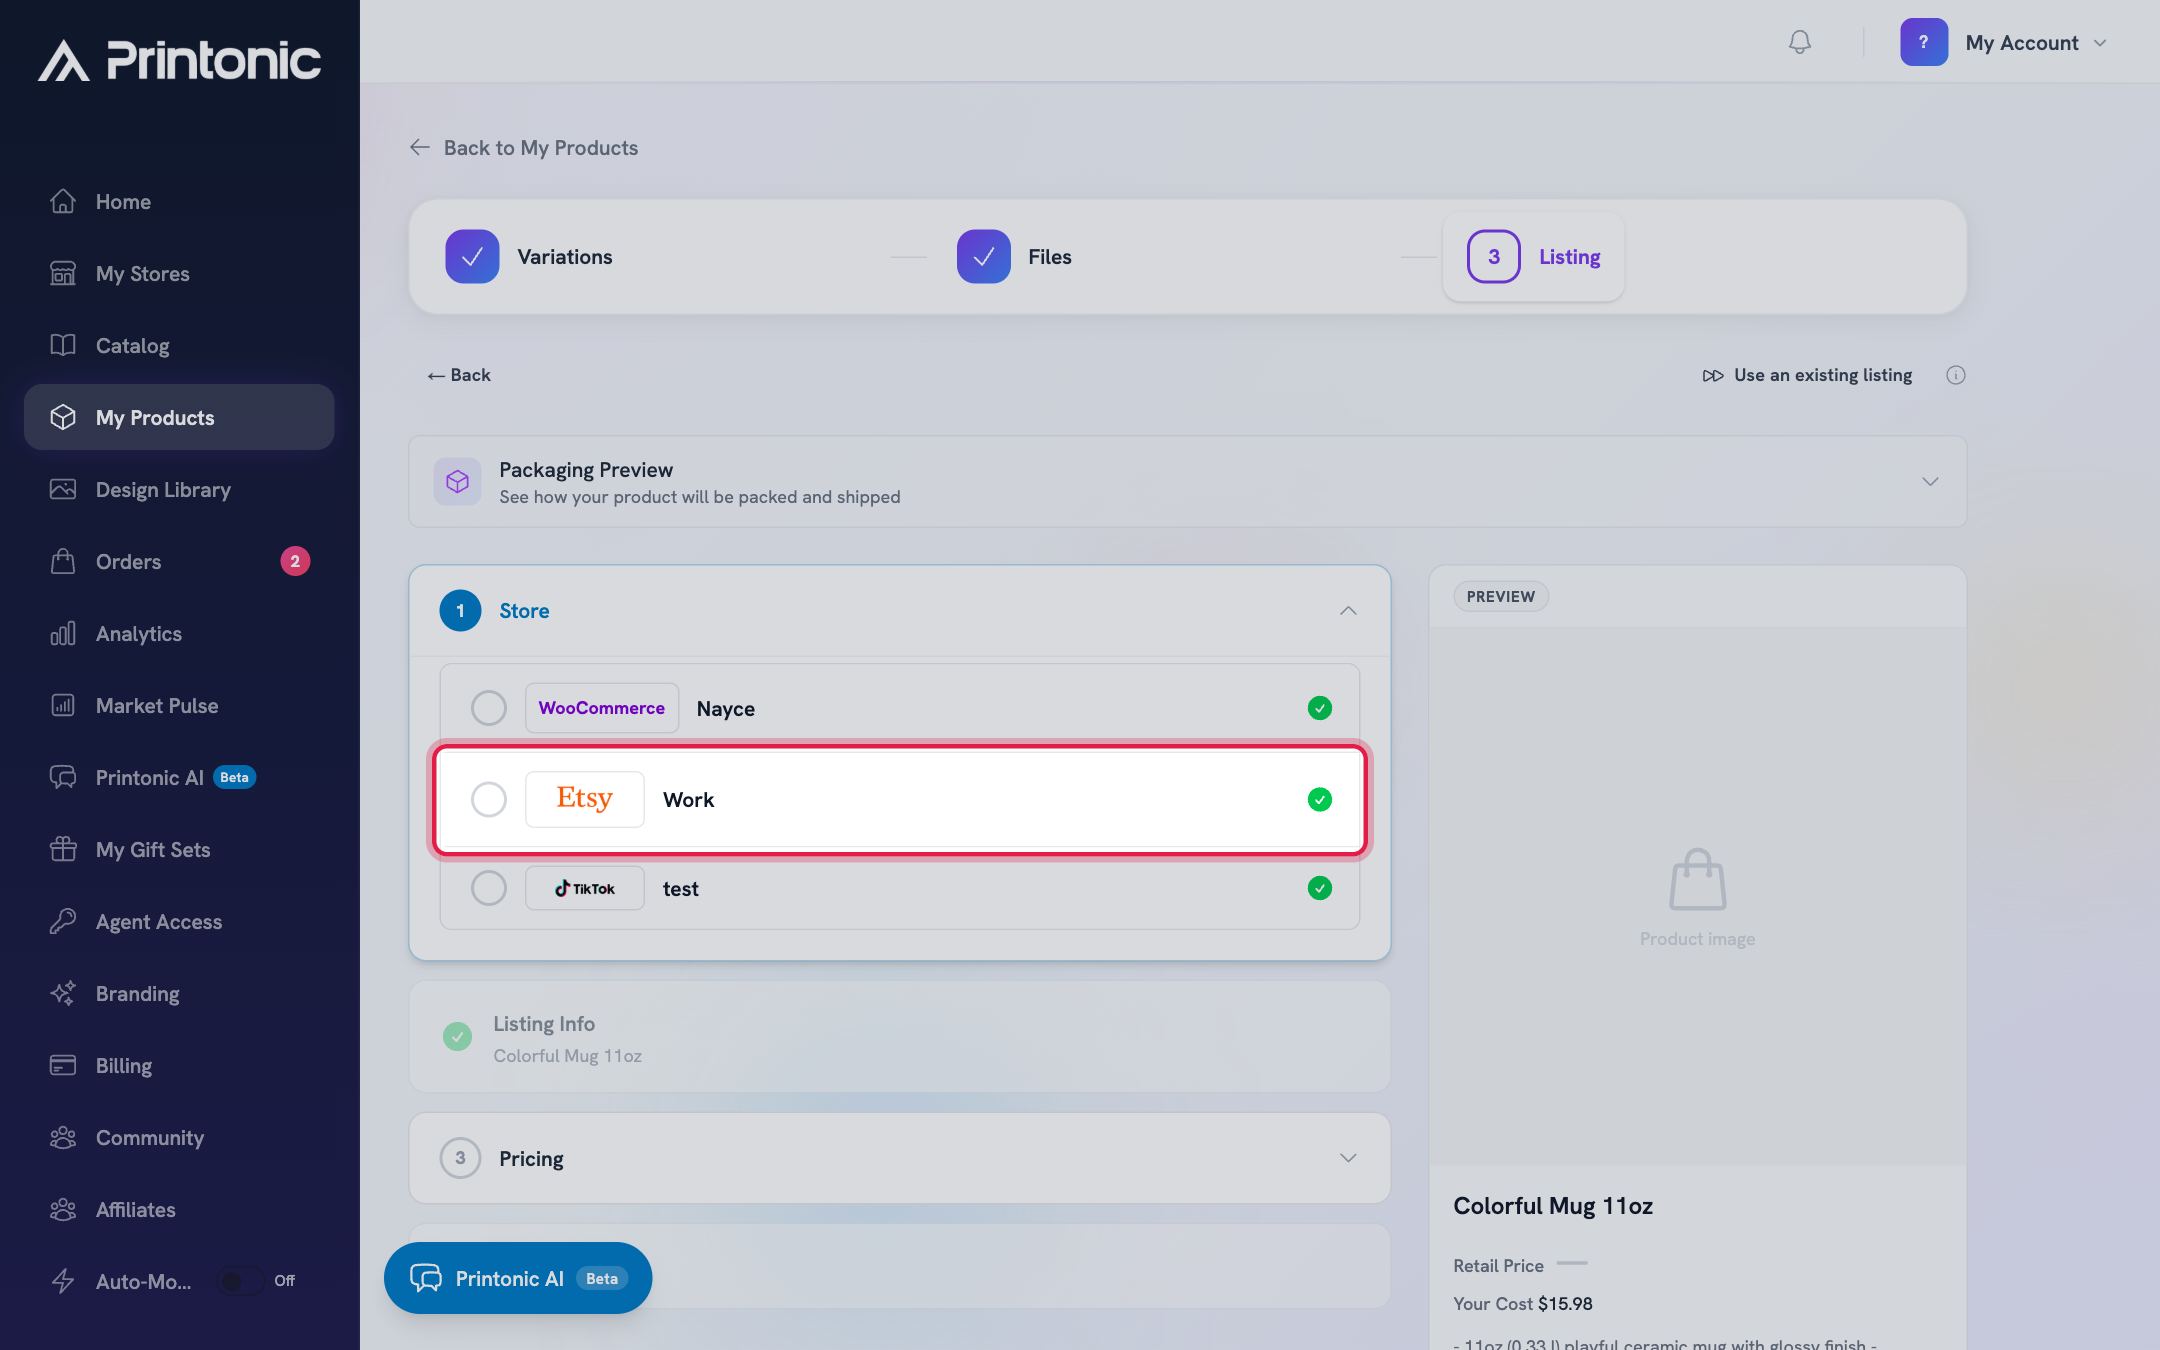
- 4
Product setup > Listing step > Listing Info
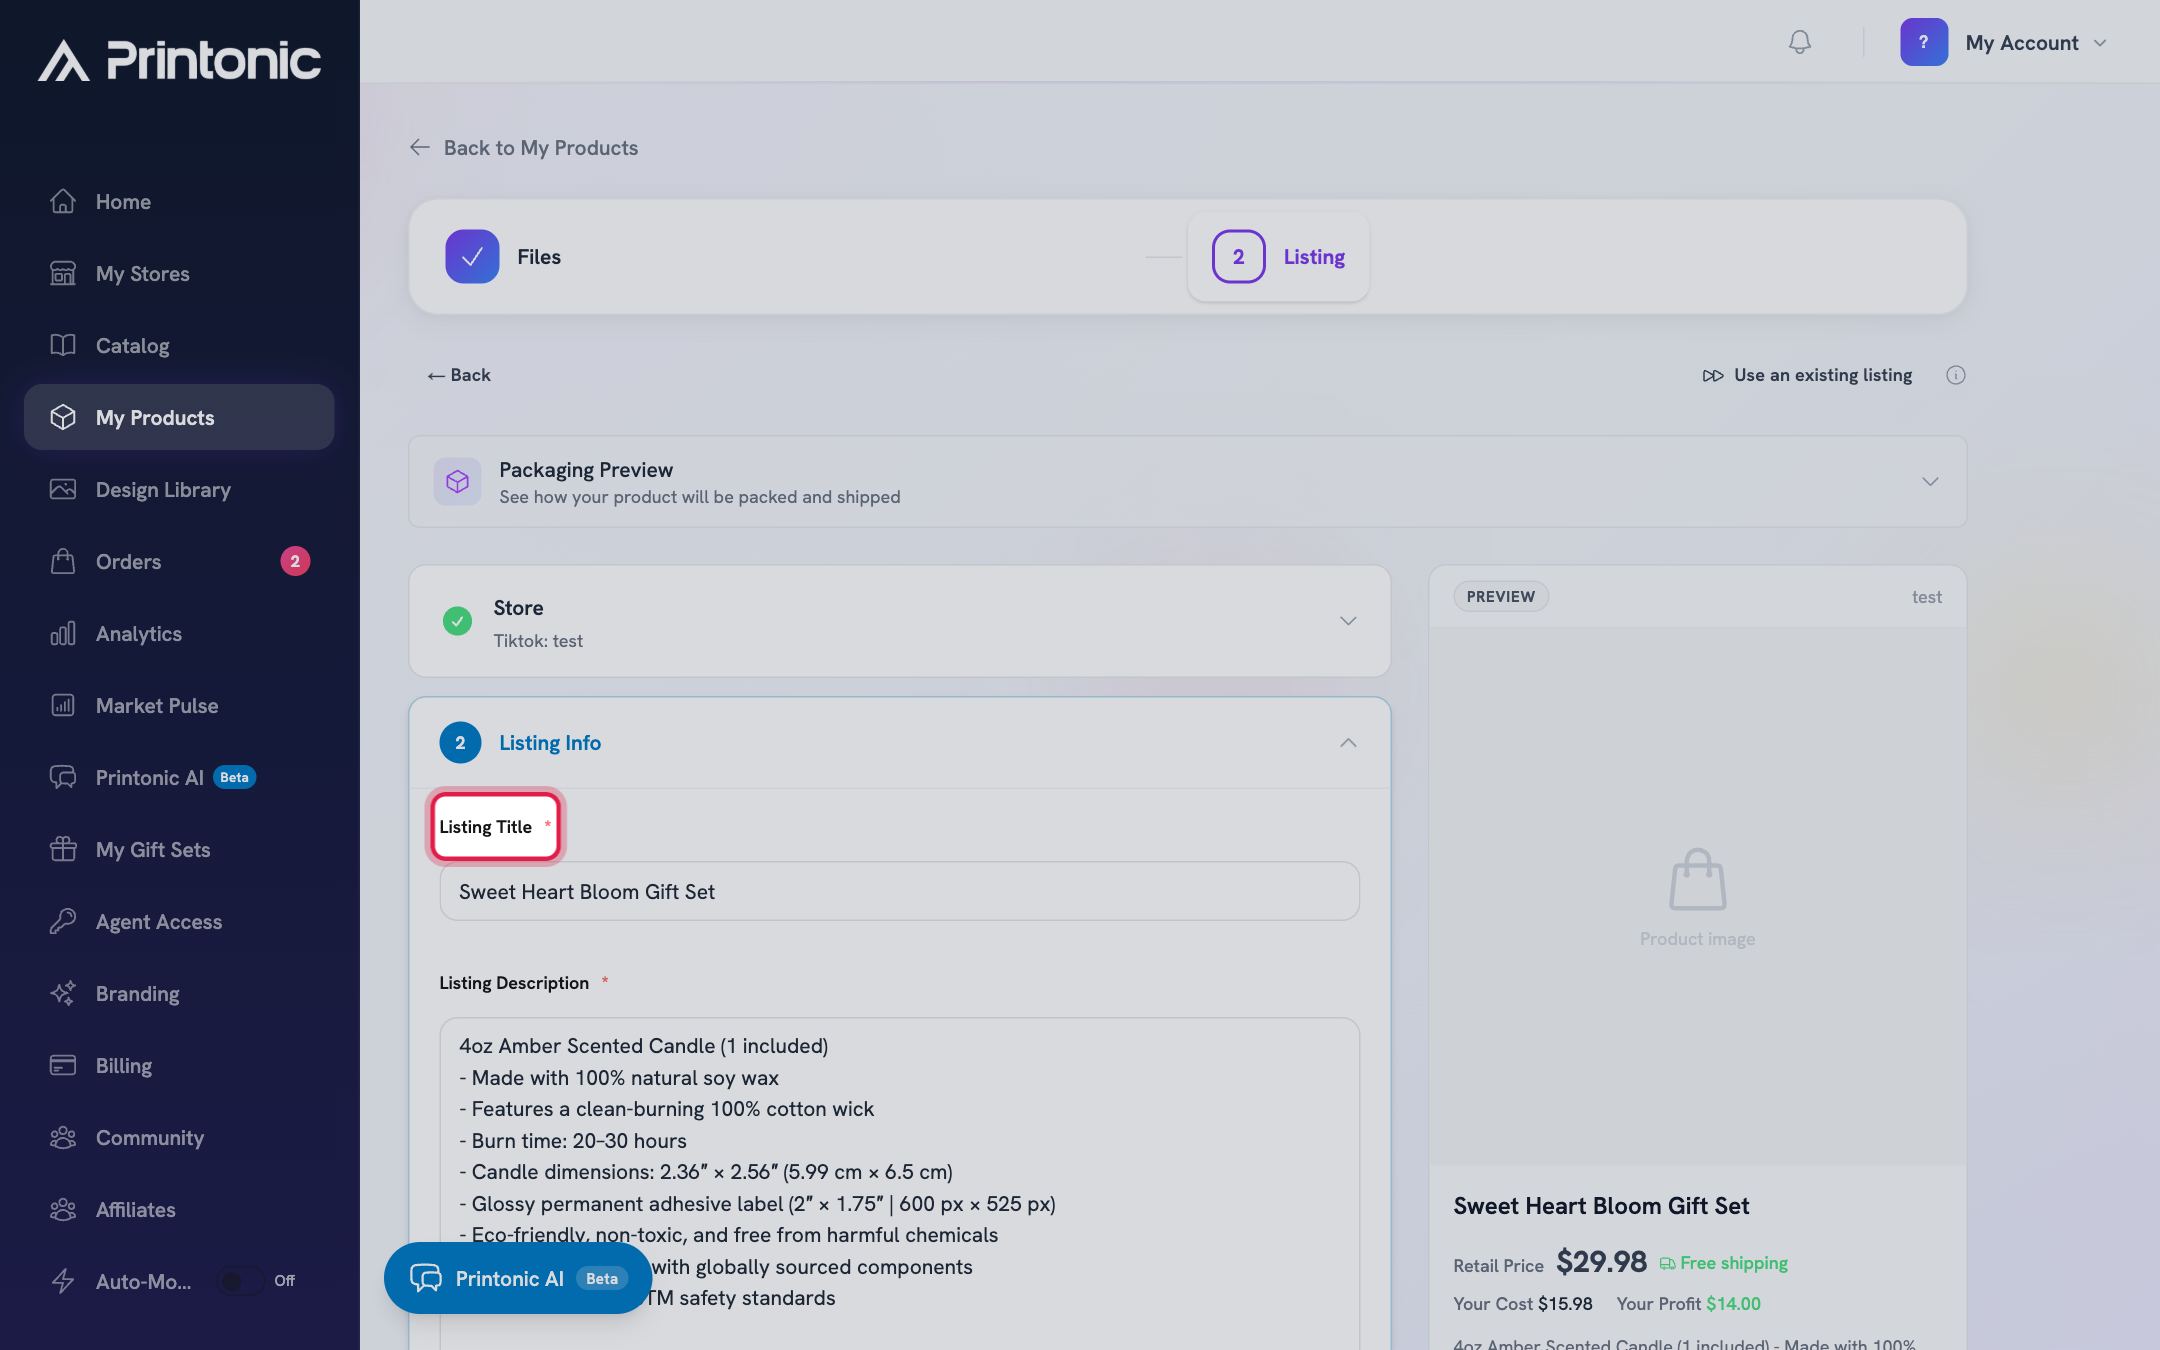
Write your title and description
Fill in the Listing Title and Listing Description. Both are required. Everything you enter on the Listing step saves automatically as you type, so you can leave and come back without losing work.
- 5
Product setup > Listing step > Pricing
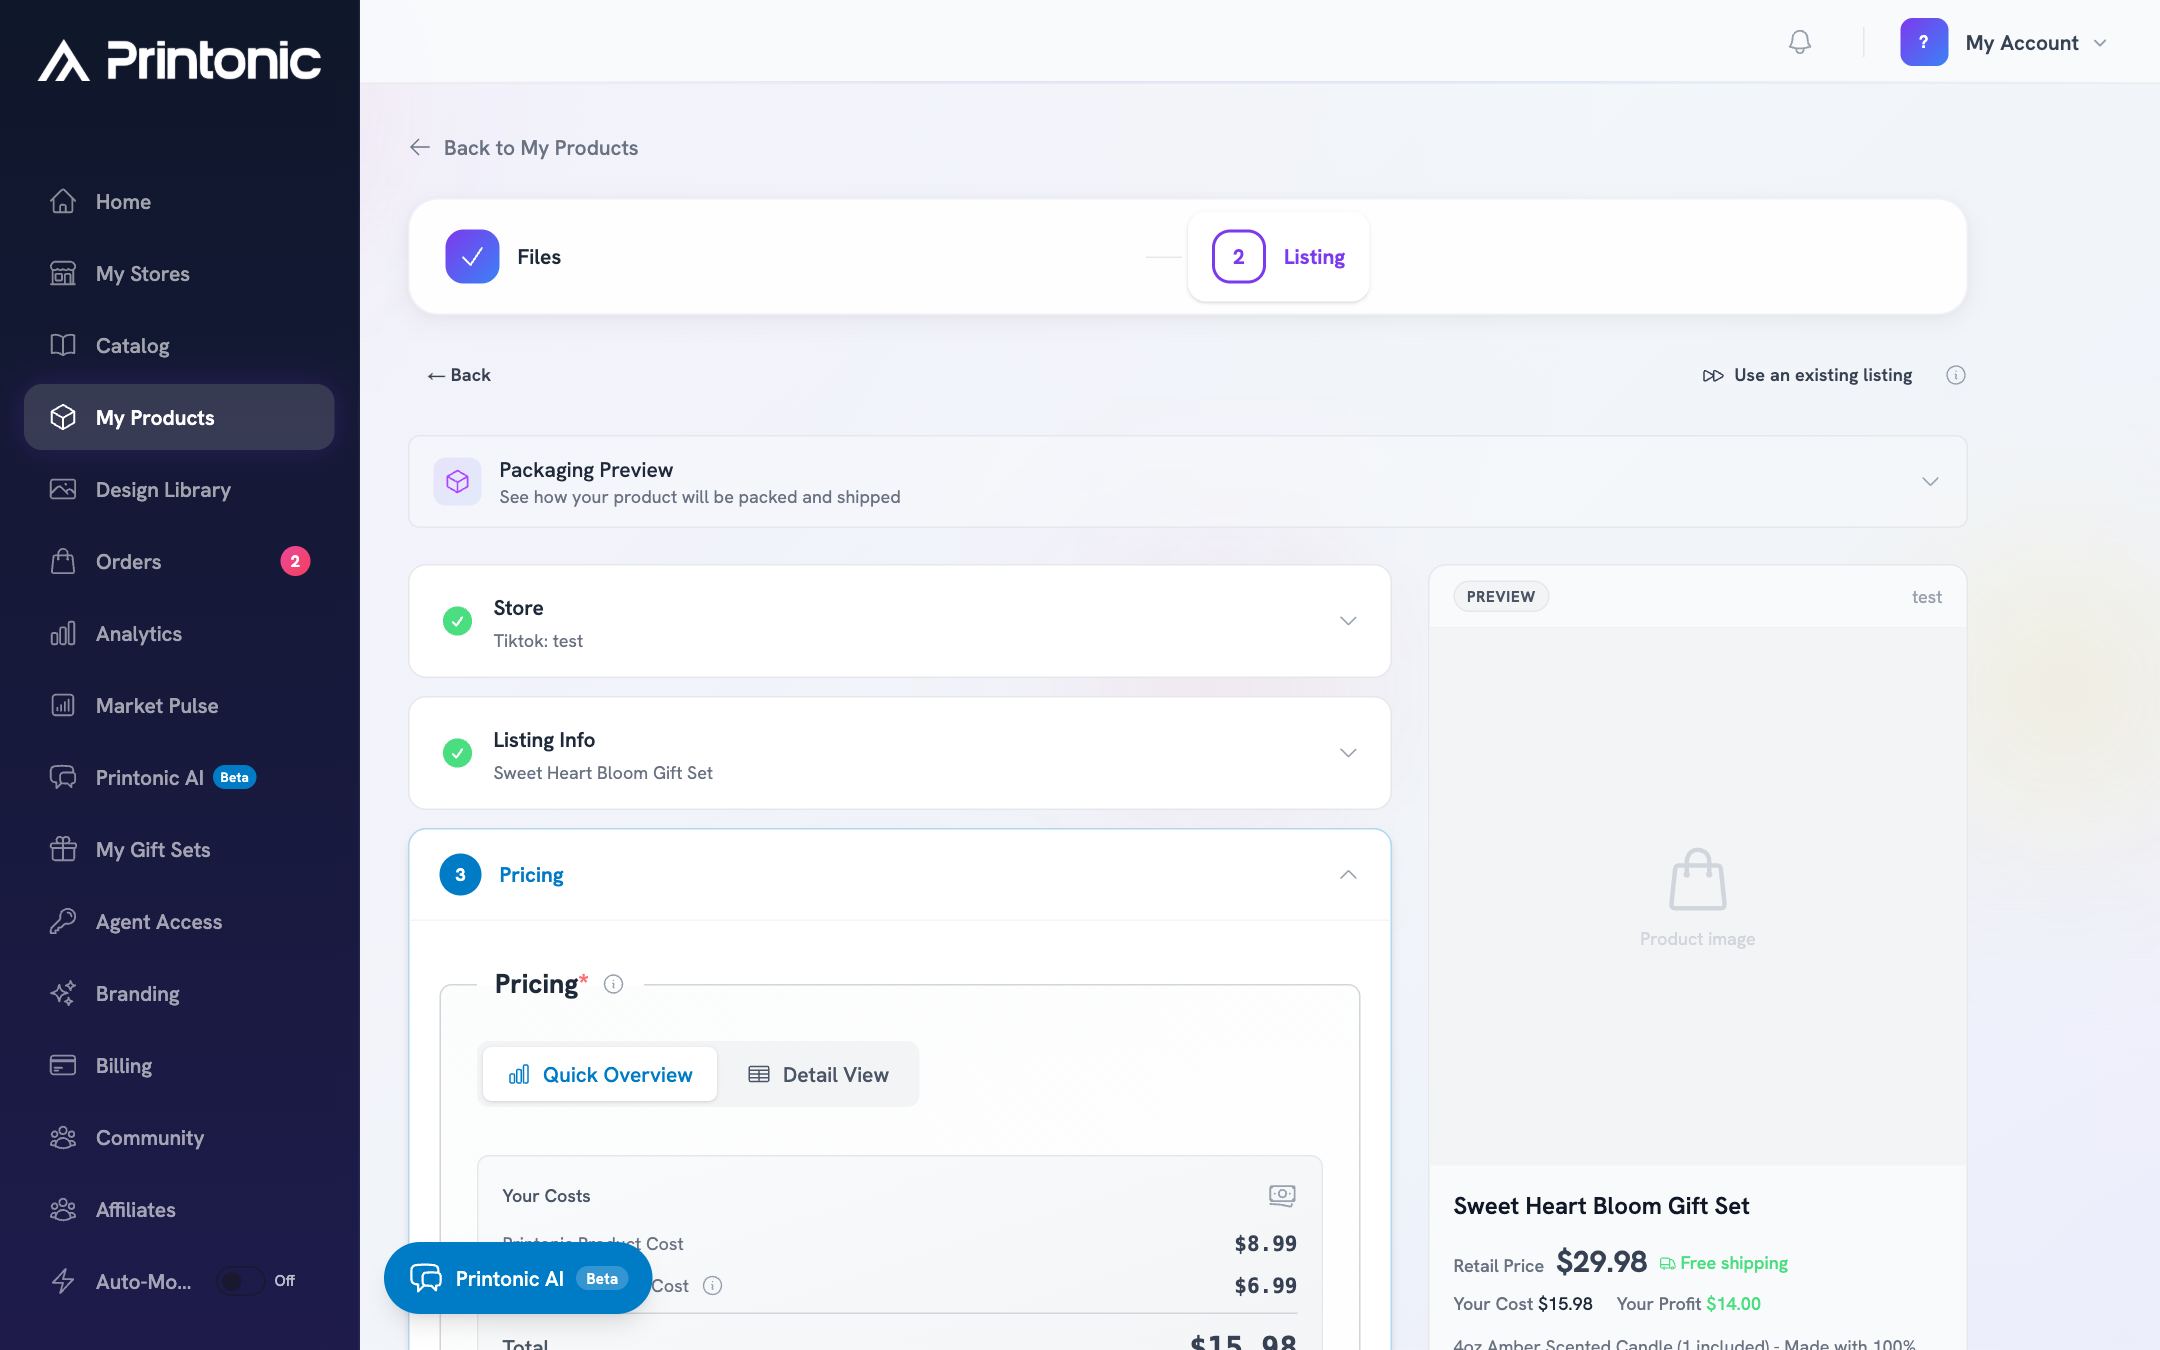
Set your pricing
Enter your Listing Price. If your product has variations you can set a price per variation. Your price includes your profit margin on top of Printonic's base cost, and the section shows both so you can see your margin.
- 6
Product setup > Listing step > Shipping and Tags & Extras
Review shipping, tags, and extras
Check the Shipping section (Etsy and Shopify) to confirm the shipping setup for this listing. Then open Tags & Extras (called Category & Tags on Shopify and TikTok) to add search tags. Shopify listings also need a Shopify Category selected here.
Etsy allows up to 13 tags per listing. Tags are optional but help buyers find your listing.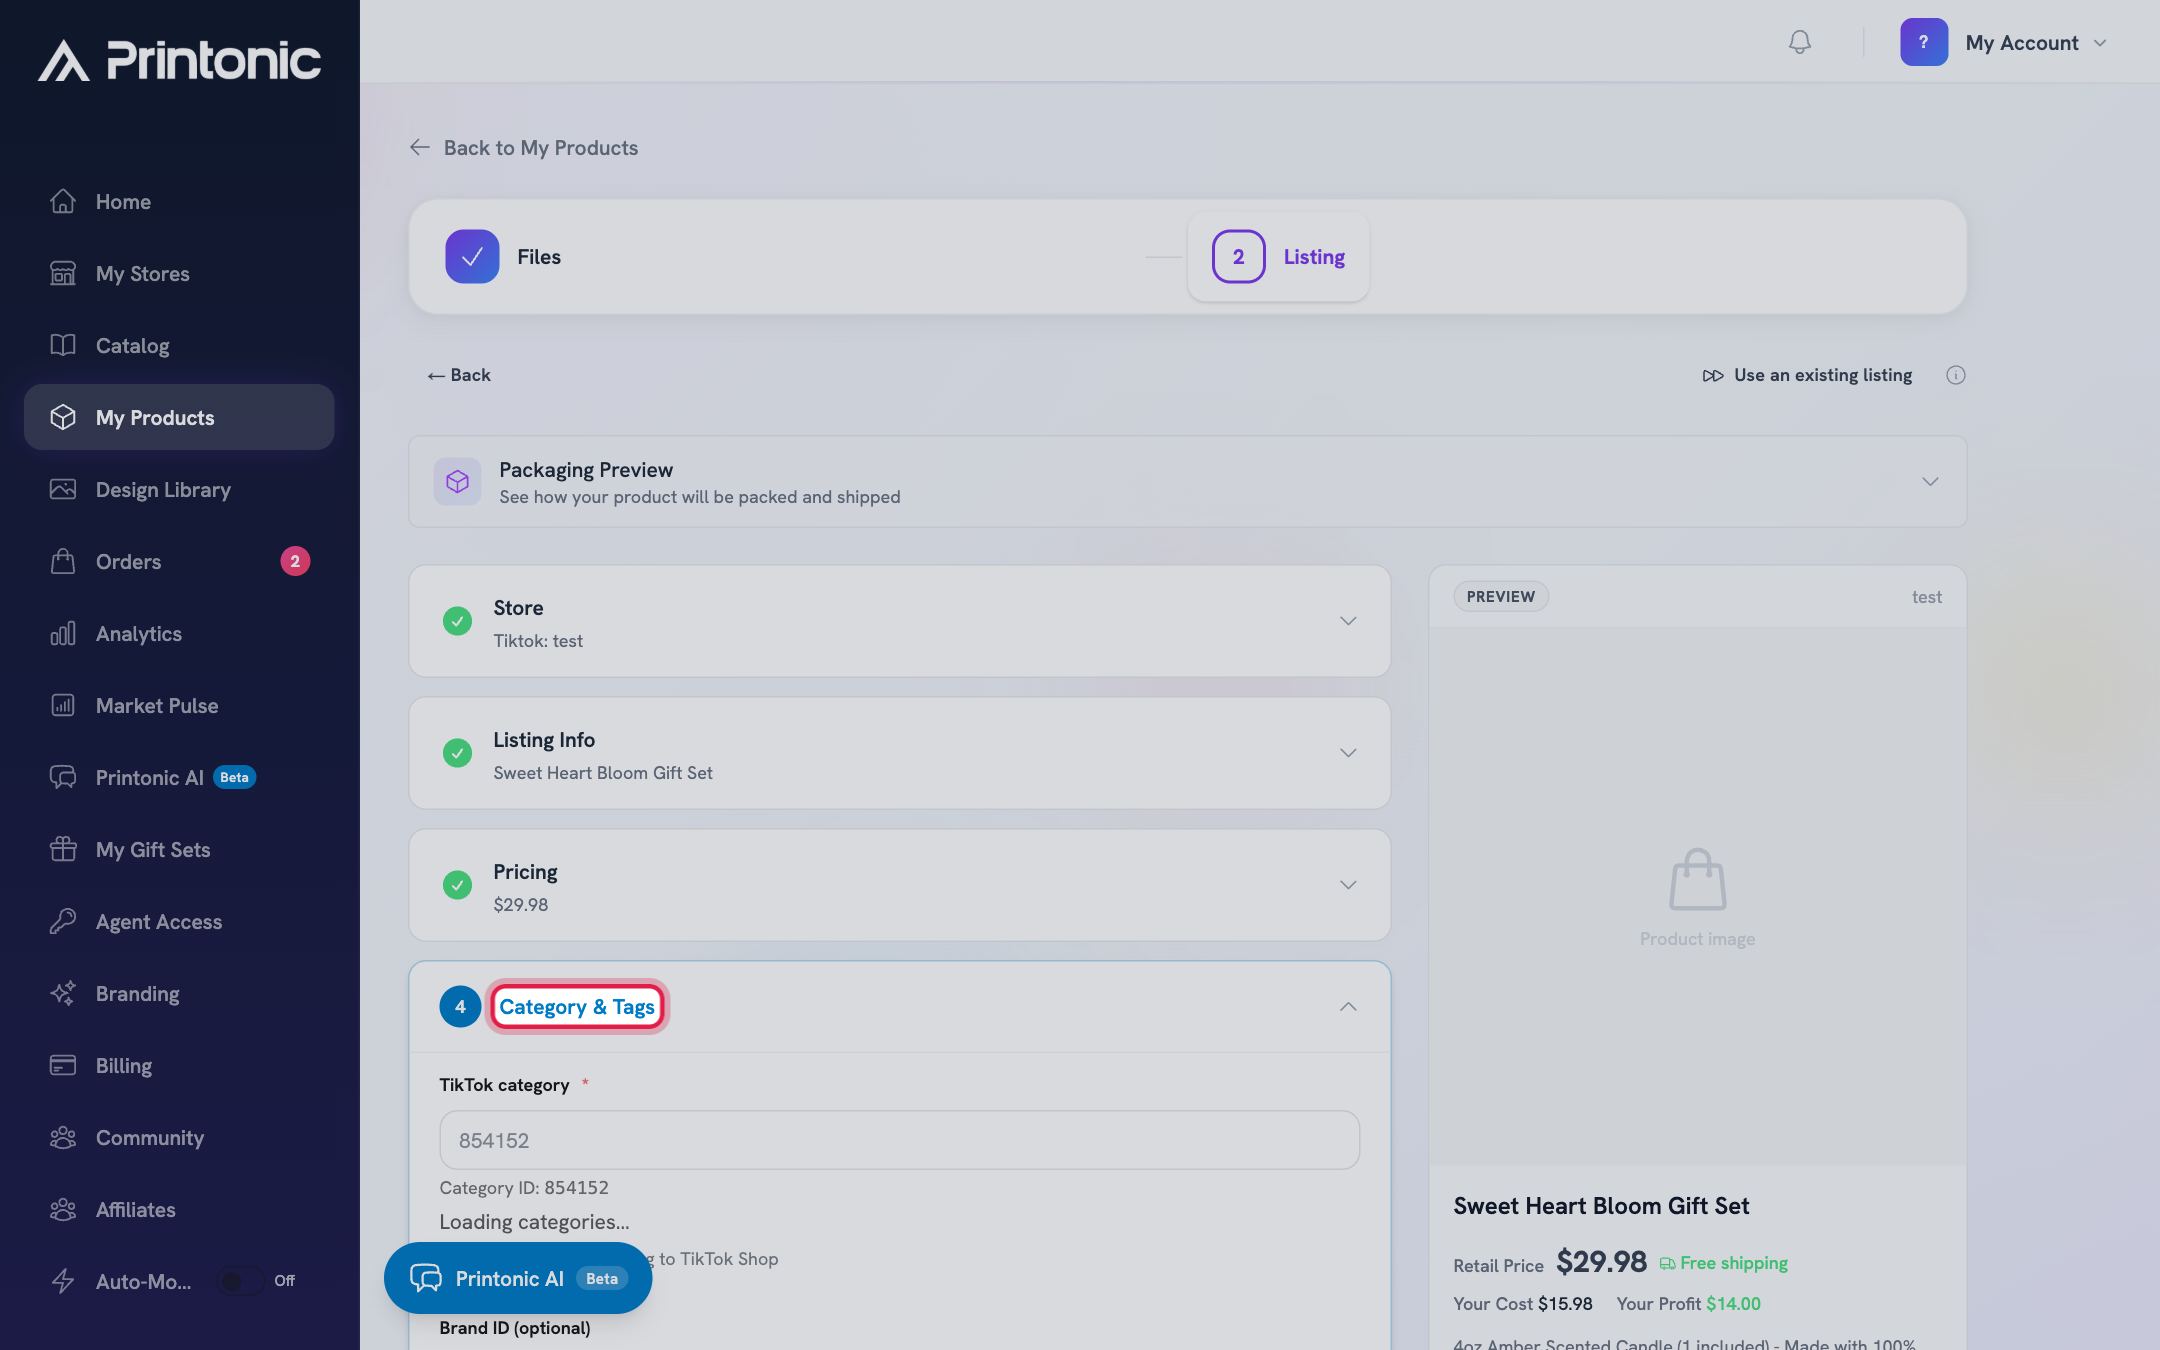
- 7
Product setup > Listing step
Check the preview and click Publish
The Listing Preview on the right shows how your listing will look (on mobile, tap the Preview button at the bottom). When everything looks right, click the Publish button at the bottom of the page. The button shows a spinner while Printonic creates the listing in your store.
If publishing fails, an error message appears explaining what needs fixing (for example a missing required field). Update the listed fields and click Publish again. If the error includes a Reference ID, keep it handy in case you contact support.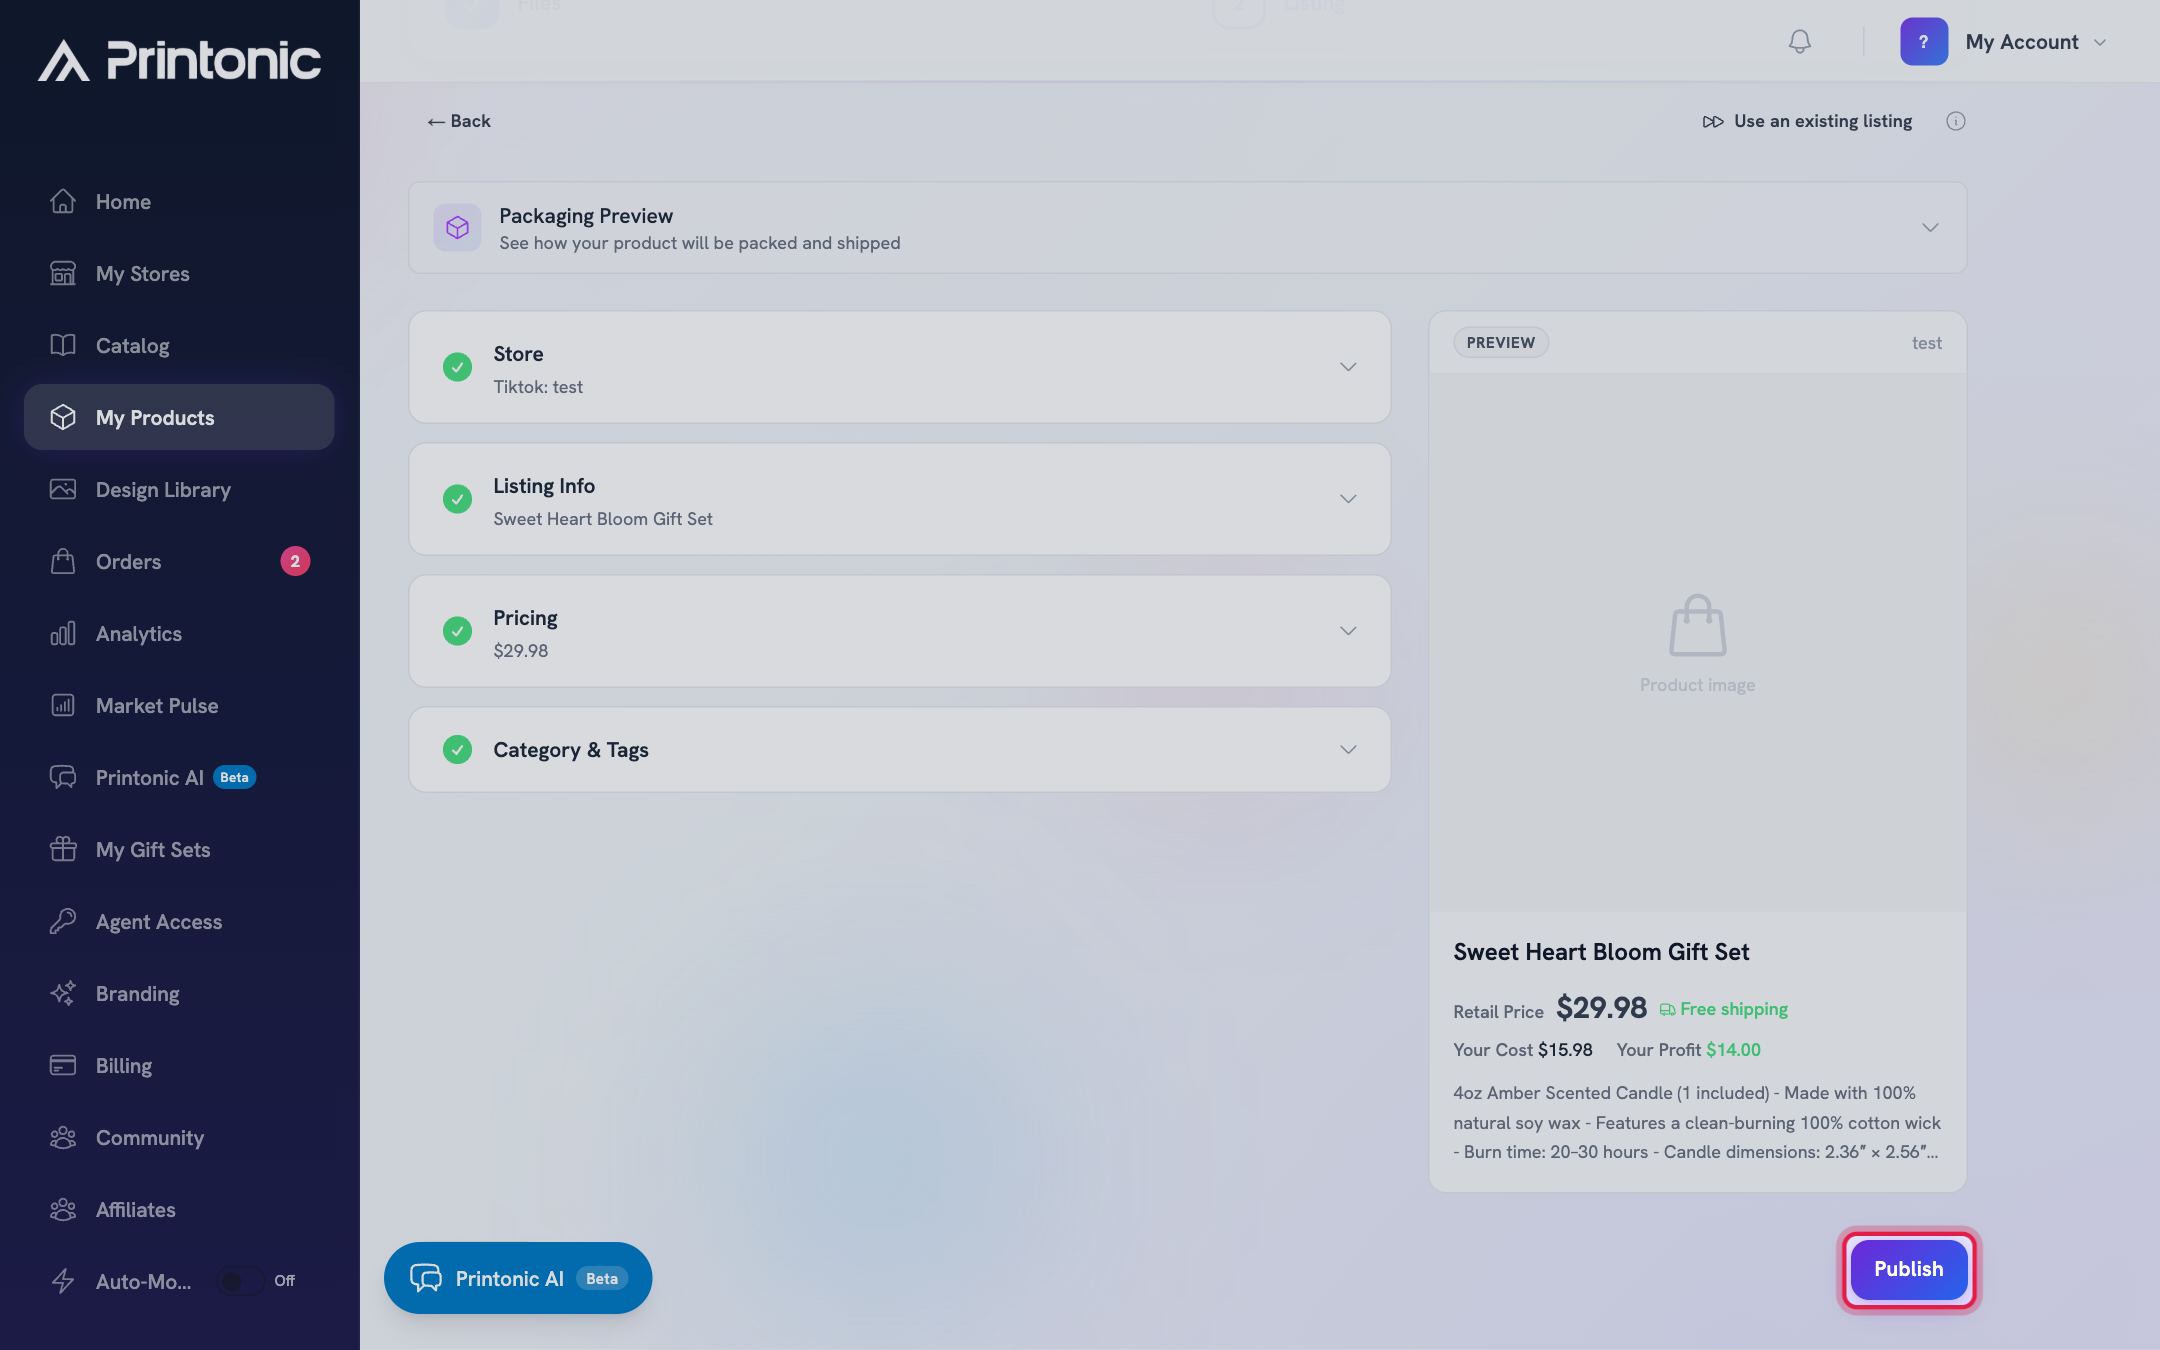
- 8
Product setup > Listing step (after publishing)
Confirm your published listing
You will see a green check with the message: Your listing has been published. On Etsy a View Listing link opens the new listing in your Etsy shop, and on Shopify a View in Shopify Admin link opens your products. Below that, the Published Listing Summary shows everything that went live. Expand the collapsed SKU codes section if you need your codes, then use Back to My Products when you are done.
Each SKU code identifies one variation of your listing, with a copy button next to each code. Keep these codes on the listing so orders route to Printonic correctly.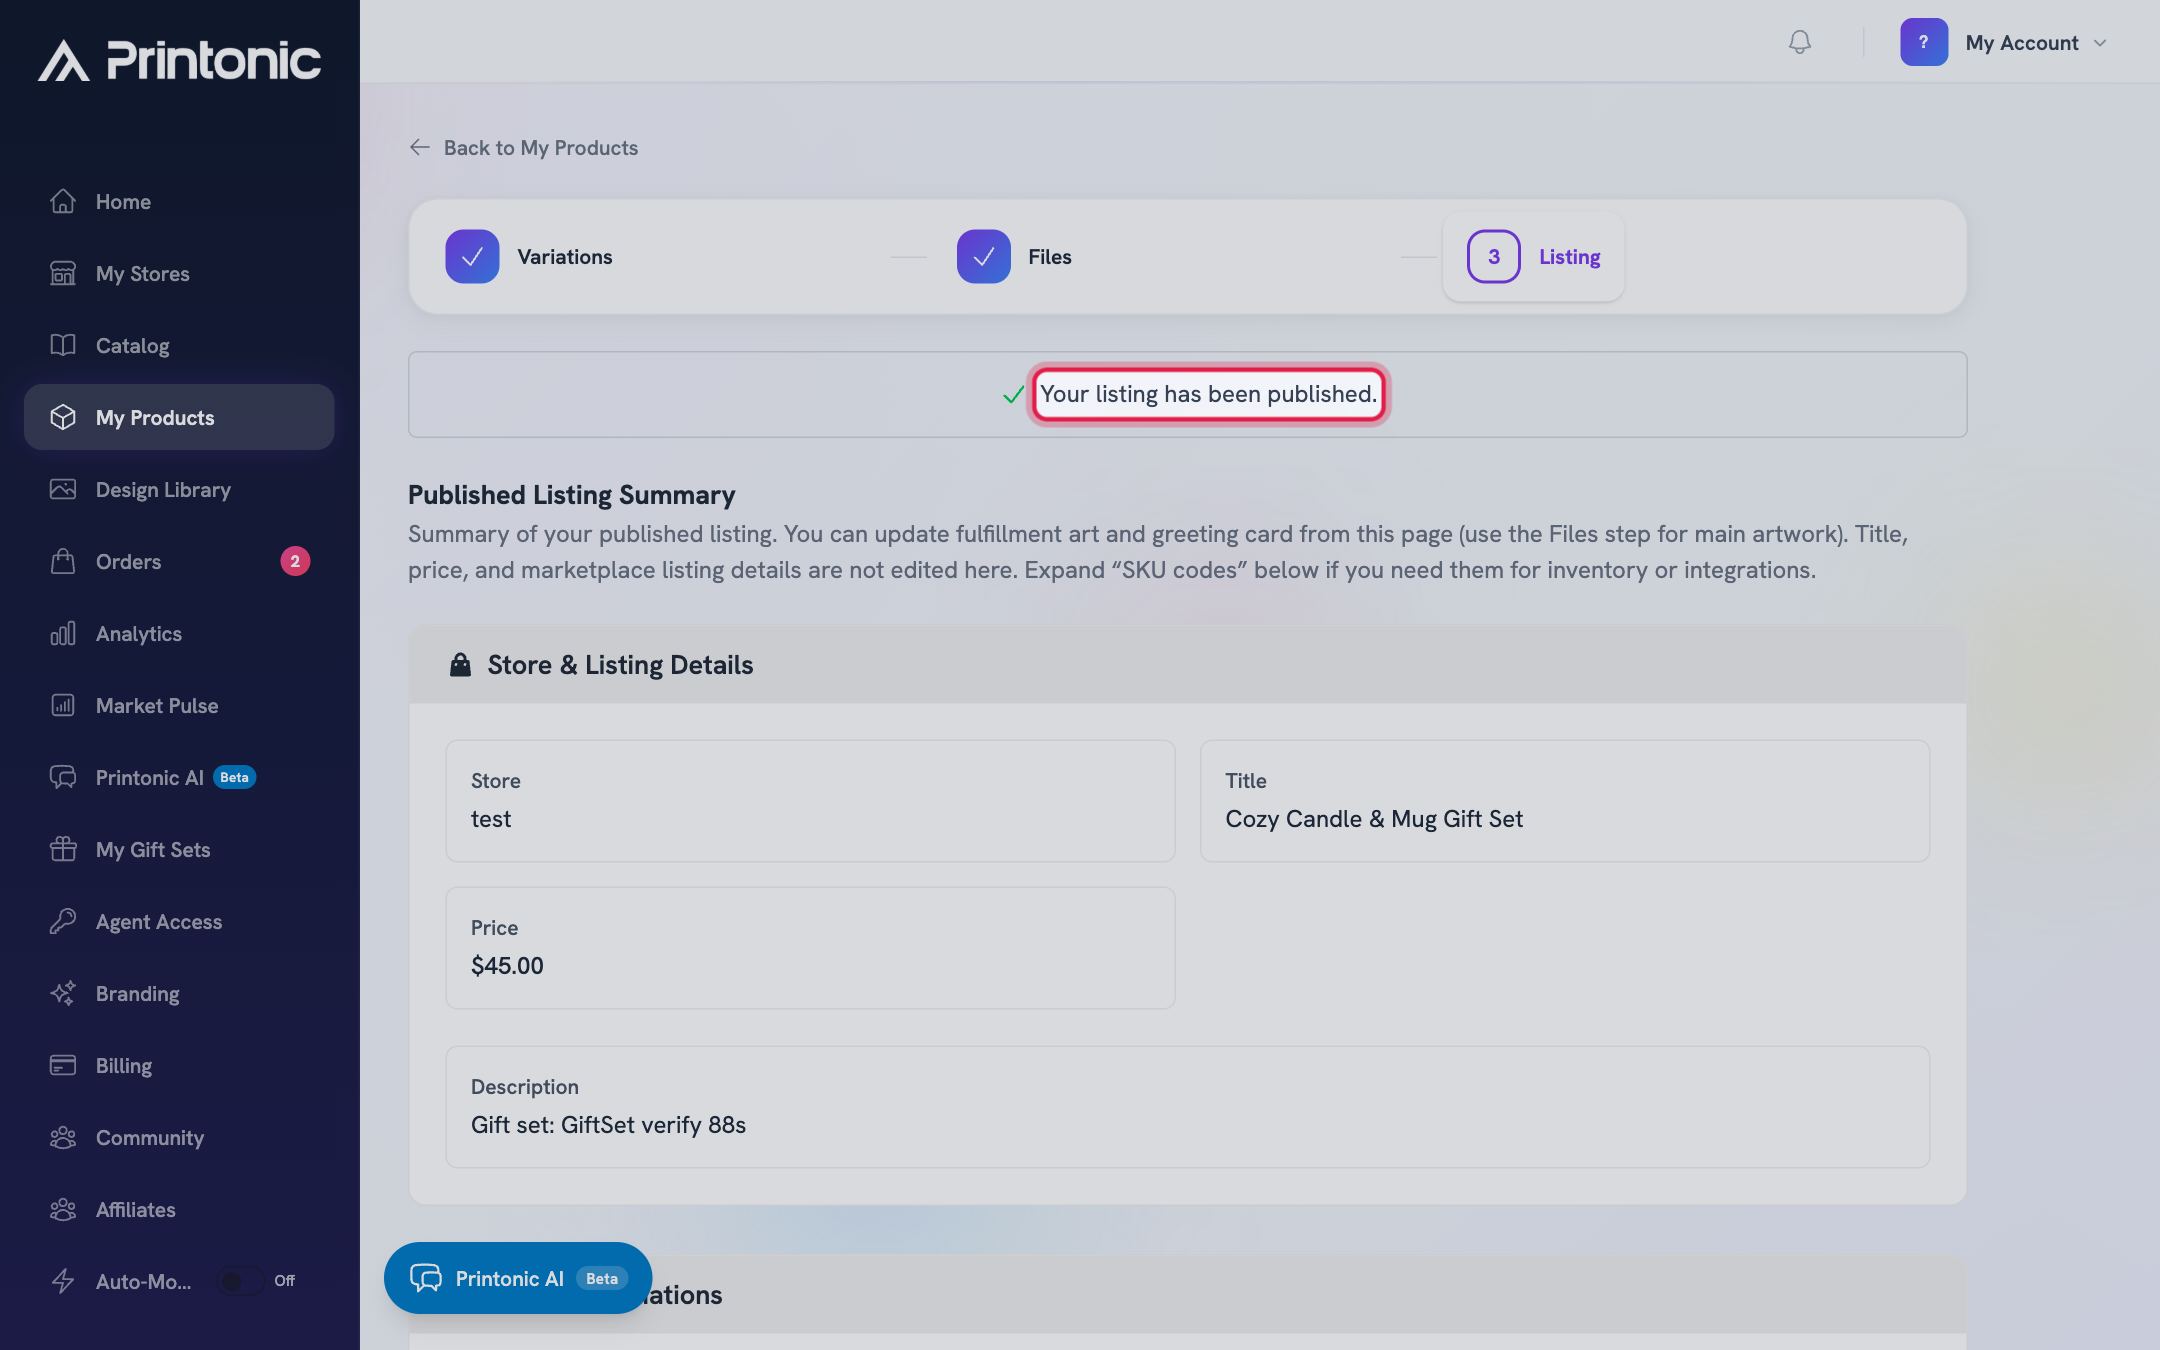
Good to know
- The Listing step auto-saves every change, so it is safe to close the page mid-setup and finish later.
- Etsy sellers with Printonic AI can click the AI button next to the title, description, and tags to draft or improve listing copy for Etsy SEO.
- Turn on listing defaults (Auto-Mode) to prefill your store, pricing, and shipping choices on every new product. See the listing defaults guide.
- After publishing, edit the listing's title, images, and price in your store platform (Etsy or Shopify). Printonic does not overwrite those changes.
Common questions
I already have a live listing on my store. Do I have to publish a new one?
No. On the Listing step, click Use an existing listing. That skips listing creation and just generates SKU codes to connect your live listing to Printonic for fulfillment. See the guide on using an existing listing.
Can I edit the listing from Printonic after it is published?
Partially. From the published summary you can still update your fulfillment art (on the Files step) and greeting card settings. The marketplace side of the listing (title, images, pricing) is edited in your store platform, not in Printonic.
What are the SKU codes for?
They are the codes Printonic assigned to each variation of your listing. They keep incoming orders matched to the right Printonic product. You may also need them for inventory tools, support tickets, or integrations. Expand the SKU codes section on the published summary to view and copy them.
Publishing failed. What should I do?
Read the error message under the Publish button. It lists what needs fixing, such as a missing category or an invalid field. Fix those items and click Publish again. If it keeps failing, contact support and include the Reference ID from the error.
Related guides
Add a product
Turn a catalog item into your own product: pick variations, upload your art, set prices, and publish it to your store with the step-by-step setup wizard.
Connect your store
Link your Etsy, Shopify, TikTok Shop, or WooCommerce store to Printonic so your orders sync automatically. Covers connecting, renaming, testing, disconnecting, and reconnecting.
Link an existing listing with SKU codes
Already have a live listing on your store? Skip listing setup, generate Printonic SKU codes, and paste them into your listing so orders route to Printonic for fulfillment.
Publish a listing to TikTok Shop
Connect a US TikTok Shop, set up a TikTok-ready product, clear the pre-publish checks (category, pricing, weight, required attributes), and publish your listing.