
The complete guide to connecting an AI assistant to Printonic: create your account, connect your store, mint a seller API key, and use ready-made prompts to design, draft, mock up, price, and publish listings without leaving the chat.
You already talk to an AI assistant about your shop. You ask it for niche ideas, listing titles, tag lists, and holiday collection plans. Then you leave the chat, open a dashboard, and rebuild everything it suggested by hand, one field at a time.
That second half is now optional. Printonic runs a hosted MCP server, which means Claude, ChatGPT, Cursor, or any other MCP-capable assistant can connect directly to your Printonic account and do the work it just suggested: search the catalog, create listing drafts, attach your artwork, render 3D mockups, set prices, check Etsy readiness, and publish. You review and approve. The agent types.
This guide takes you from a blank browser tab to a published listing. If you already have an account and a connected store, skip the next section and start at minting your key.
What an AI assistant can do with your account
Once connected, your assistant sees a set of tools that map to the same actions you take in the dashboard:
- Browse: search the full product catalog, read any product's print file requirements, variation options, and SKUs, and list your connected stores and existing products.
- Create: open listing drafts with titles, descriptions, and selected variations. Drafts are always unpublished and approval-required.
- Design: attach real artwork from a URL to a specific print slot, or generate simple text art directly from a phrase. Printonic resizes files to the exact print dimensions each product requires.
- Visualize: queue 3D mockup renders of your design on the product and return the finished images.
- Prepare: set retail prices per variation, configure shipping settings, and run a read-only publish readiness check that lists every blocker with its fix.
- Publish: push the finished listing to your connected Etsy store. It lands in Etsy's draft state, and you activate it there.
- Monitor: pull your recent orders with statuses and tracking, or the full detail of a single order.
Every one of those is gated by a scope on your key, so the agent can only do what you explicitly allowed.
First, the basics: account and store
The AI workflow sits on top of a normal Printonic account, so two prerequisites come first.
Create your account. Register here with an email and password or with Google. It is free, and there is no subscription. Our getting started guide walks the whole dashboard if you want the tour, and how it works is the two-minute version.
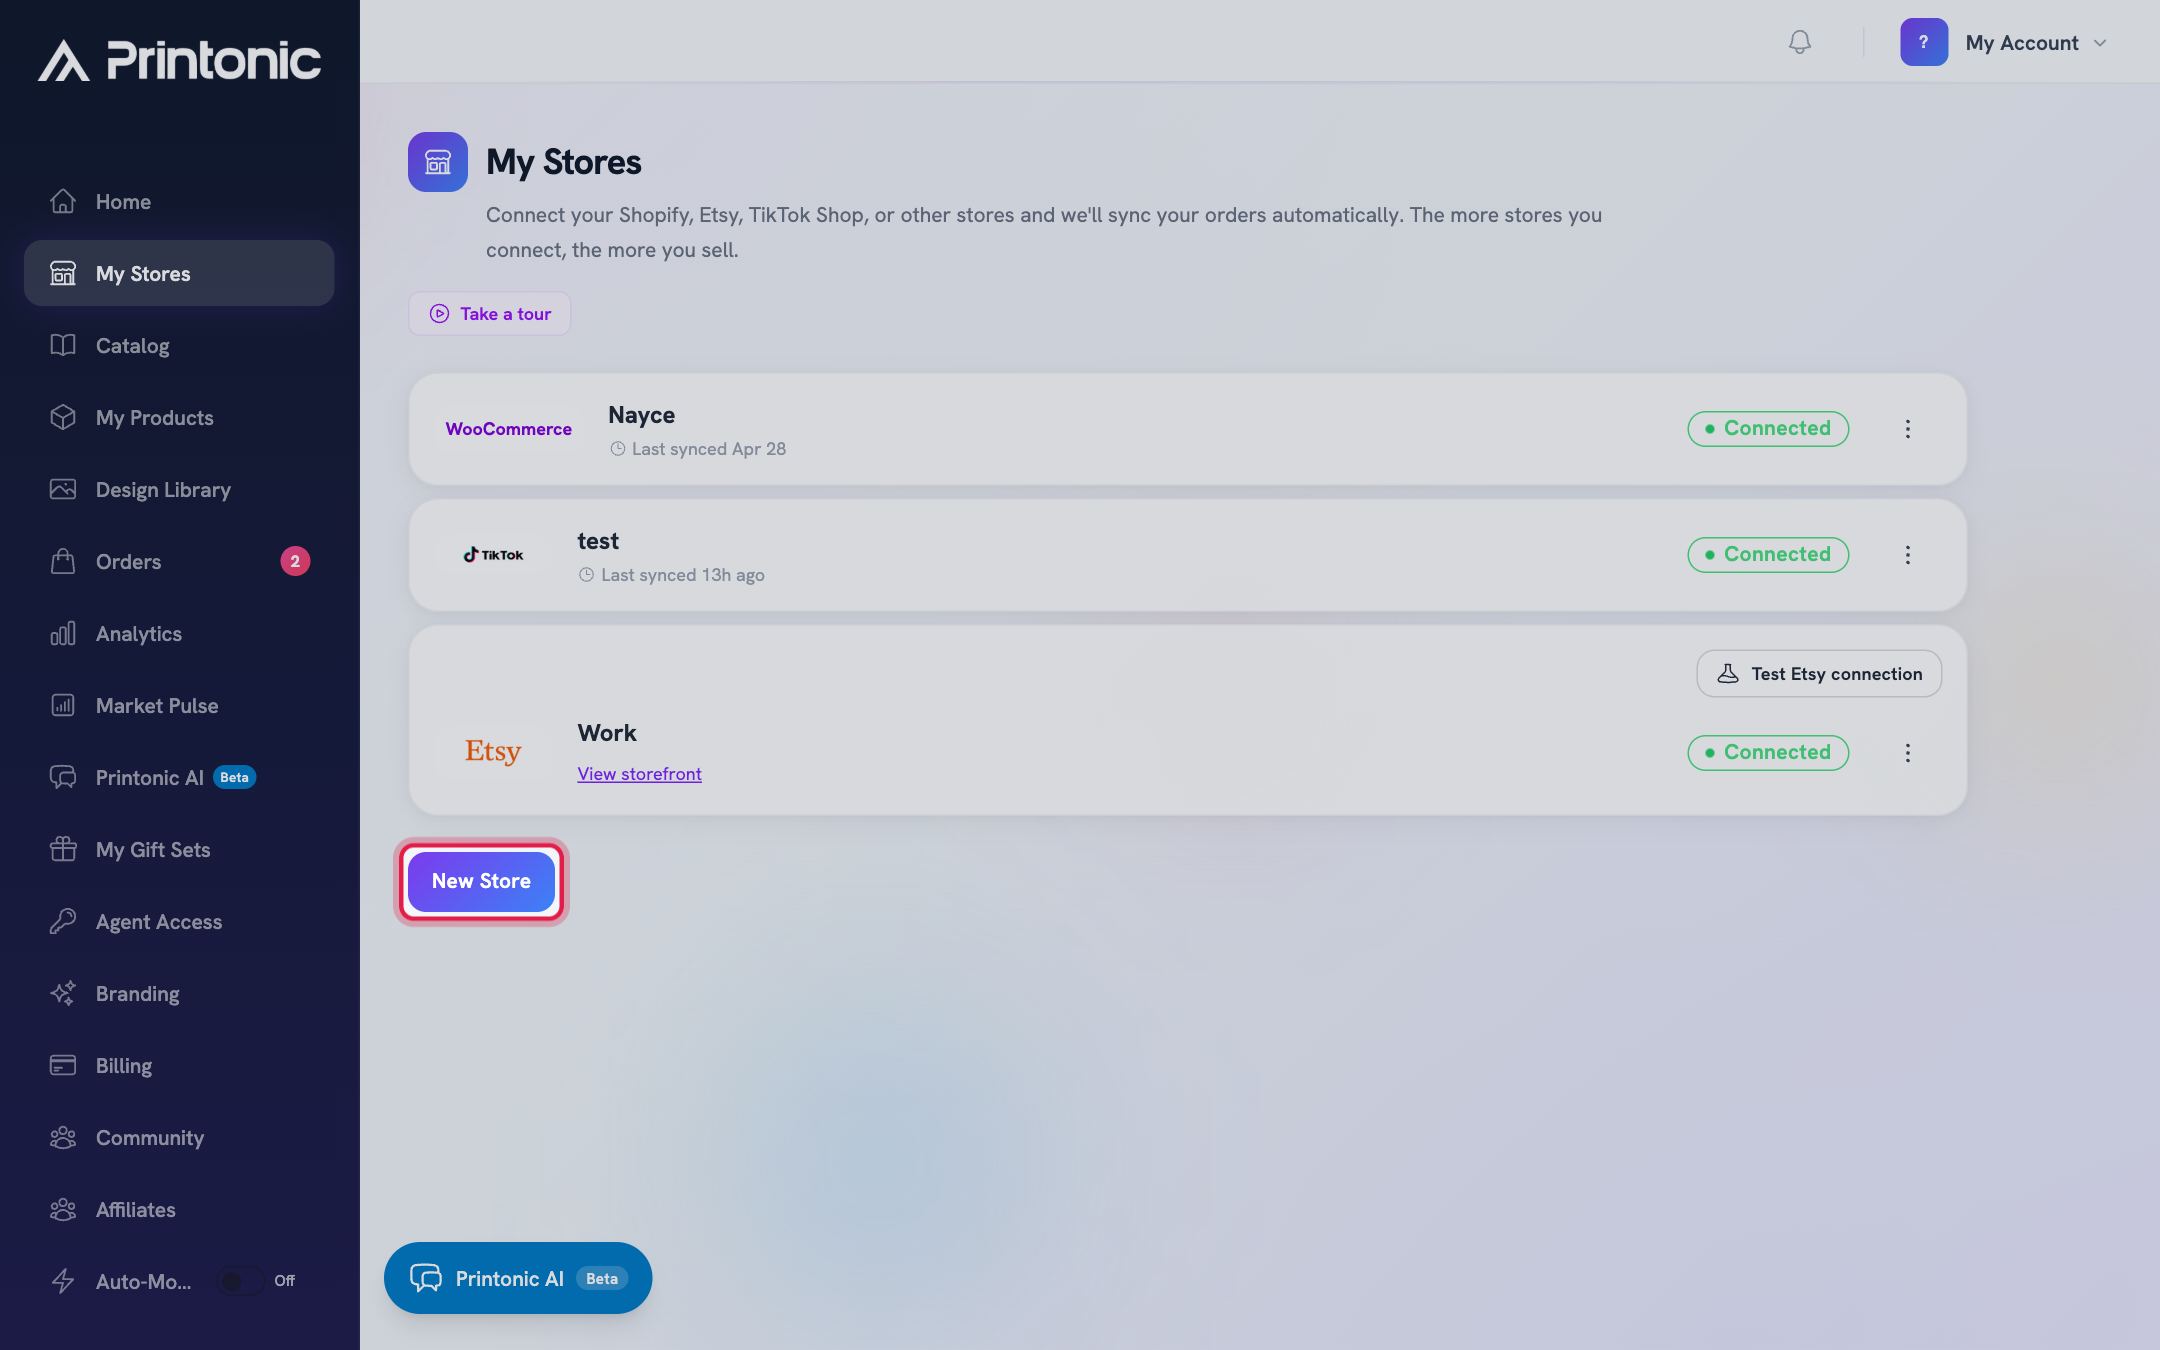
Connect your store. Printonic publishes to stores you already own on Etsy, Shopify, and WooCommerce, with TikTok Shop coming soon. Go to My Stores in the dashboard and follow the connect your store guide. One account can hold several stores, and you will be able to tell the agent which one to use.
You do not need to pick products or upload anything yet. That is the part the agent does.
Mint your seller API key
Your assistant authenticates with a seller API key, which you create yourself in the dashboard under Agent Access. Agent Access is in beta, so if you do not see it in your sidebar yet, contact support and ask to have it enabled on your account.
Creating a key takes a minute:
- Open Agent Access in the dashboard and choose Create key.
- Give it a label that names the assistant it belongs to, such as "Claude Desktop" or "Cursor". Use one key per assistant so you can revoke one without disturbing the others.
- Tick the scopes you want this key to have. For browsing and drafting,
catalog:read,stores:read,products:read, andlistings:draftare enough. For the full pipeline in this guide, also grantproducts:writefor pricing and settings,listings:publishfor publishing, andorders:readfor order lookups. - Optionally set a request rate limit (60 per minute is the default) and a daily spend limit in dollars.
- Create the key and copy it immediately. It starts with
psa_live_and is shown exactly once. Printonic stores only a hash.
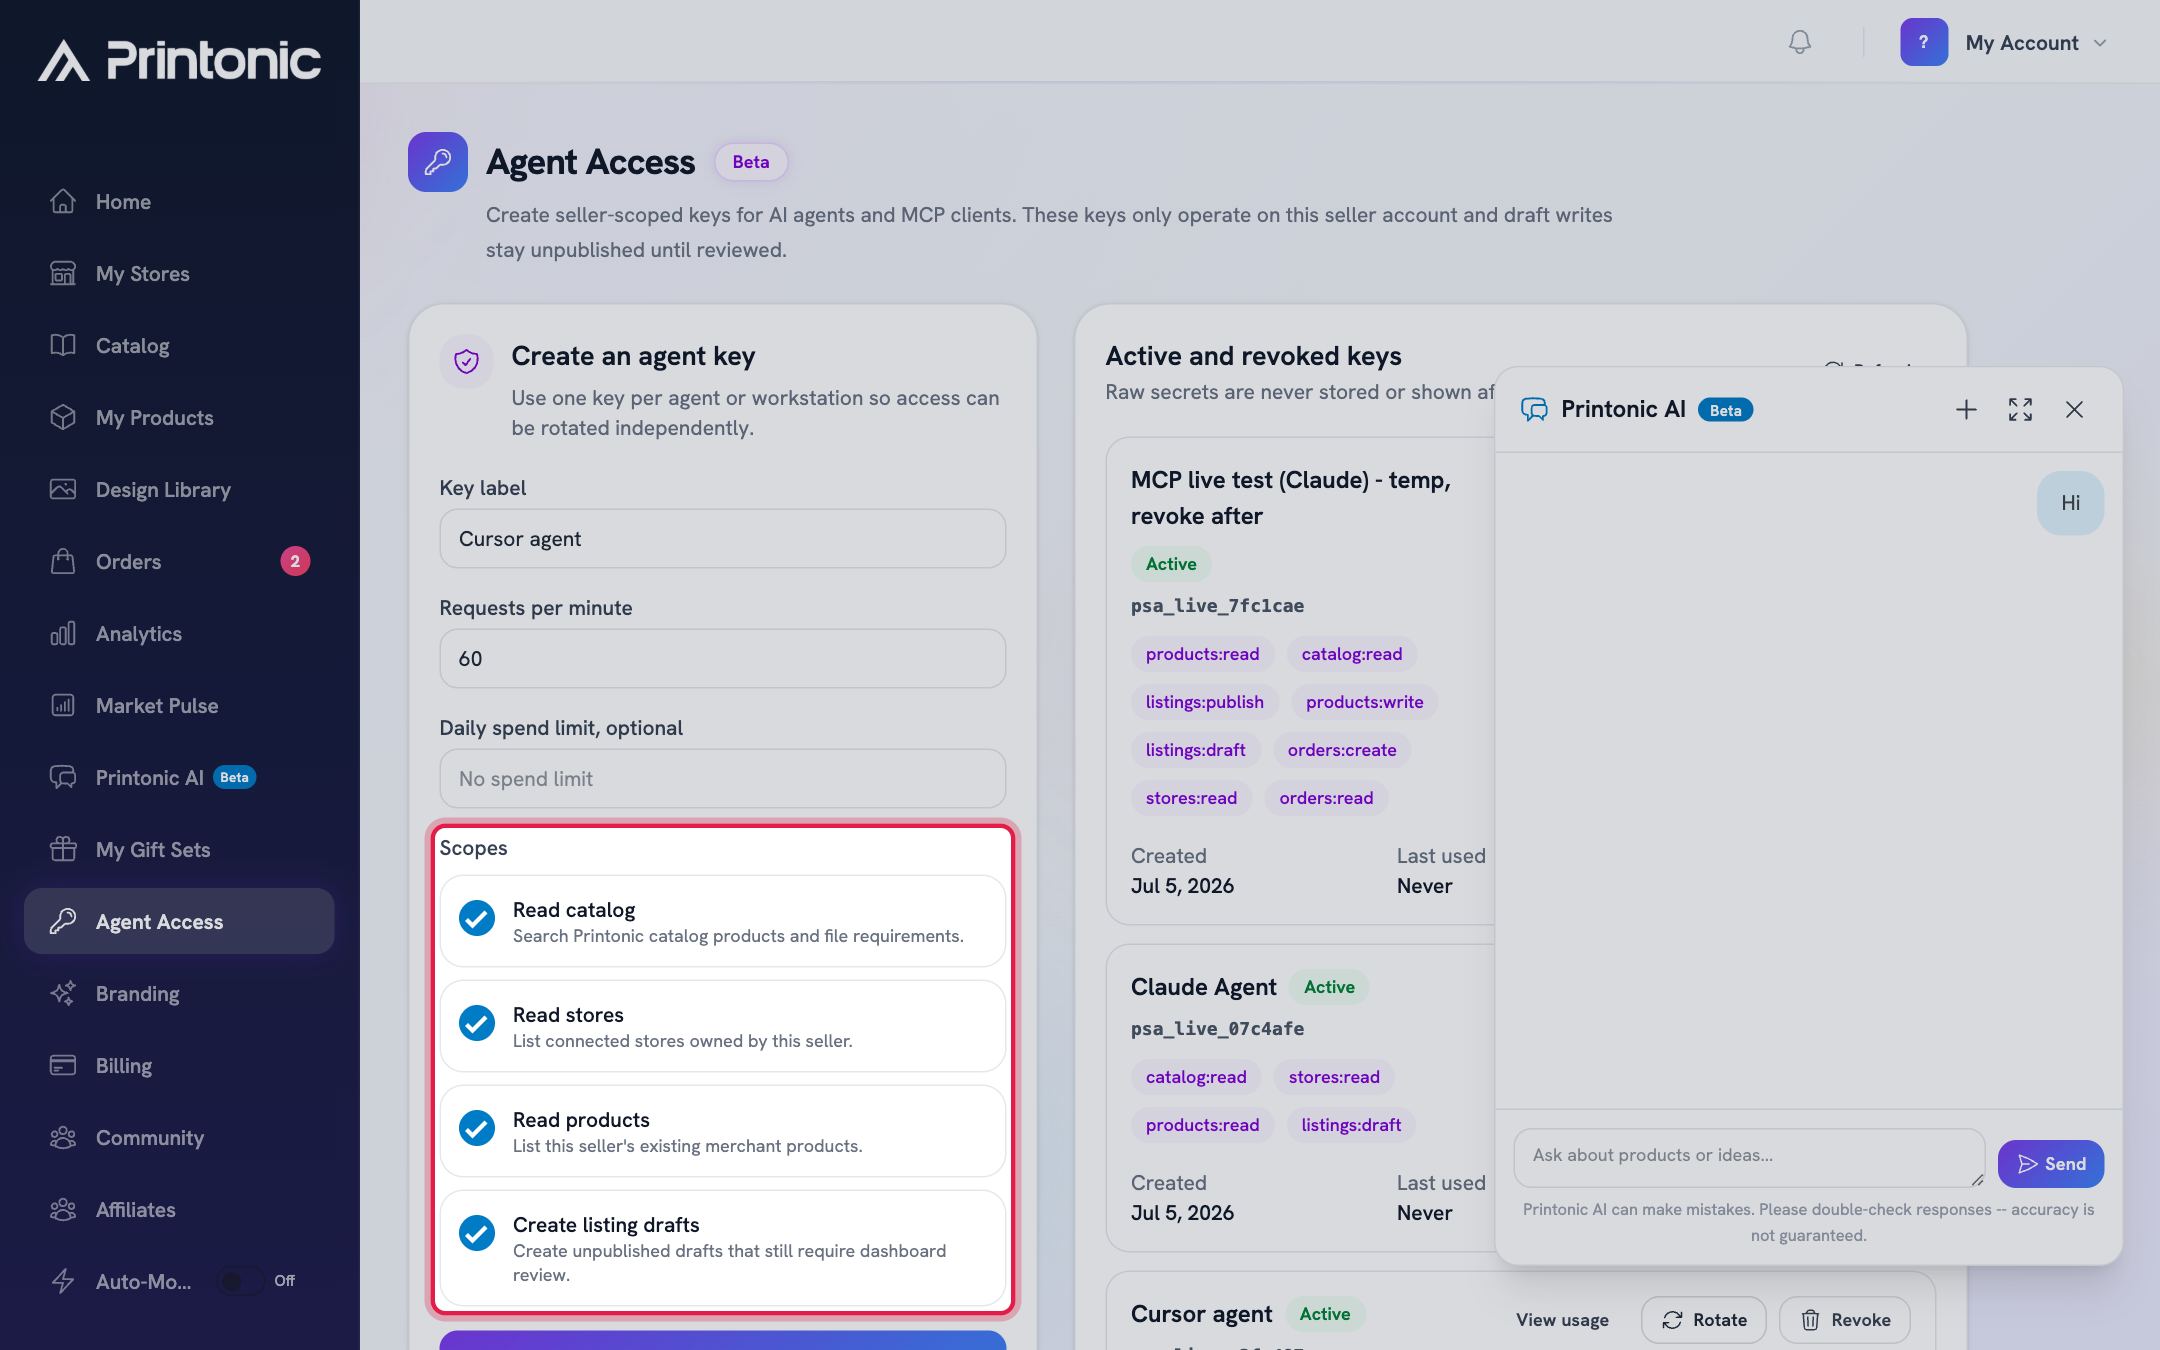
If a key ever leaks, or you simply stop using an assistant, revoke or rotate it from the same page. Rotation kills the old key instantly and hands you a fresh one with identical scopes.
Connect your assistant
The server address is the same for every client:
https://printonic.com/api/mcp
Authentication is a bearer header carrying your key. How you supply it depends on the client.
Cursor, Claude Code, and other config-file clients
Add this to your mcp.json (in Cursor: Settings, then MCP; in Claude Code: .mcp.json in your project):
{
  "mcpServers": {
    "printonic": {
      "url": "https://printonic.com/api/mcp",
      "headers": {
        "Authorization": "Bearer psa_live_your_key_here"
      }
    }
  }
}
Claude Code users can do the same from the terminal:
claude mcp add --transport http printonic https://printonic.com/api/mcp \
  --header "Authorization: Bearer psa_live_your_key_here"
Claude Desktop, ChatGPT, and other UI-based clients
Add a custom connector (sometimes called a remote MCP server) in the client's settings. Paste the server URL above, and set an Authorization header with the value Bearer psa_live_your_key_here. In ChatGPT this lives under Settings, Connectors; in Claude Desktop under Settings, Connectors, Add custom connector.
Clients that only support local servers
Bridge with the mcp-remote package:
npx -y mcp-remote https://printonic.com/api/mcp \
  --header "Authorization: Bearer psa_live_your_key_here"
To confirm the connection, start a new chat and ask: "List my Printonic stores." If the assistant answers with your store names, you are wired up.
How the listing pipeline fits together
The tools follow the same order you would use in the dashboard, and the agent will chain them for you. It helps to know the shape of that chain, because it explains what the prompts below are doing:
- Search the catalog, then read one product's detail. The detail carries two things everything else needs: the print file requirement (the artwork slot, with exact pixel dimensions) and the variation options.
- Create a draft against that product on a chosen store.
- Attach artwork to the requirement, either from a URL or as generated text art.
- Generate mockups. This is an asynchronous render job, so the agent queues it, polls, and returns image URLs when finished.
- Set pricing and shipping settings. Shipping profiles can be auto-created.
- Check publish readiness. A read-only report of anything that would block publication, each with a fix.
- Publish. The listing is created in your Etsy store in draft state. You activate it in Etsy when you are happy.
Nothing in that chain charges money, and nothing goes live for buyers without you clicking activate.
A few catalog products to try your first drafts on


Ready-made prompts
Copy these into any connected assistant and edit the bracketed parts. They are written to make the agent use the pipeline correctly, including the ordering rules above.
Explore the catalog for a niche.
Search the Printonic catalog for products that would suit a [cozy fall / new mom /
graduation] collection. For the three best fits, show me the base cost, the
variations, and the print file requirements, including exact artwork dimensions.
Design and draft in one step, using generated text art. This one works even in chat-only clients with no way to host an image, because the art is generated from text:
Create a listing draft on my [store name] store for the [product name] from the
Printonic catalog. Title it "[title]" and write a warm 2-3 sentence description.
For the front label, generate text art that says "[Your Text Here]".
Do not publish anything.
Attach real artwork. The attach tool takes a direct, publicly reachable image link (PNG, JPG, or WebP), and Printonic resizes it to the slot's exact print dimensions:
Take my artwork at [https://your-image-url.png] and attach it to the front label
requirement of the draft you just created. Then confirm which print slot it
filled and at what dimensions.
See it as a product photo.
Generate 3D mockups for that draft, wait for the render job to finish, and show
me every finished image. If any variation failed, tell me which.
Price it and make it publishable.
Set the retail price to $[29.99] for all variations. Use free shipping,
auto-create the shipping profile and readiness state, then run the publish
readiness check and list anything that still blocks publishing, with fixes.
Publish.
Everything looks good. Publish this listing to my Etsy store with a fresh
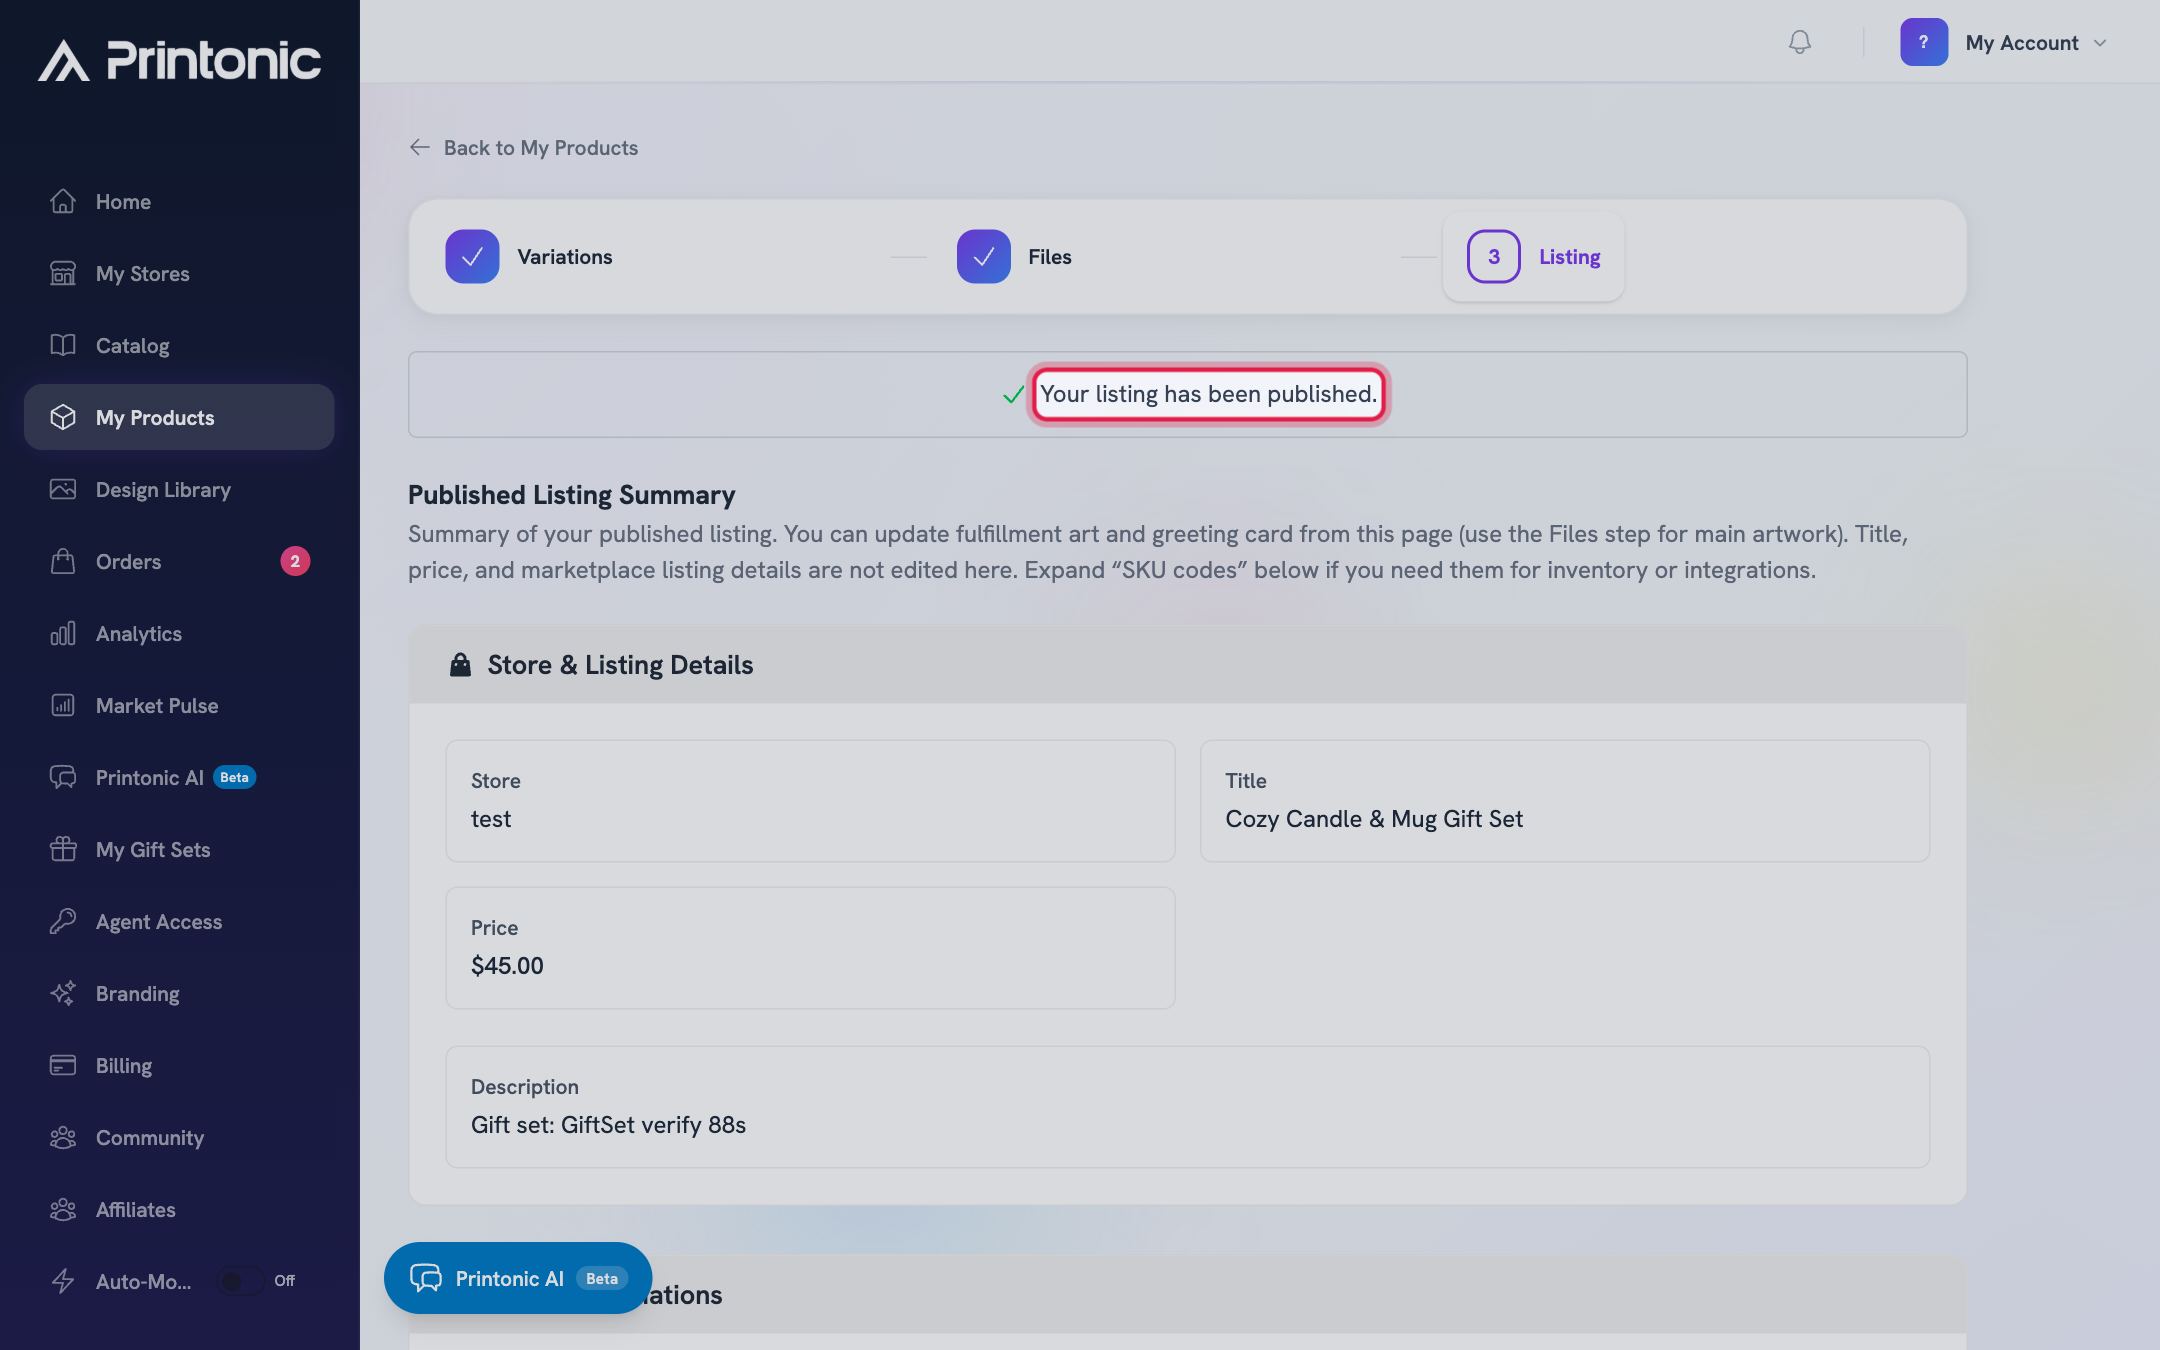
idempotency key, then give me the link so I can activate the Etsy draft.
The whole thing, A to Z, in one prompt. Once you trust the flow, this is the one to keep pinned:
Create a new listing on my [store name] store, end to end:

1. Search the Printonic catalog for "[product type]" and pick the best match.
   Read its print requirements and variations first.
2. Create a draft titled "[title]" with a compelling 3-sentence description
   and all variations selected.
3. Attach my artwork from [https://your-image-url.png] to the front print slot.
4. Generate 3D mockups, wait for them, and show me the images.
5. Price everything at $[34.99], free shipping, auto-created shipping profile.
6. Run the readiness check and resolve any blockers with me.
7. Stop and show me a summary. Publish only after I reply "publish".
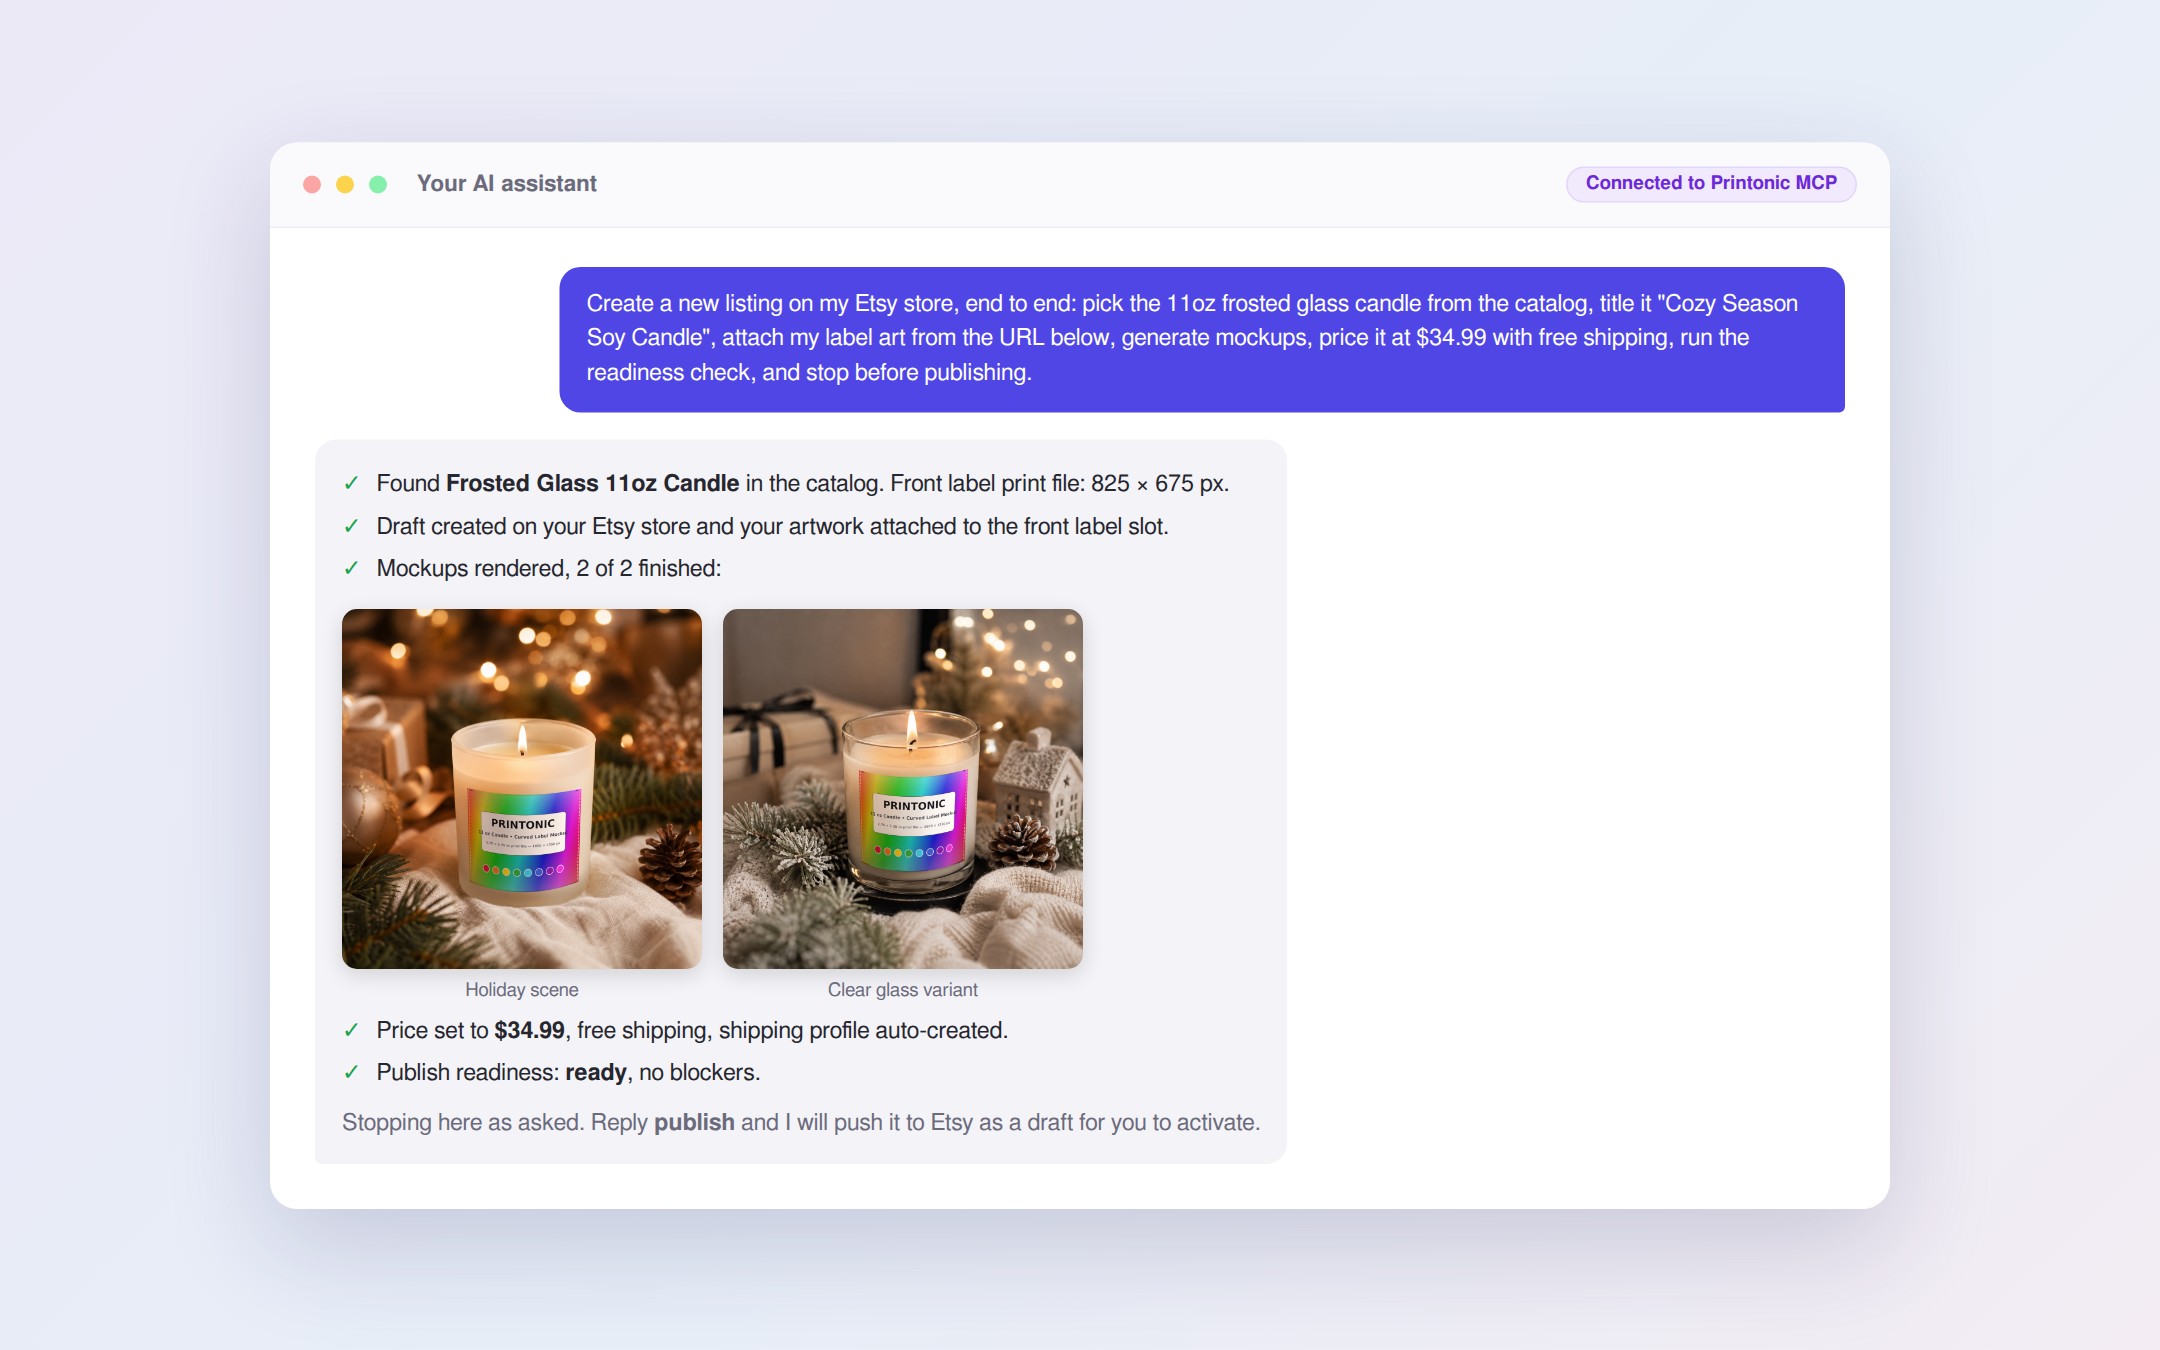
Here is that flow in practice, with the assistant reporting each stage and returning the finished 3D mockups for approval:
Batch a collection. Agents are at their best doing the boring version of this ten times:
I am building a [Valentine's] collection. For each of these five phrases, create
a separate draft on my [store name] store on the [product name], with generated
text art of the phrase, a matching title and description, and a price of
$[24.99]: [phrase 1], [phrase 2], [phrase 3], [phrase 4], [phrase 5].
Show me a table of the five drafts when done. Do not publish any of them.
Keep an eye on the business.
Show my orders from the last 7 days grouped by status. Flag anything rejected
or missing artwork, and give me tracking numbers for everything shipped.
How artwork gets in
The attach tool works from URLs, not file uploads, which keeps it working in every chat client. You have three ways to hand the agent a design:
- Host it anywhere public. A direct link from your own site, cloud storage with public sharing, or your design tool's export link all work.
- Use Printonic's upload endpoint. Coding-capable agents like Claude Code and Cursor can POST a local file to
https://printonic.com/api/external/upload-artand get back a public URL to attach. No key required, and the API docs cover it. - Generate text art. For phrase-based products, the draft tool renders clean text art on its own, no image file involved.
Whatever the source, Printonic fetches the file server-side, validates it, and resizes it to the print requirement's exact dimensions, so the agent cannot attach art at the wrong size.
Built to be safe
A few design decisions are worth knowing, because they are the reason you can let an agent touch a real store:
- Scopes. Every tool checks the key's scopes. A browsing key physically cannot publish; a drafting key cannot touch prices.
- Drafts by default. Draft creation always produces an unpublished, approval-required product. The publish tool is a separate scope, requires an idempotency key so retries cannot double-publish, and still lands in Etsy's draft state for you to activate.
- No spending. Seller keys cannot pay for orders. Where order creation is enabled, orders arrive as pending, for a human to review, submit, and pay in the dashboard. Daily spend limits on the key add a second wall.
- Full audit trail. Every call the agent makes is logged against the key, and you can review recent usage per key from Agent Access.
- One account only. A key sees the account that minted it, nothing else.
When something does not work
- "Missing required scope": the key was created without that permission. Create or rotate a key with the scope ticked, and update the header in your client.
- Mockups return "no files uploaded": artwork must be attached before mockups render. Ask the agent to attach art first, then regenerate.
- The readiness check lists blockers: that is it working. Each blocker names its fix; the common ones are a missing price on one variation, a missing shipping profile (ask for auto-create), or no Etsy store selected on the draft.
- 429 responses: the key hit its per-minute rate limit. Raise the limit in Agent Access or slow the agent down.
- The assistant cannot see the tools at all: re-check the URL is exactly
https://printonic.com/api/mcpand the header readsAuthorization: Bearer psa_live_...with no extra spaces.
Where to go next
Connect a store with the store connection guide, read the deeper Agent Access help article, and browse the catalog for the product your first draft should live on. If you prefer raw HTTP over MCP, the same platform is exposed as a REST API in the API docs. And when your agent has drafted something you love, the publish a listing guide covers the last click, from Etsy draft to live listing.