Pro & Power Tools
Branding Studio
Put your brand on every package: set a custom return address for shipping labels, and add a 6x4 package insert card and a 2x2 inch round packaging sticker for each of your stores.
Branding Studio is where you make Printonic packages look like they came from you, not from a print partner. It covers three things: the return address printed on your shipping labels, a 6x4 insert card placed inside every package, and a round sticker placed on the outside of the box. The return address applies to your whole account, while inserts and stickers are set up per store, so each shop can have its own look.
- 1
Dashboard > Branding
Open Branding Studio
Click Branding in your dashboard. The page opens with a banner showing your number of Connected Stores and your 3 Branding Options, followed by three cards from top to bottom: Return Address, Package Inserts, and Packaging Stickers. Each card works on its own, so you can set up just the pieces you want.
Package Inserts and Packaging Stickers are configured per store. If you have not connected a store yet, those cards show 'No stores connected yet' with a Connect a Store button.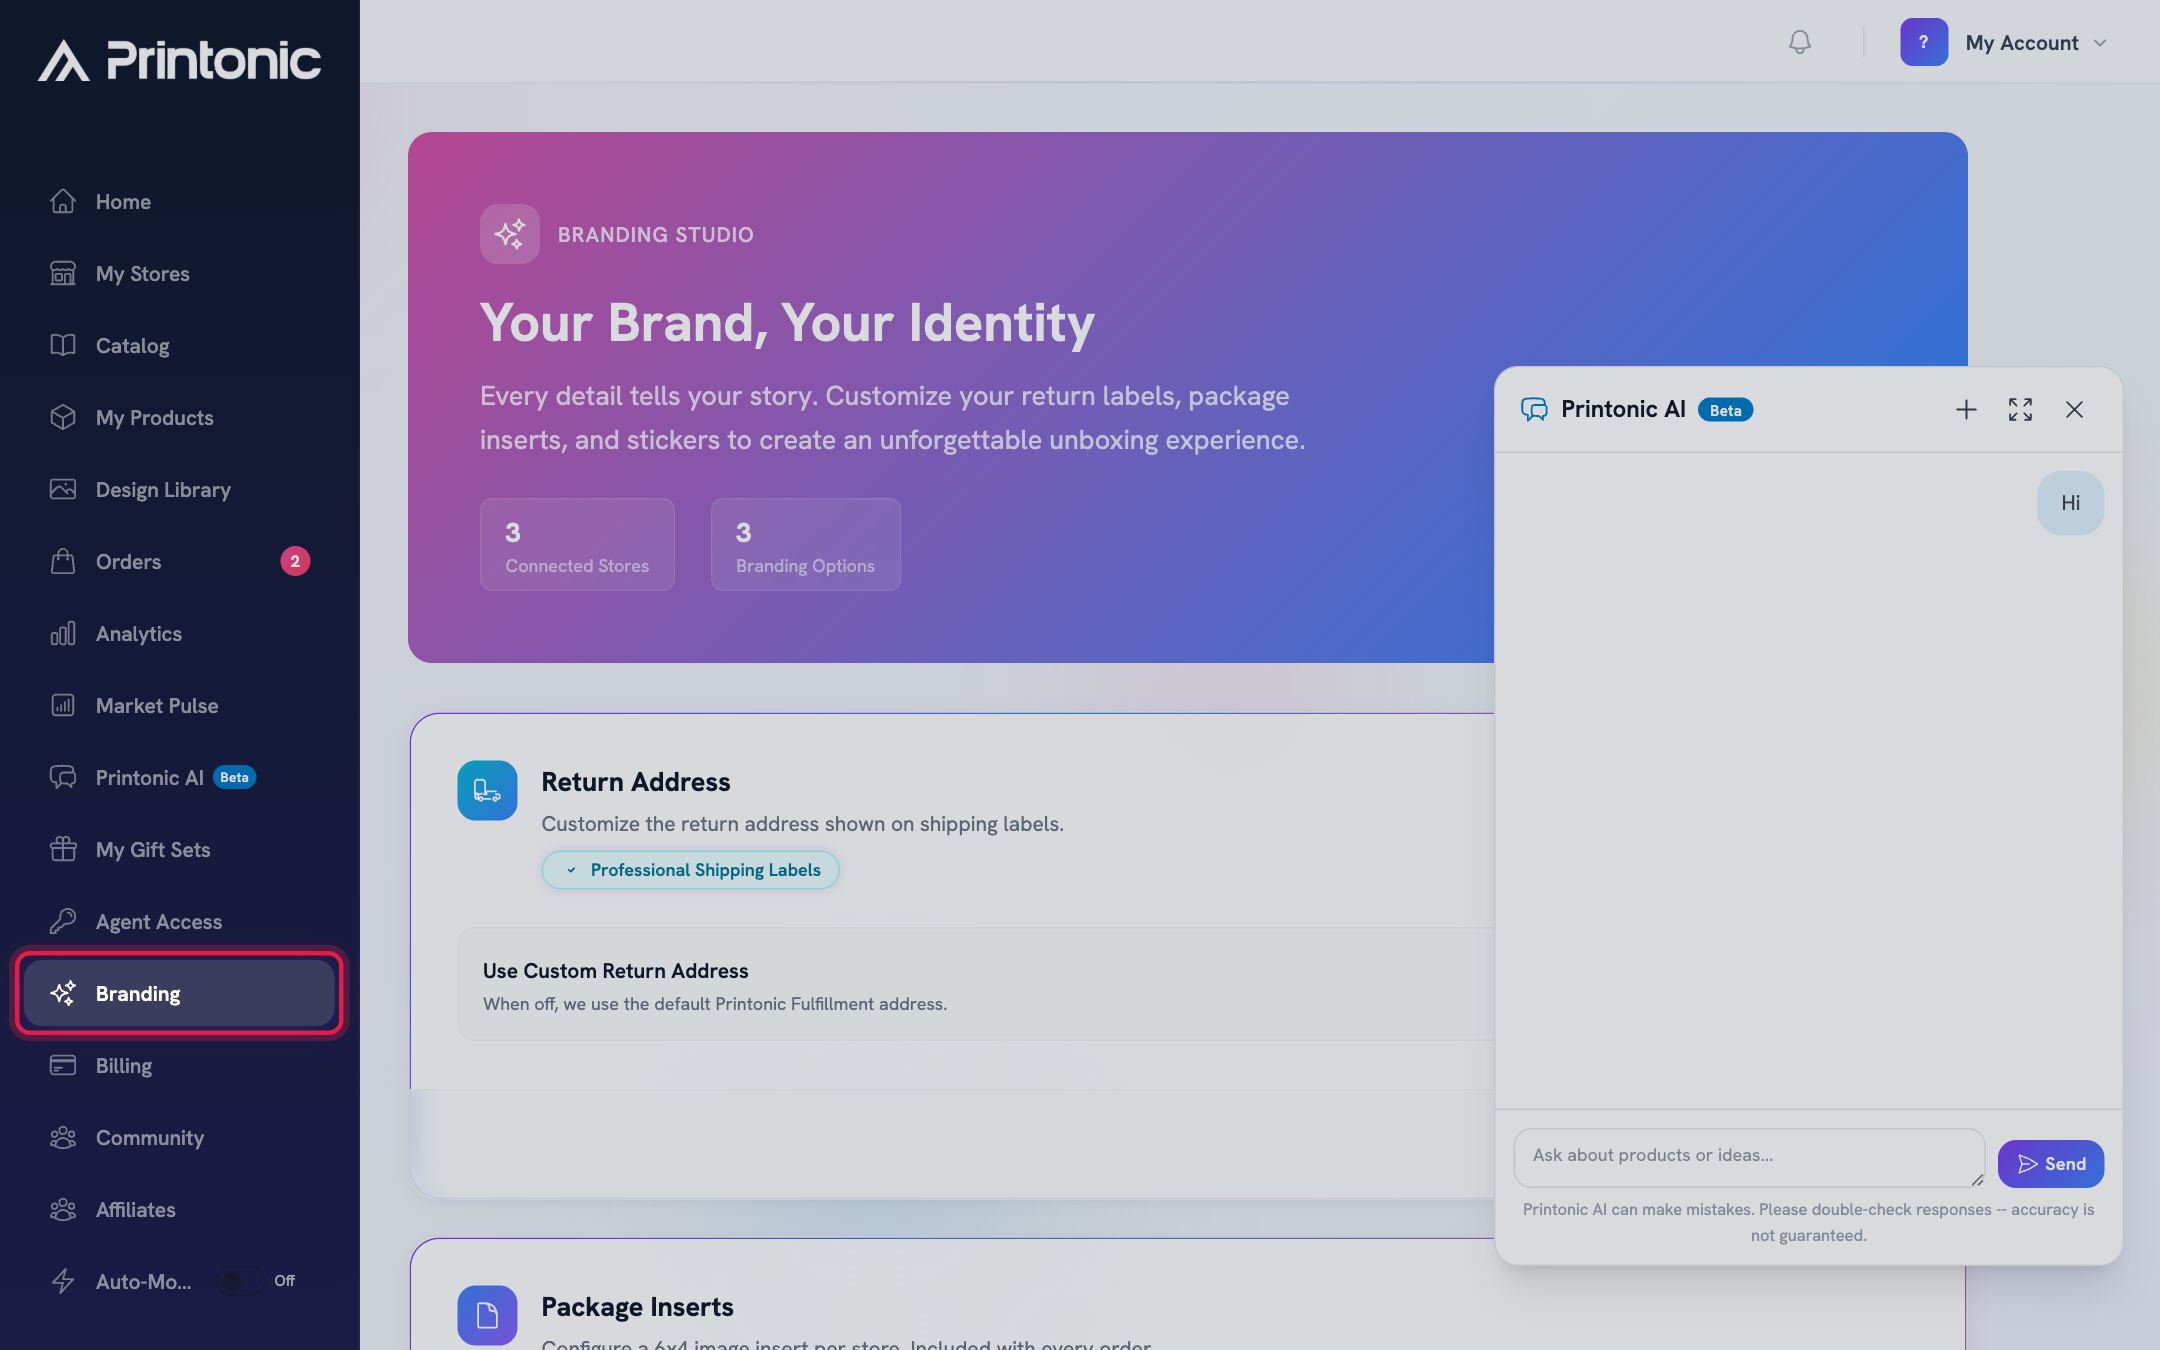
- 2
Branding > Return Address
Turn on a custom return address
In the Return Address card, flip the Use Custom Return Address toggle. When it is off, Printonic uses the default Printonic Fulfillment address on your shipping labels. Turning it on reveals an example shipping label plus the form fields for your own address.
This is the address customers see in the FROM corner of the label, so it is often the first place buyers notice your brand (or a fulfillment company's). Turning the toggle off at any time switches your labels back to the default address.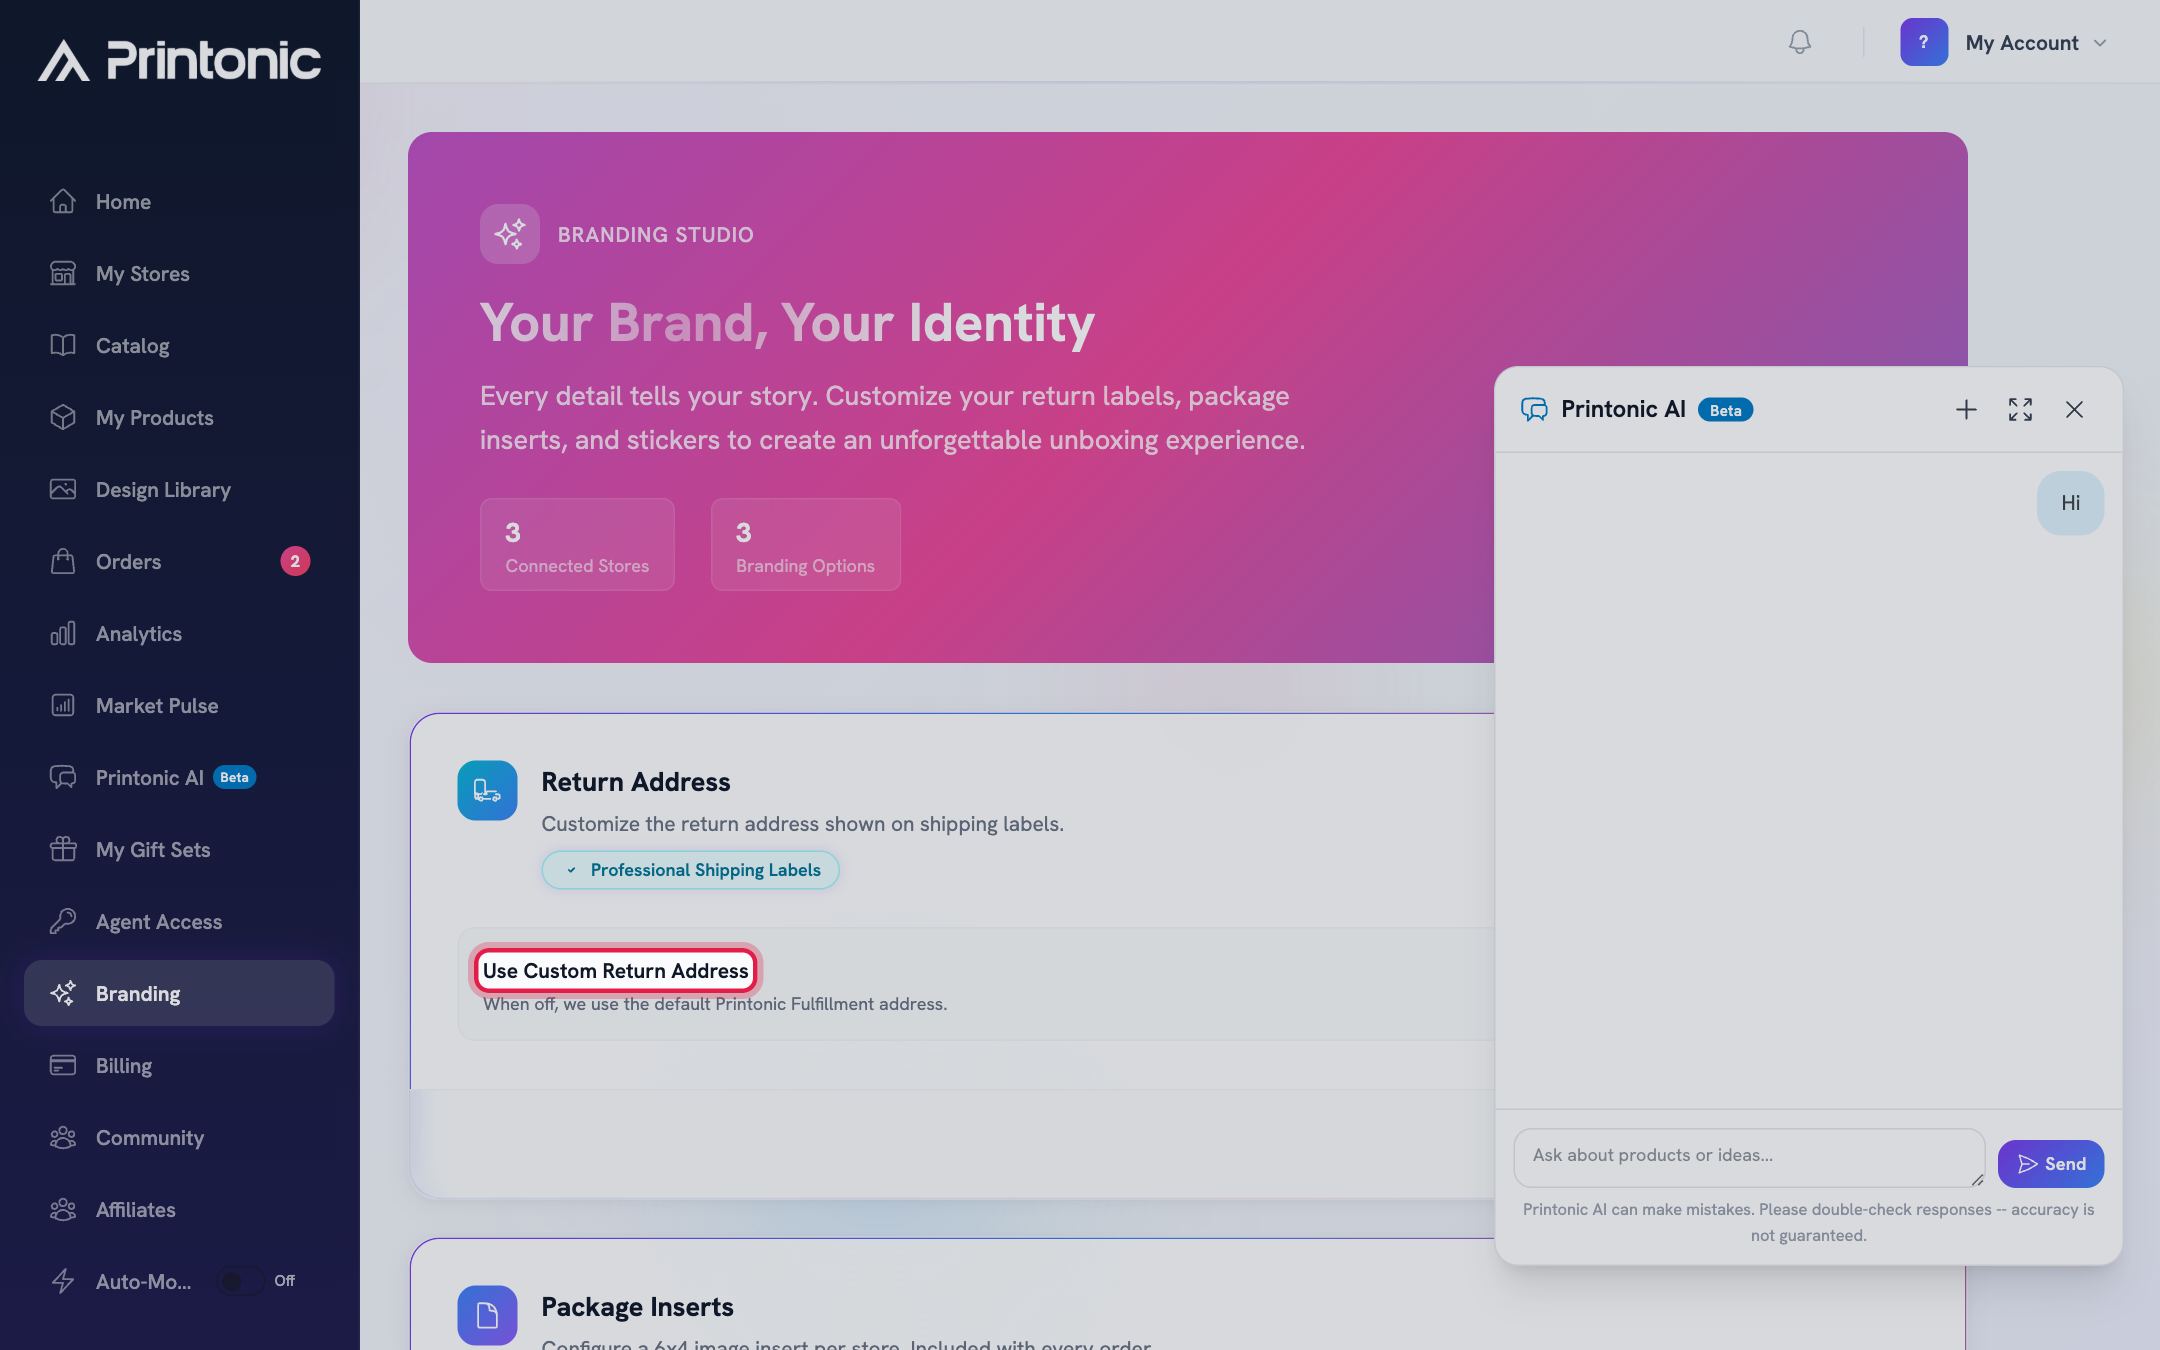
- 3
Branding > Return Address
Fill in your business information and address
Under Business Information, enter your Company Name and Phone Number. Under Return Address, fill in Address Line 1, City, State, ZIP/Postal Code, and Country (Address Line 2 is optional). The State field is a dropdown, and Country currently offers United States.
The address must be in the contiguous 48 United States. Alaska and Hawaii are not accepted, and the State dropdown only lists eligible states plus the District of Columbia. All fields except Address Line 2 are required while the custom address is on.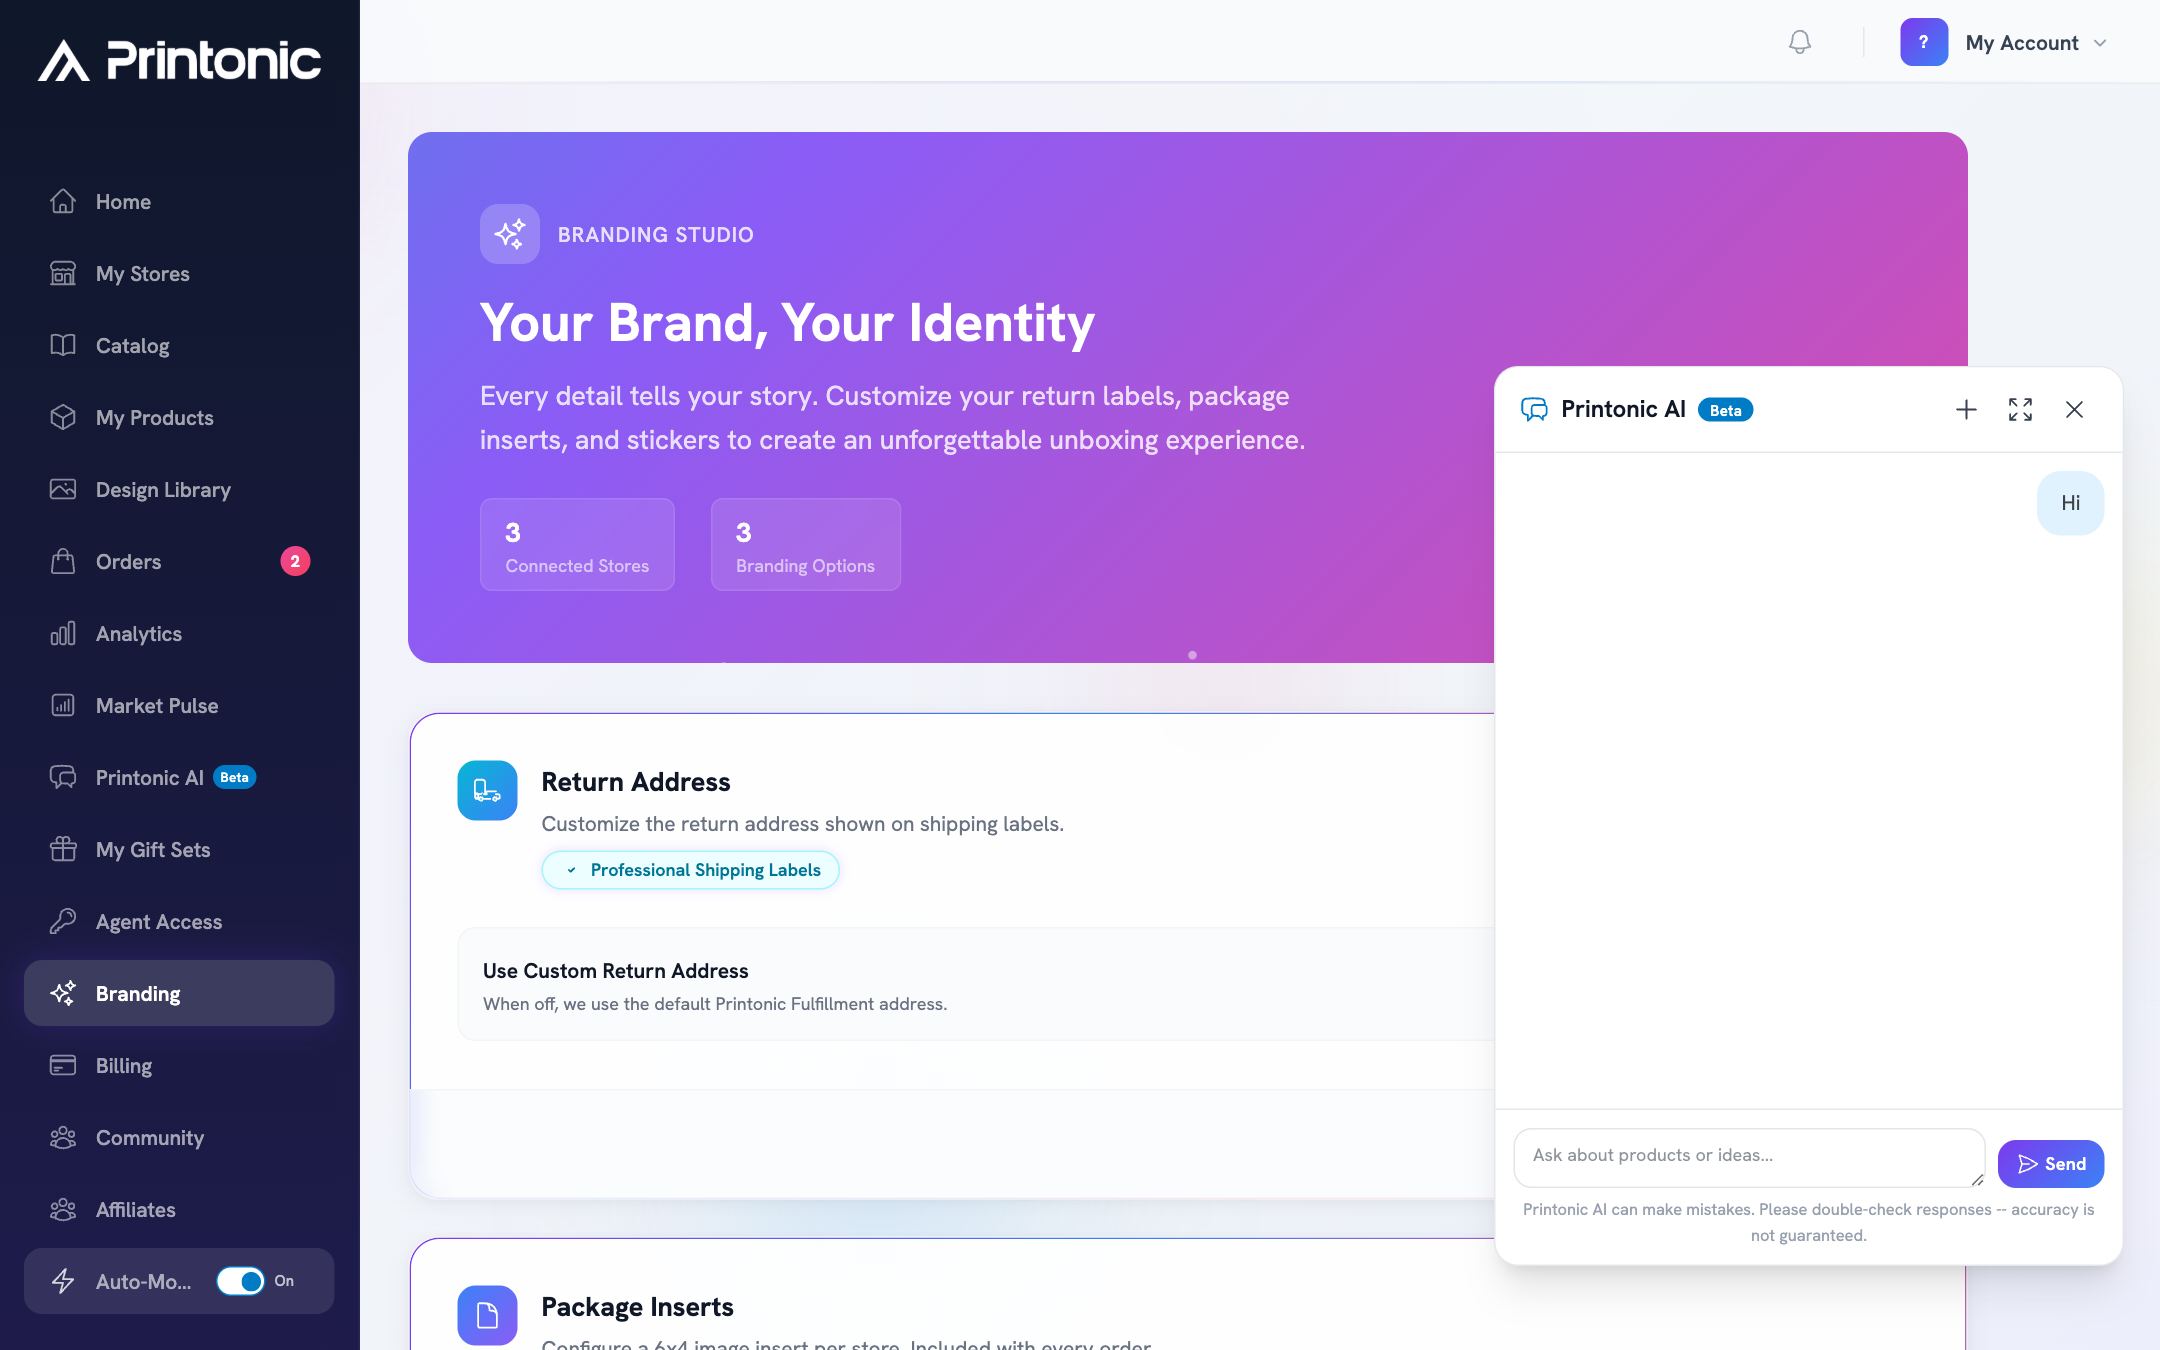
- 4
Branding > Return Address > Save Changes
Save your return address
Once you edit anything, an 'Unsaved changes' indicator appears at the bottom of the card and the Save Changes button becomes clickable. Click Save Changes. The button shows 'Saving...' briefly, then a green 'Settings saved successfully!' message confirms the update. New shipping labels will use your custom address from then on.
If a required field is empty or the state is not eligible, the form highlights the field with a message (for example 'Company name is required') and nothing is saved until you fix it.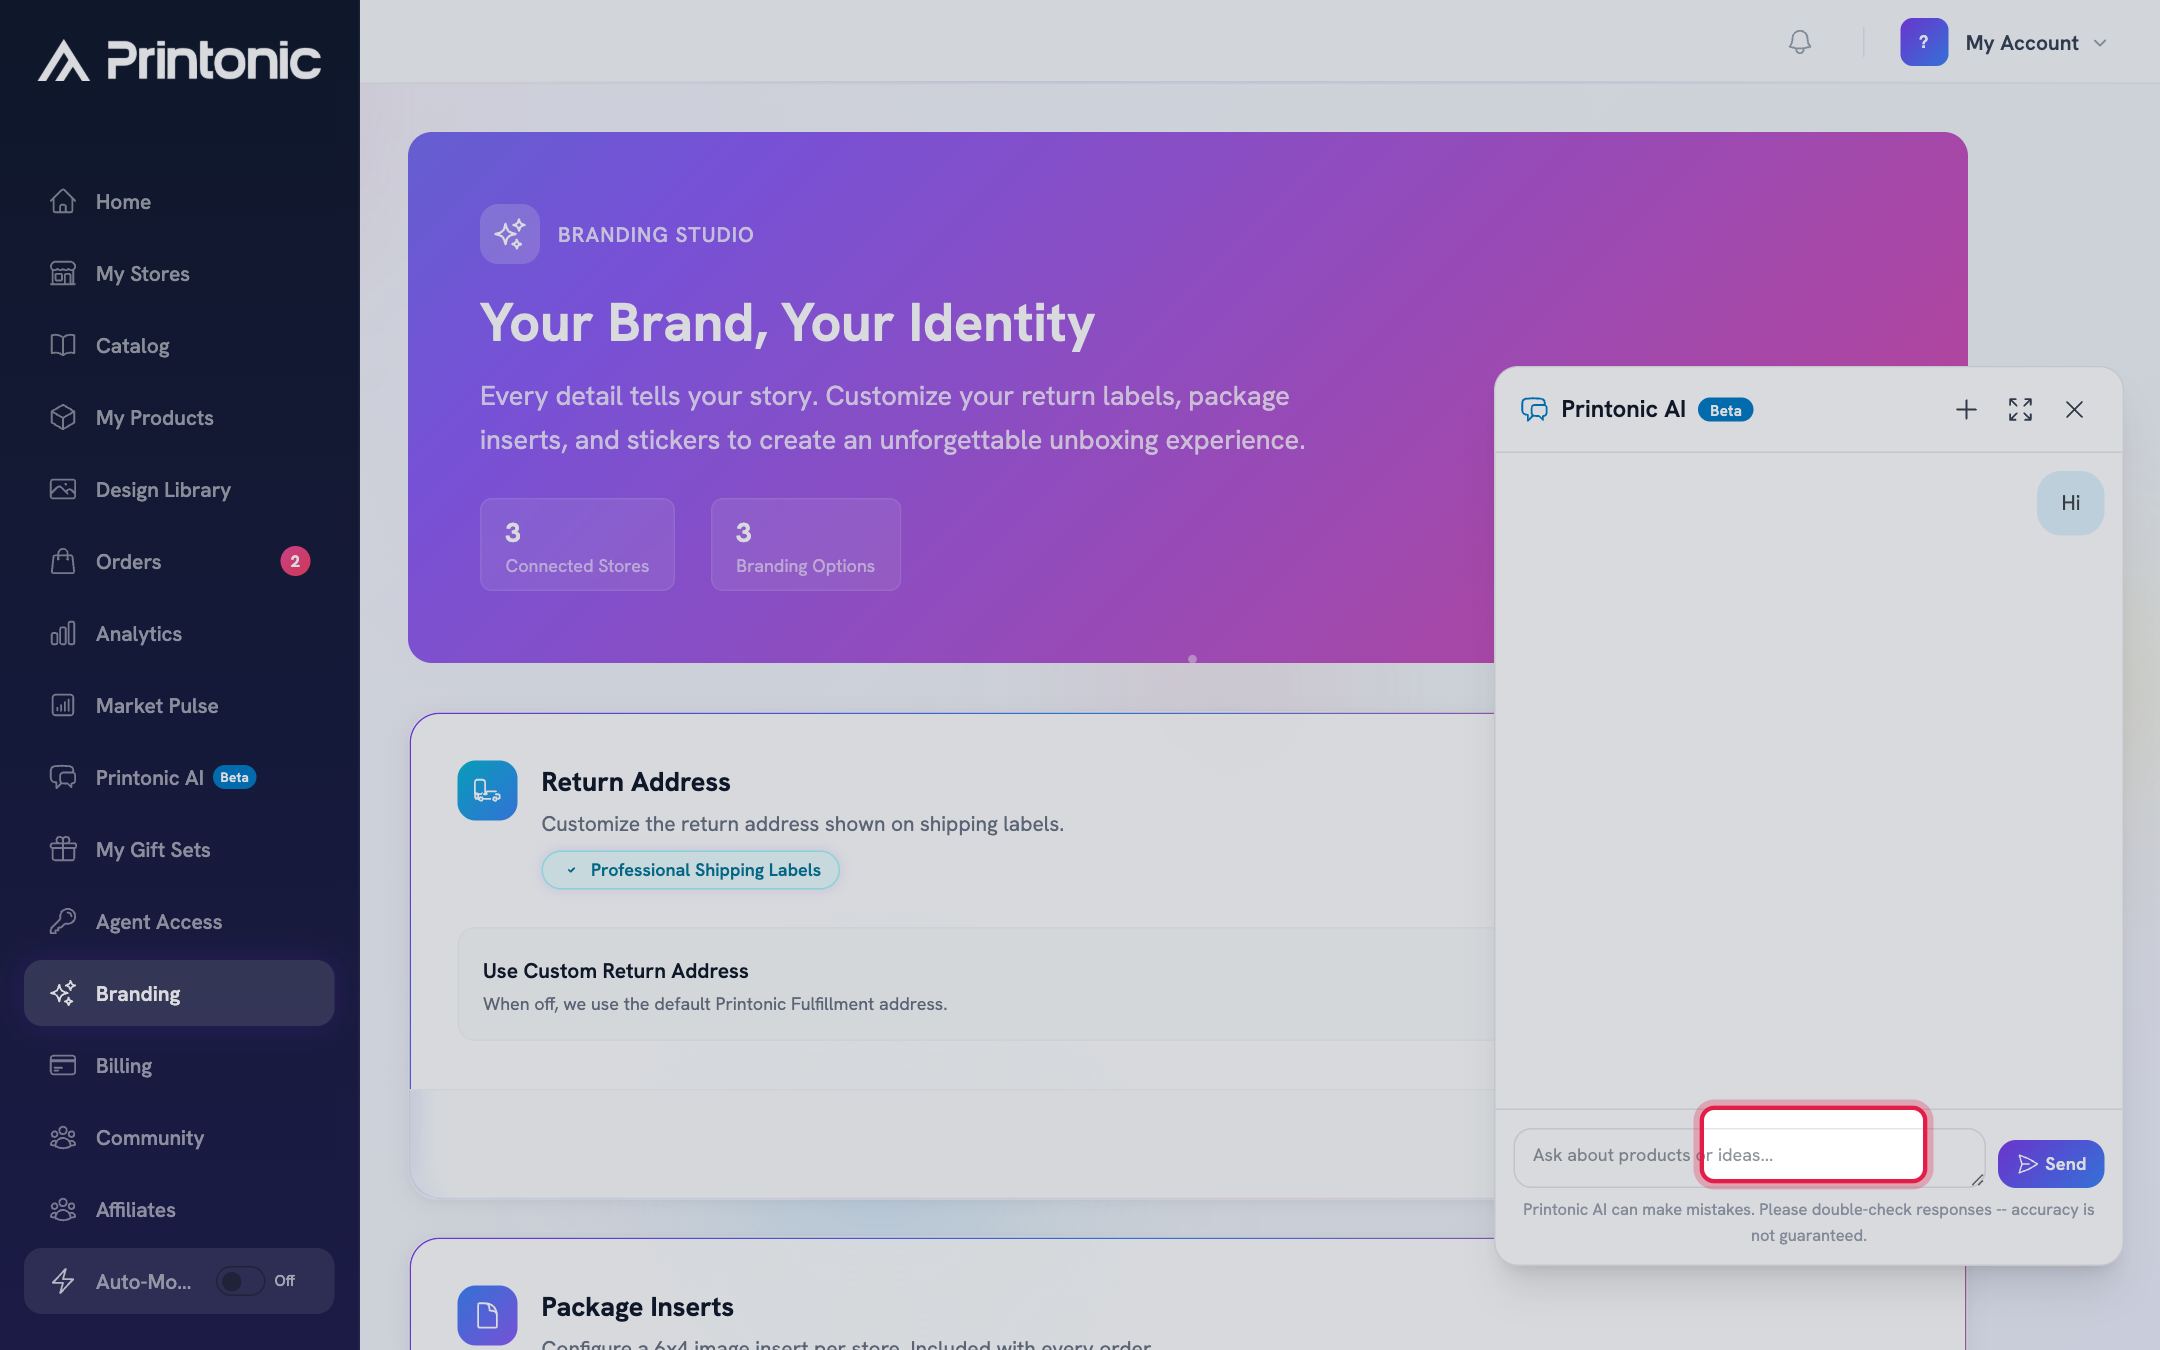
- 5
Branding > Package Inserts > Manage
Add a package insert for a store
In the Package Inserts card, find the store you want and click Manage. In the 'Package Insert for [store]' window, drag and drop your image or click the upload area to pick a file. The image must be PNG or JPG with a 6x4 (3:2) landscape shape, and only one insert is allowed per store. After the upload finishes, a preview of your card appears.
Inserts cost $0.25 per order and are included with every order from that store once uploaded. If your file is the wrong shape you will see 'Image must have a 6x4 (3:2) landscape aspect ratio', and other file types are rejected with 'Only PNG or JPG/JPEG images are allowed'.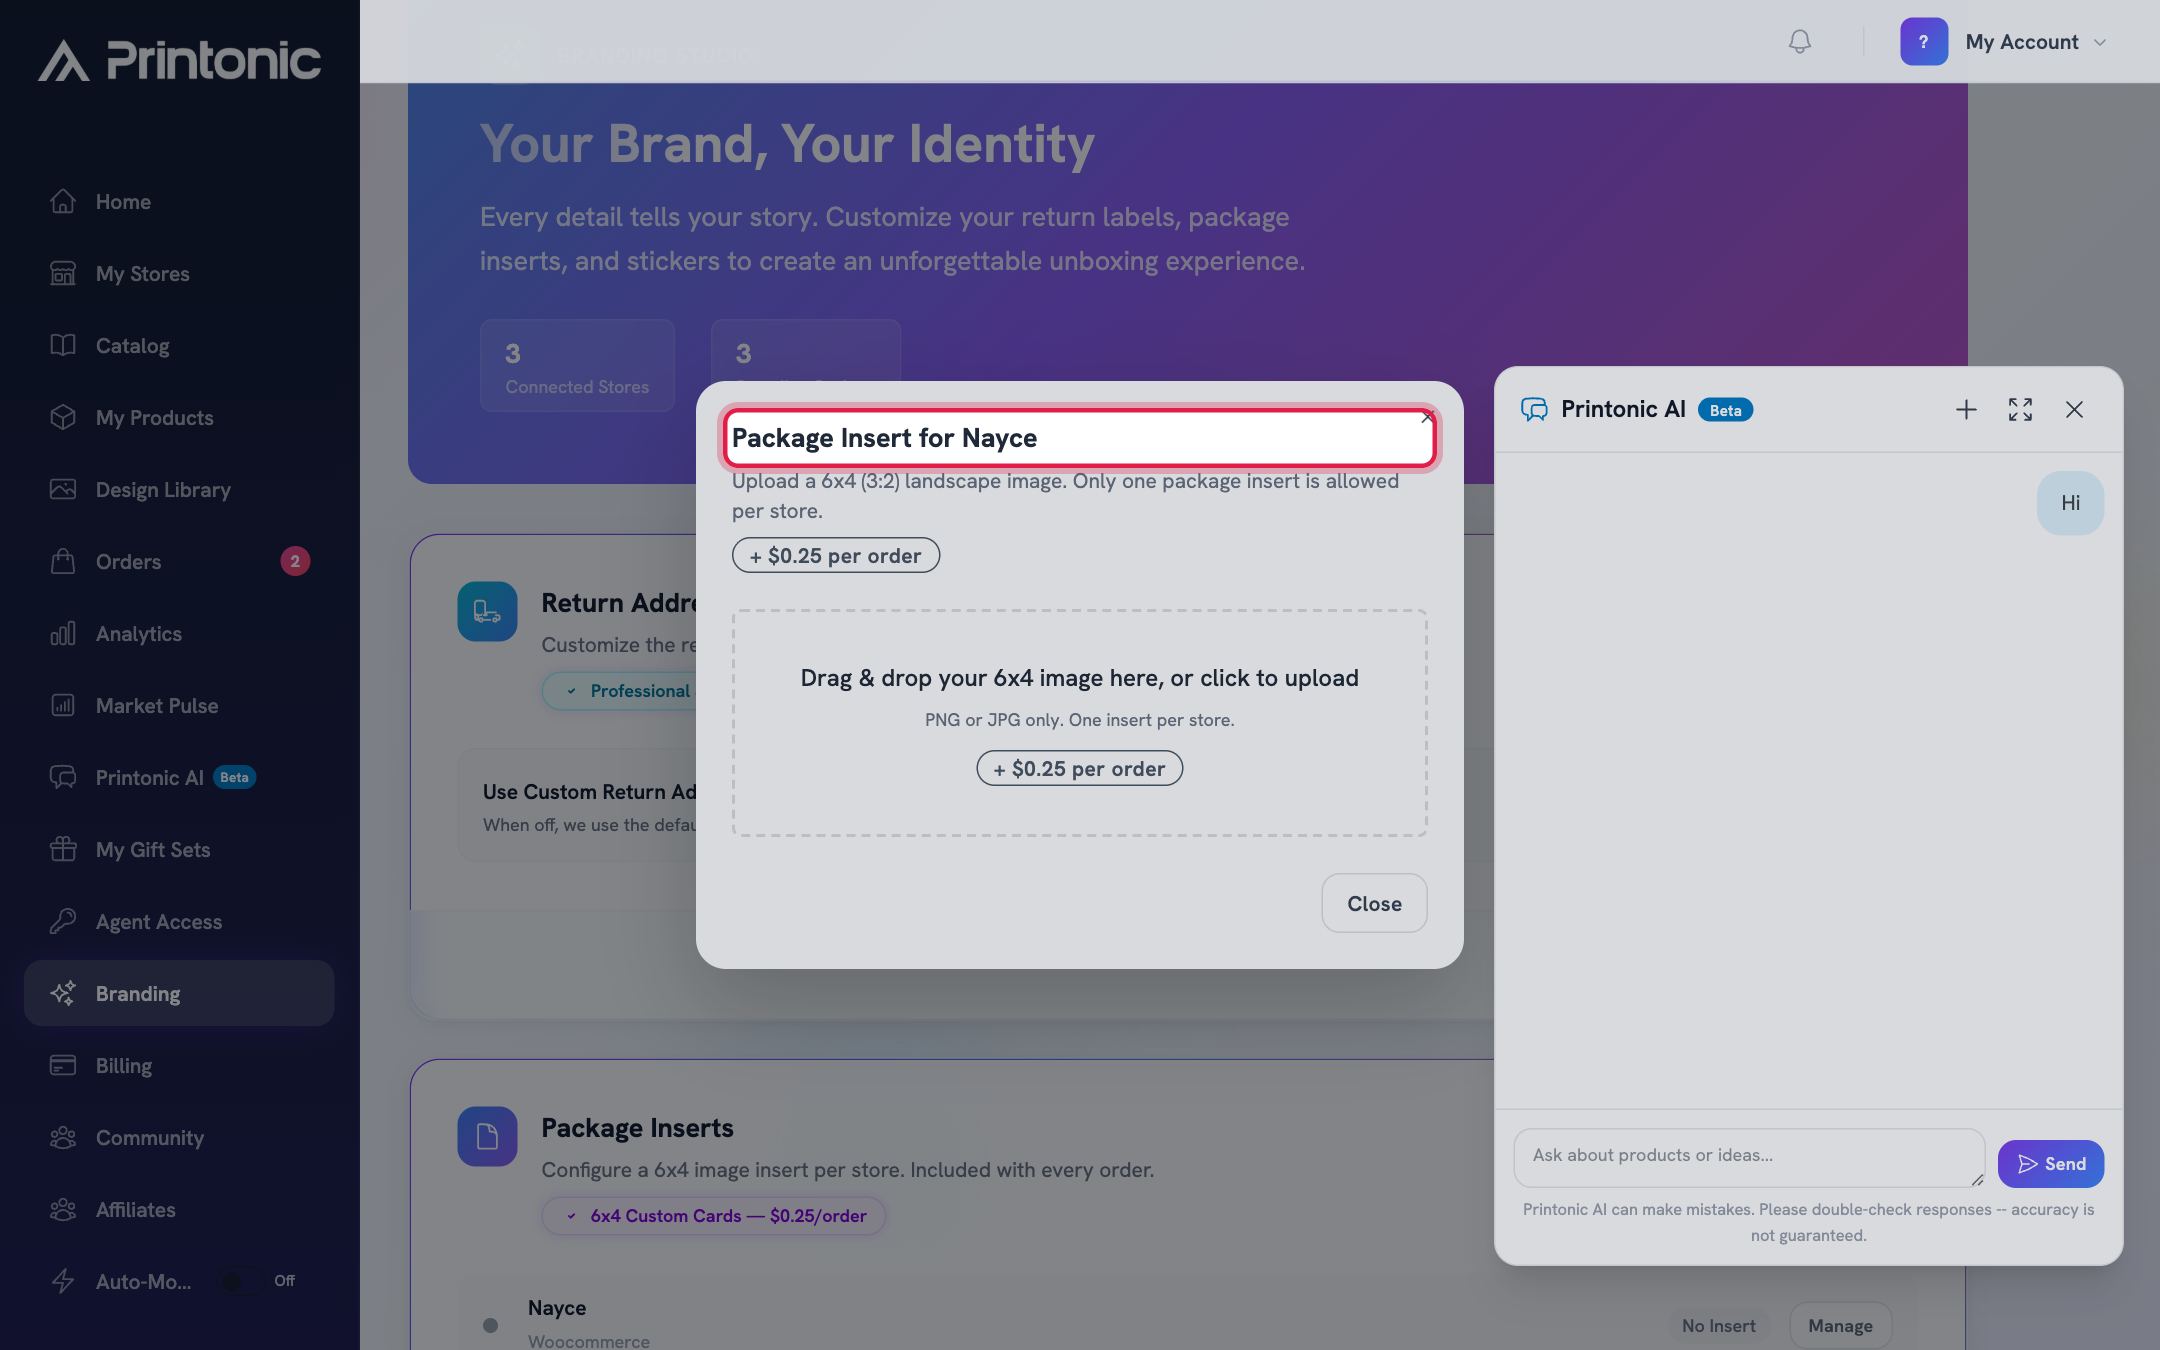
- 6
Branding > Packaging Stickers > Manage
Add a packaging sticker for a store
In the Packaging Stickers card, click Manage next to a store. In the 'Packaging Sticker for [store]' window, upload a square PNG or JPG. It is printed as a 2x2 inch round sticker and placed on the outside of the box for every order from that store. The preview shows your image cropped into a circle, exactly as it will print.
Stickers cost $0.40 per order. The image must be square (1:1 ratio) or you will see 'Image must be square (1:1 aspect ratio) for the round sticker'. Because the square is trimmed to a circle, keep your logo centered and away from the corners.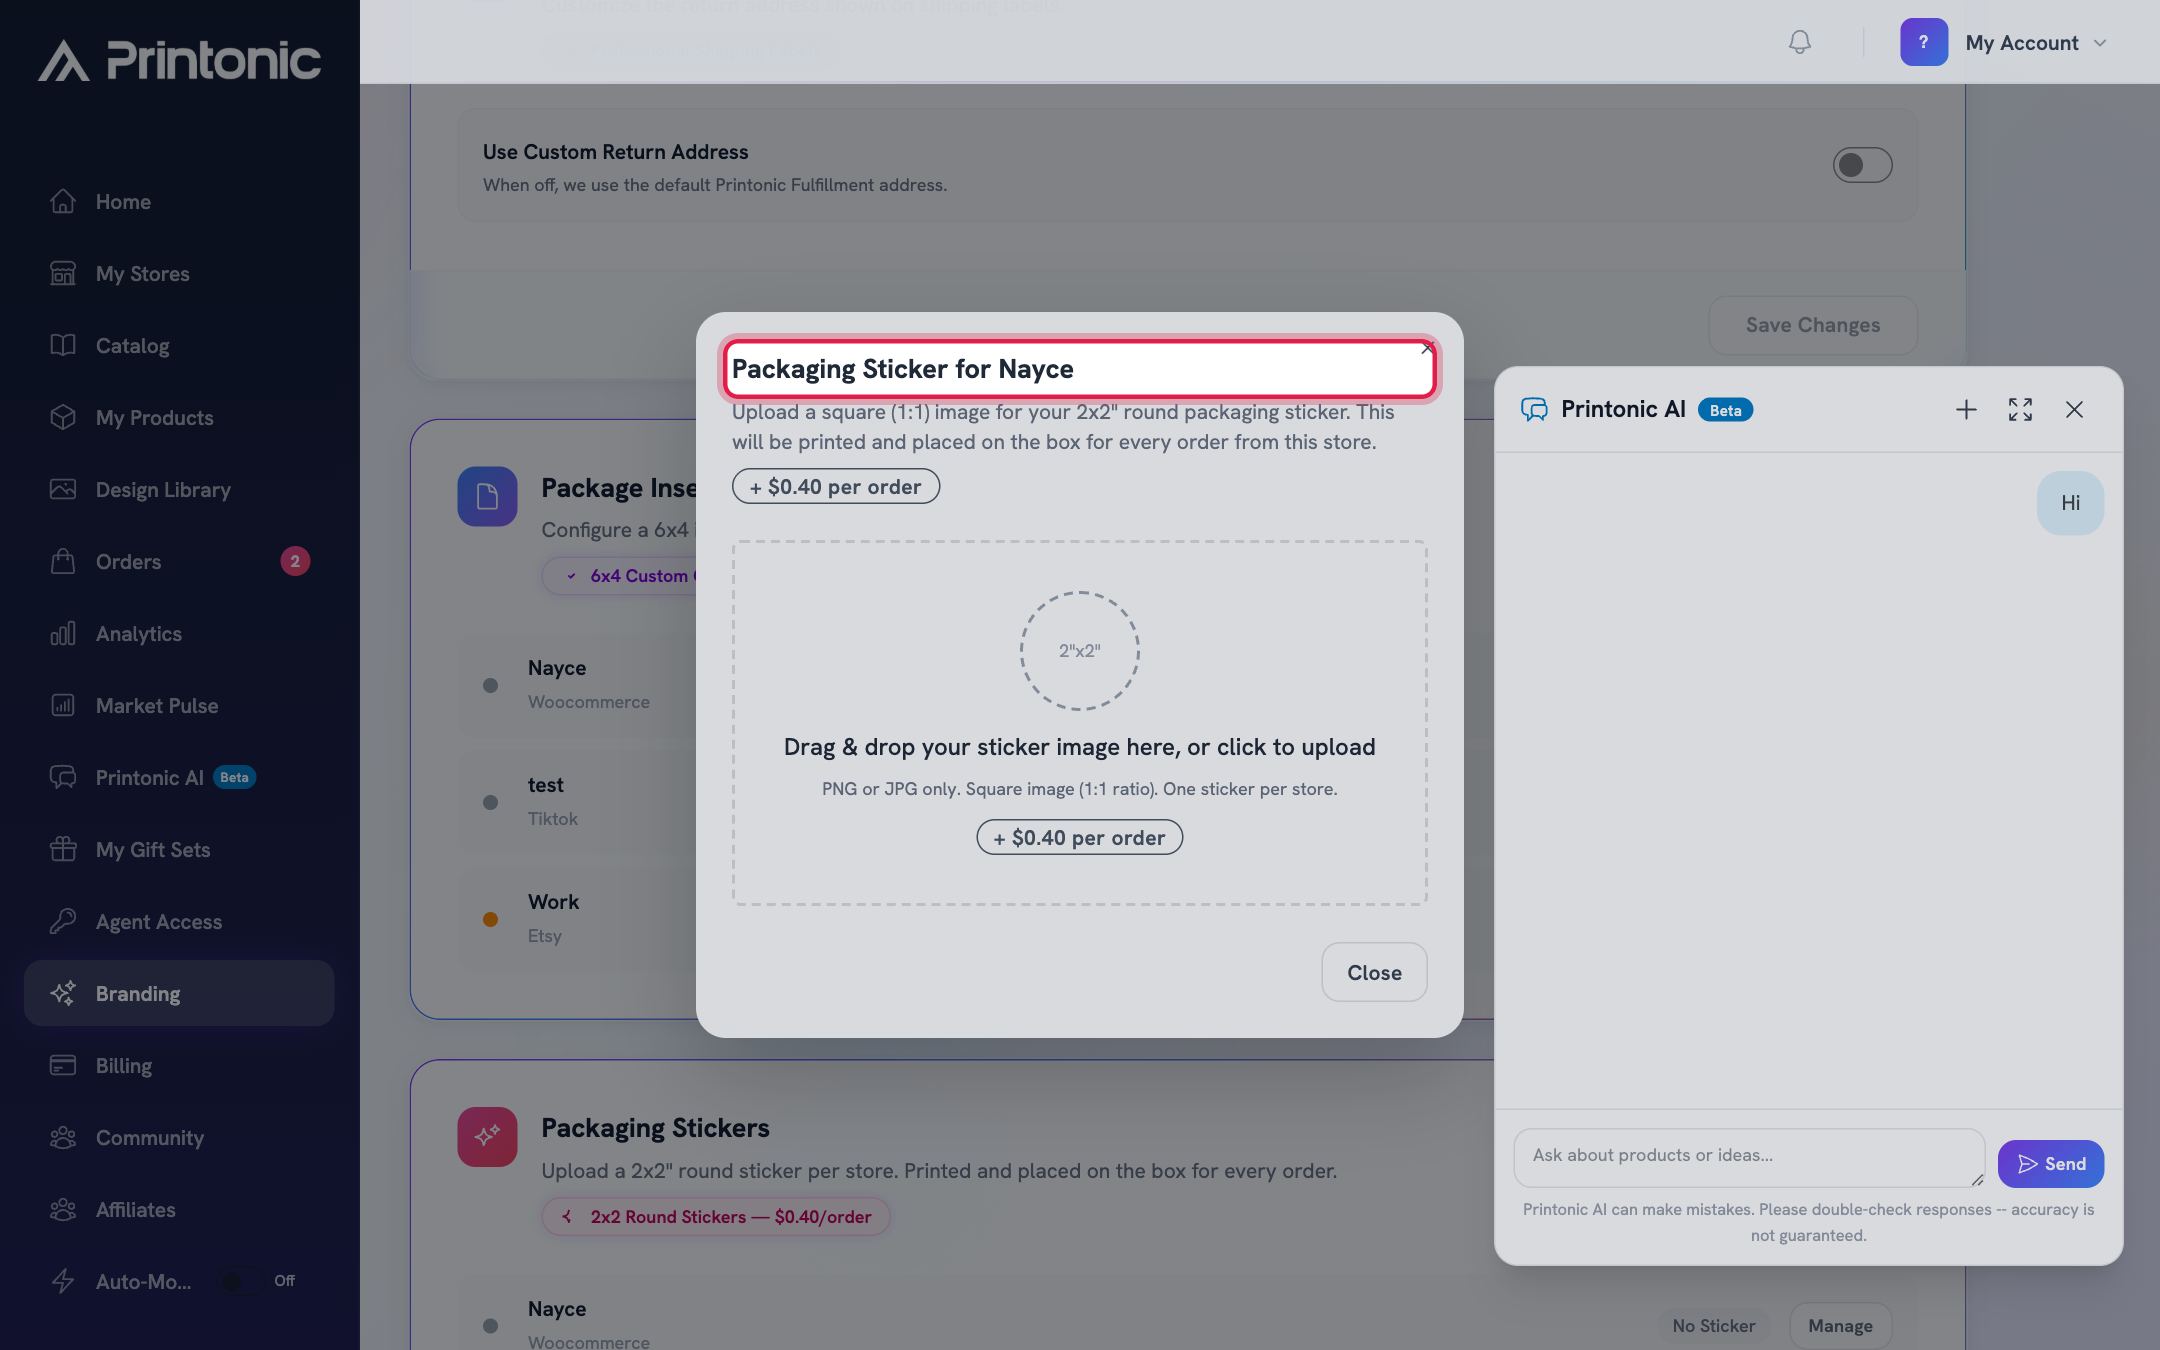
- 7
Branding > Package Inserts / Packaging Stickers
Check status and update your artwork anytime
Each store row shows a status badge: a green Uploaded badge when artwork is in place, or 'No Insert' / 'No Sticker' when it is not. To change artwork, click Manage on the store, then use Replace Image (or Replace Sticker) to upload a new file, or Remove Insert (or Remove Sticker) to stop including it. Removing it also stops the per-order charge for that store.
Replacing overwrites the old file immediately. There is only ever one insert and one sticker per store, and changes apply to orders going forward, not to orders already sent to production.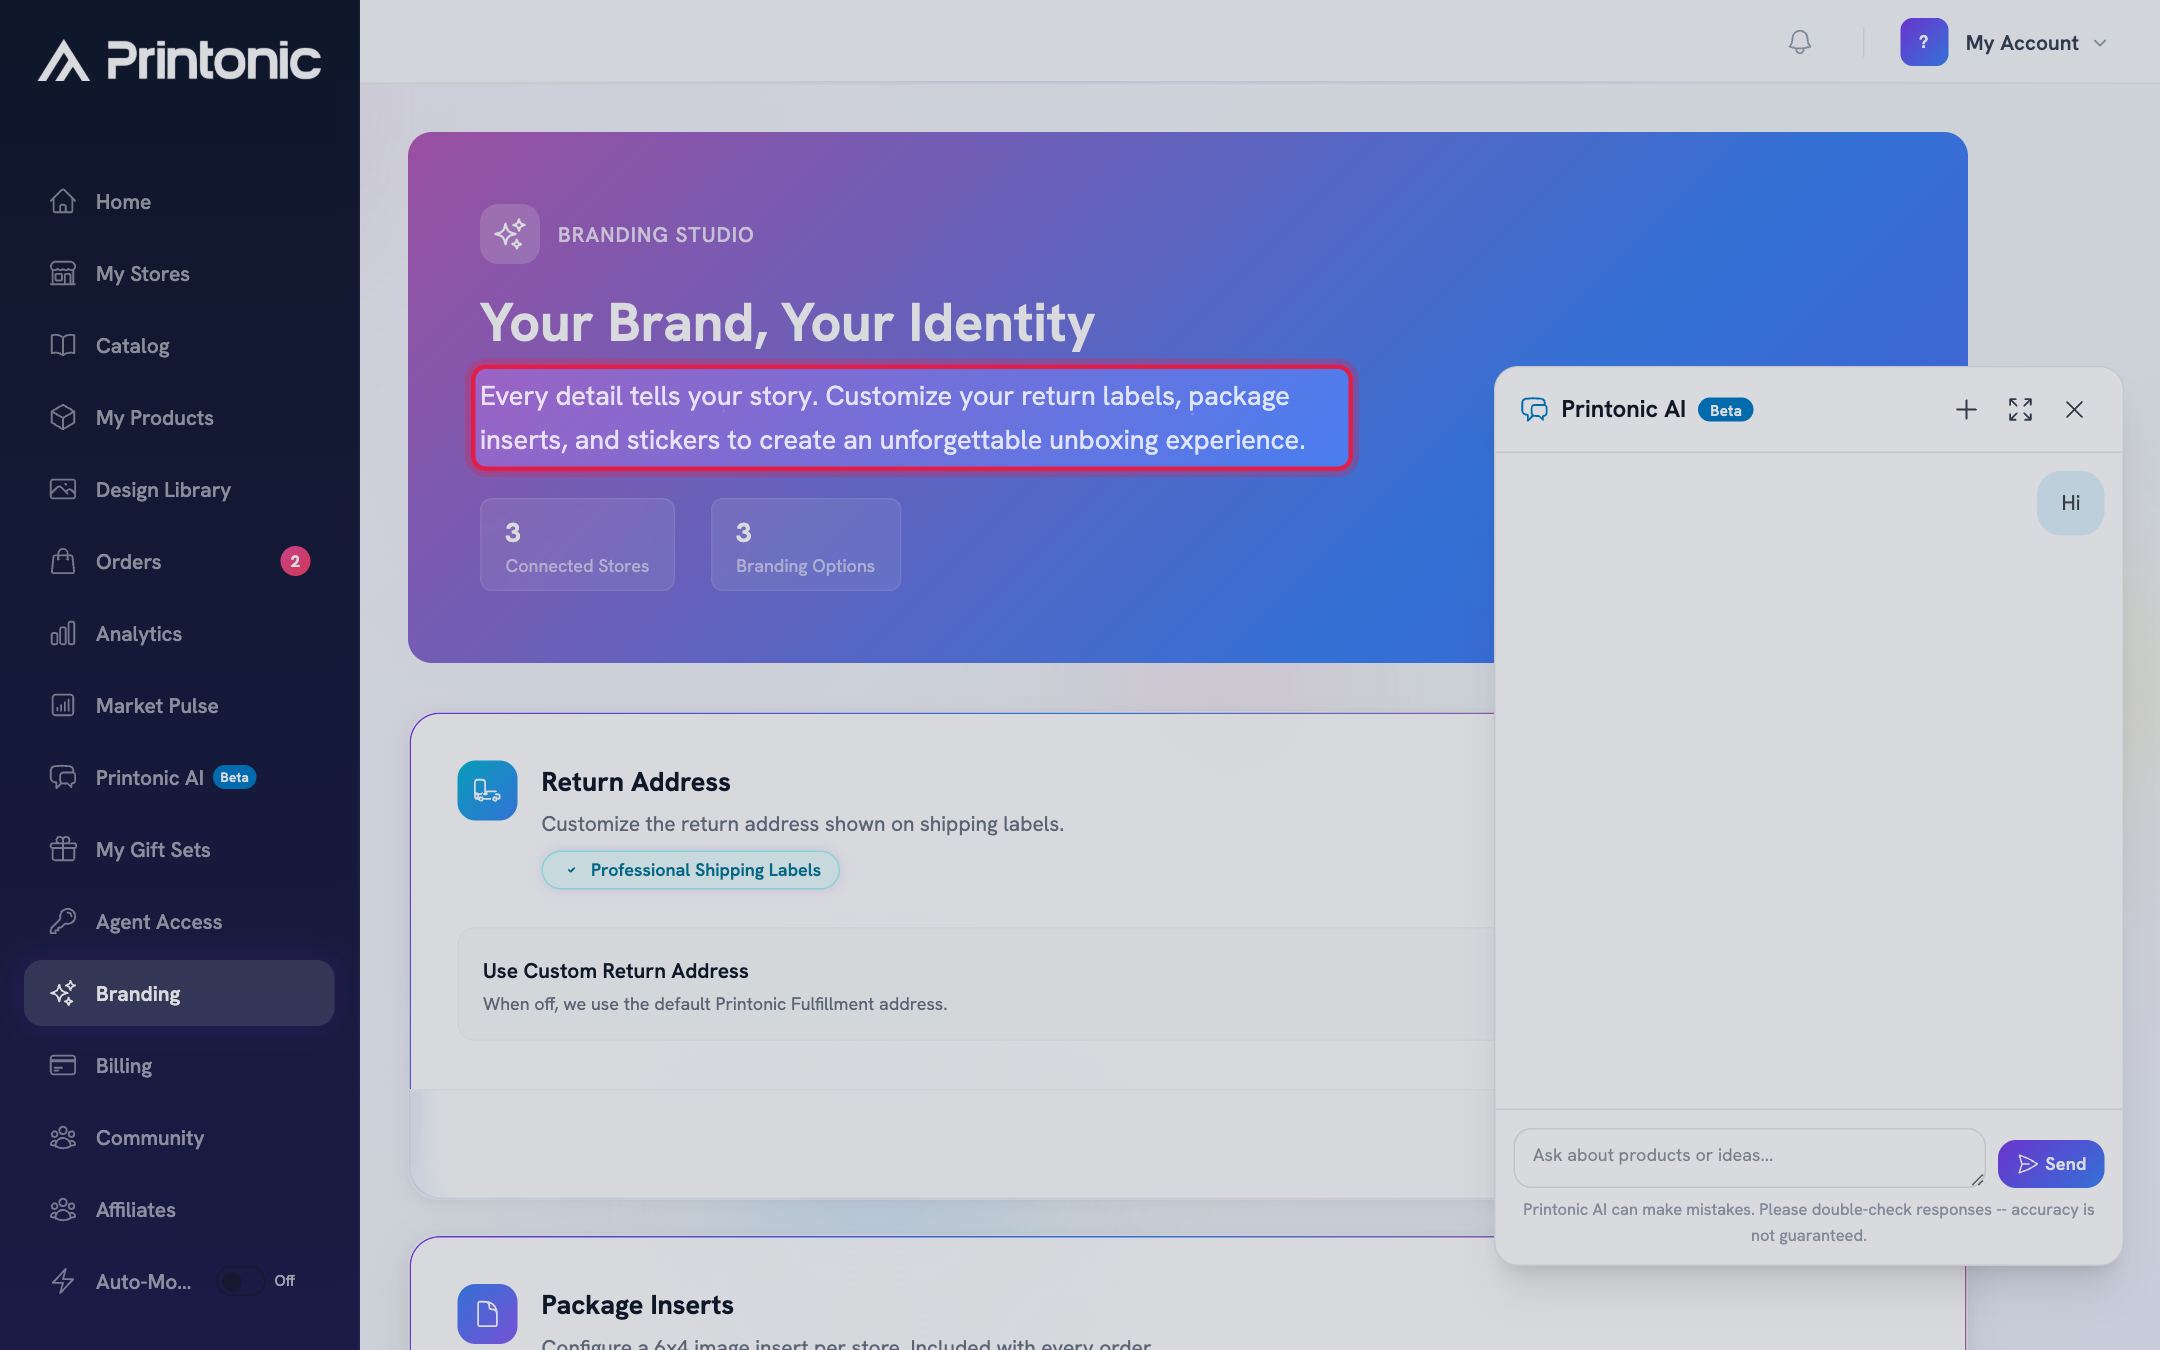
Good to know
- Inserts and stickers are per store, so a store selling minimalist decor and a store selling pet gifts can each ship with their own branding.
- The fees are per order, not per item: one insert ($0.25) and one sticker ($0.40) are added per package regardless of how many items are inside.
- Design your sticker for a circle. The preview in the upload window shows the exact round crop, so if anything important sits in a corner, fix it before orders ship.
- Use the example shipping label shown in the Return Address card to see exactly where your company name, phone, and address will appear.
Common questions
How much does Branding Studio cost?
The custom return address is free. A package insert adds $0.25 per order and a packaging sticker adds $0.40 per order, charged only for stores where you have uploaded one. Remove the insert or sticker at any time to stop the charge.
Why was my image rejected?
Two rules apply: the file must be PNG or JPG, and the shape must match the product. Package inserts need a 6x4 (3:2) landscape image, and packaging stickers need a square (1:1) image. Crop your file to the right shape and upload again.
Can I use a return address in Alaska, Hawaii, or another country?
Not currently. The custom return address must be in the contiguous 48 United States (the District of Columbia is also accepted), and the Country field supports United States only. If your address is outside that area, leave the toggle off and the default Printonic Fulfillment address is used.
Do inserts and stickers go on every order automatically?
Yes. Once a store shows the green Uploaded badge, every new order from that store includes the insert inside the package and the sticker on the box. There is no per-order opt-in or opt-out; to stop including them, open Manage and click Remove Insert or Remove Sticker.
Related guides
Connect your store
Link your Etsy, Shopify, TikTok Shop, or WooCommerce store to Printonic so your orders sync automatically. Covers connecting, renaming, testing, disconnecting, and reconnecting.
Send orders to fulfillment and pay
Submit one order or a whole batch for production. Covers the Send to Fulfillment button, the checkout cost breakdown, how your wallet balance applies automatically, paying the rest with a saved card, and adding funds mid-checkout.
Your dashboard at a glance
A quick tour of the dashboard Home page: stat cards, alerts, quick actions, recent orders, store health, and the Getting Started checklist for new sellers.